Although we have lived in this area for twenty year (!) we haven’t really done much exploring on foot. I think that there are a number of reasons for this: the two boys doing so much weekend sport, Sue’s and my (David’s) on-call, so many other things to do, which are more attractive for Sue, etc. However last weekend and this one Andrew and I drove up to Katoomba and walked out in the direction of Mount Solitary. Walking the the Blue Mountains is very different from many areas. Here you tend to start high up, walk down into the valleys and then walk up again to the peaks.
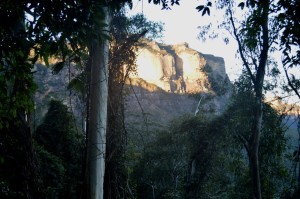 Last week we walked down the Furber Steps to the “Federal Pass” below Katoomba, and then walked around to the Golden Stairs. At that point it was starting to get dark (we had started very late) so we walked up the Golden Stairs to the ridge and back to the car along a fire-trail.
This week we took up from where we left off, and parked the car at the top of the Golden Stairs, before descending into the vally and walking out towards the “Ruined Castle”, skirting around that rock formation before scrambling up to the western end of Mount Solitary.
This was a tough walk. The scrambling over rocks to climb up to the summit was seriously tricky in parts. Not rock-climbing, but demanding a lot of strength and agility. We had an excellent day out. Reaching the top of the mountain is so different to the UK: at the top is a camp-site in quite dense woodland – the tops are never clear of trees in the Blue Mountains, and although there are lookouts where pictures can be taken.
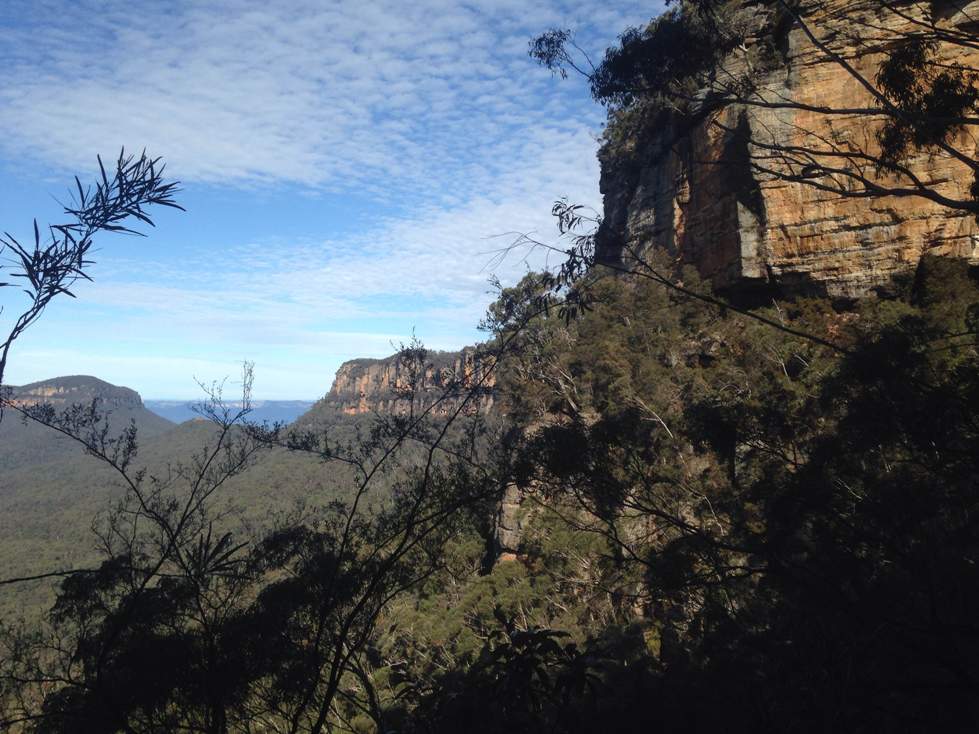 This picture shows the route. It is taken from the bottom of the stairs down: we started at the plateau top. We then skirted around the cliffs seen and crossed via the bottom of the “Ruined Castle” – seen in the distance between the two cliff formations – before climbing up the ridge to the top of Mount Solitary – seen on the left of the picture.
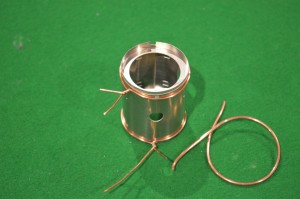 Having the formers to make the accurate cylinder was useful as well. This picture shows the copper wire (from mains electricity cable) used to squeeze the inner cylinder of nickel-silver down onto the formers. Thicker copper to hold it in place, then thinner copper to squeeze the metal down.
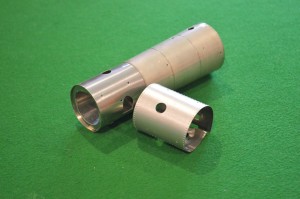 After that it was easy (relatively) and both the smokebox and the taper-boiler could be made accurately.