I have ‘blogged about this before but last weekend I took my locomotive to see an expert, and the results were good.
IMG_2061
[click on the link toy watch]
At first this Wawrick Allison was very uncertain about it, but as time went by he seemed more confident that it was OK, and so connected the locomotive up to compressed air, and made it go, as you can see from the video. Complete with whistle!
This was quite a “moment” for me – after all it suggests that I didn’t waste $2.5k on scrap brass and steel! There is still quite a lot of work to do, but it was a very good moment.
More developments on the wagon-building front, by the way, see below.
You can see from the link which I have posted, I had to have some assistance building my Woodbury Midland wagon.
http://www.westernthunder.co.uk/index.php?threads/information-and-help-please.8158/
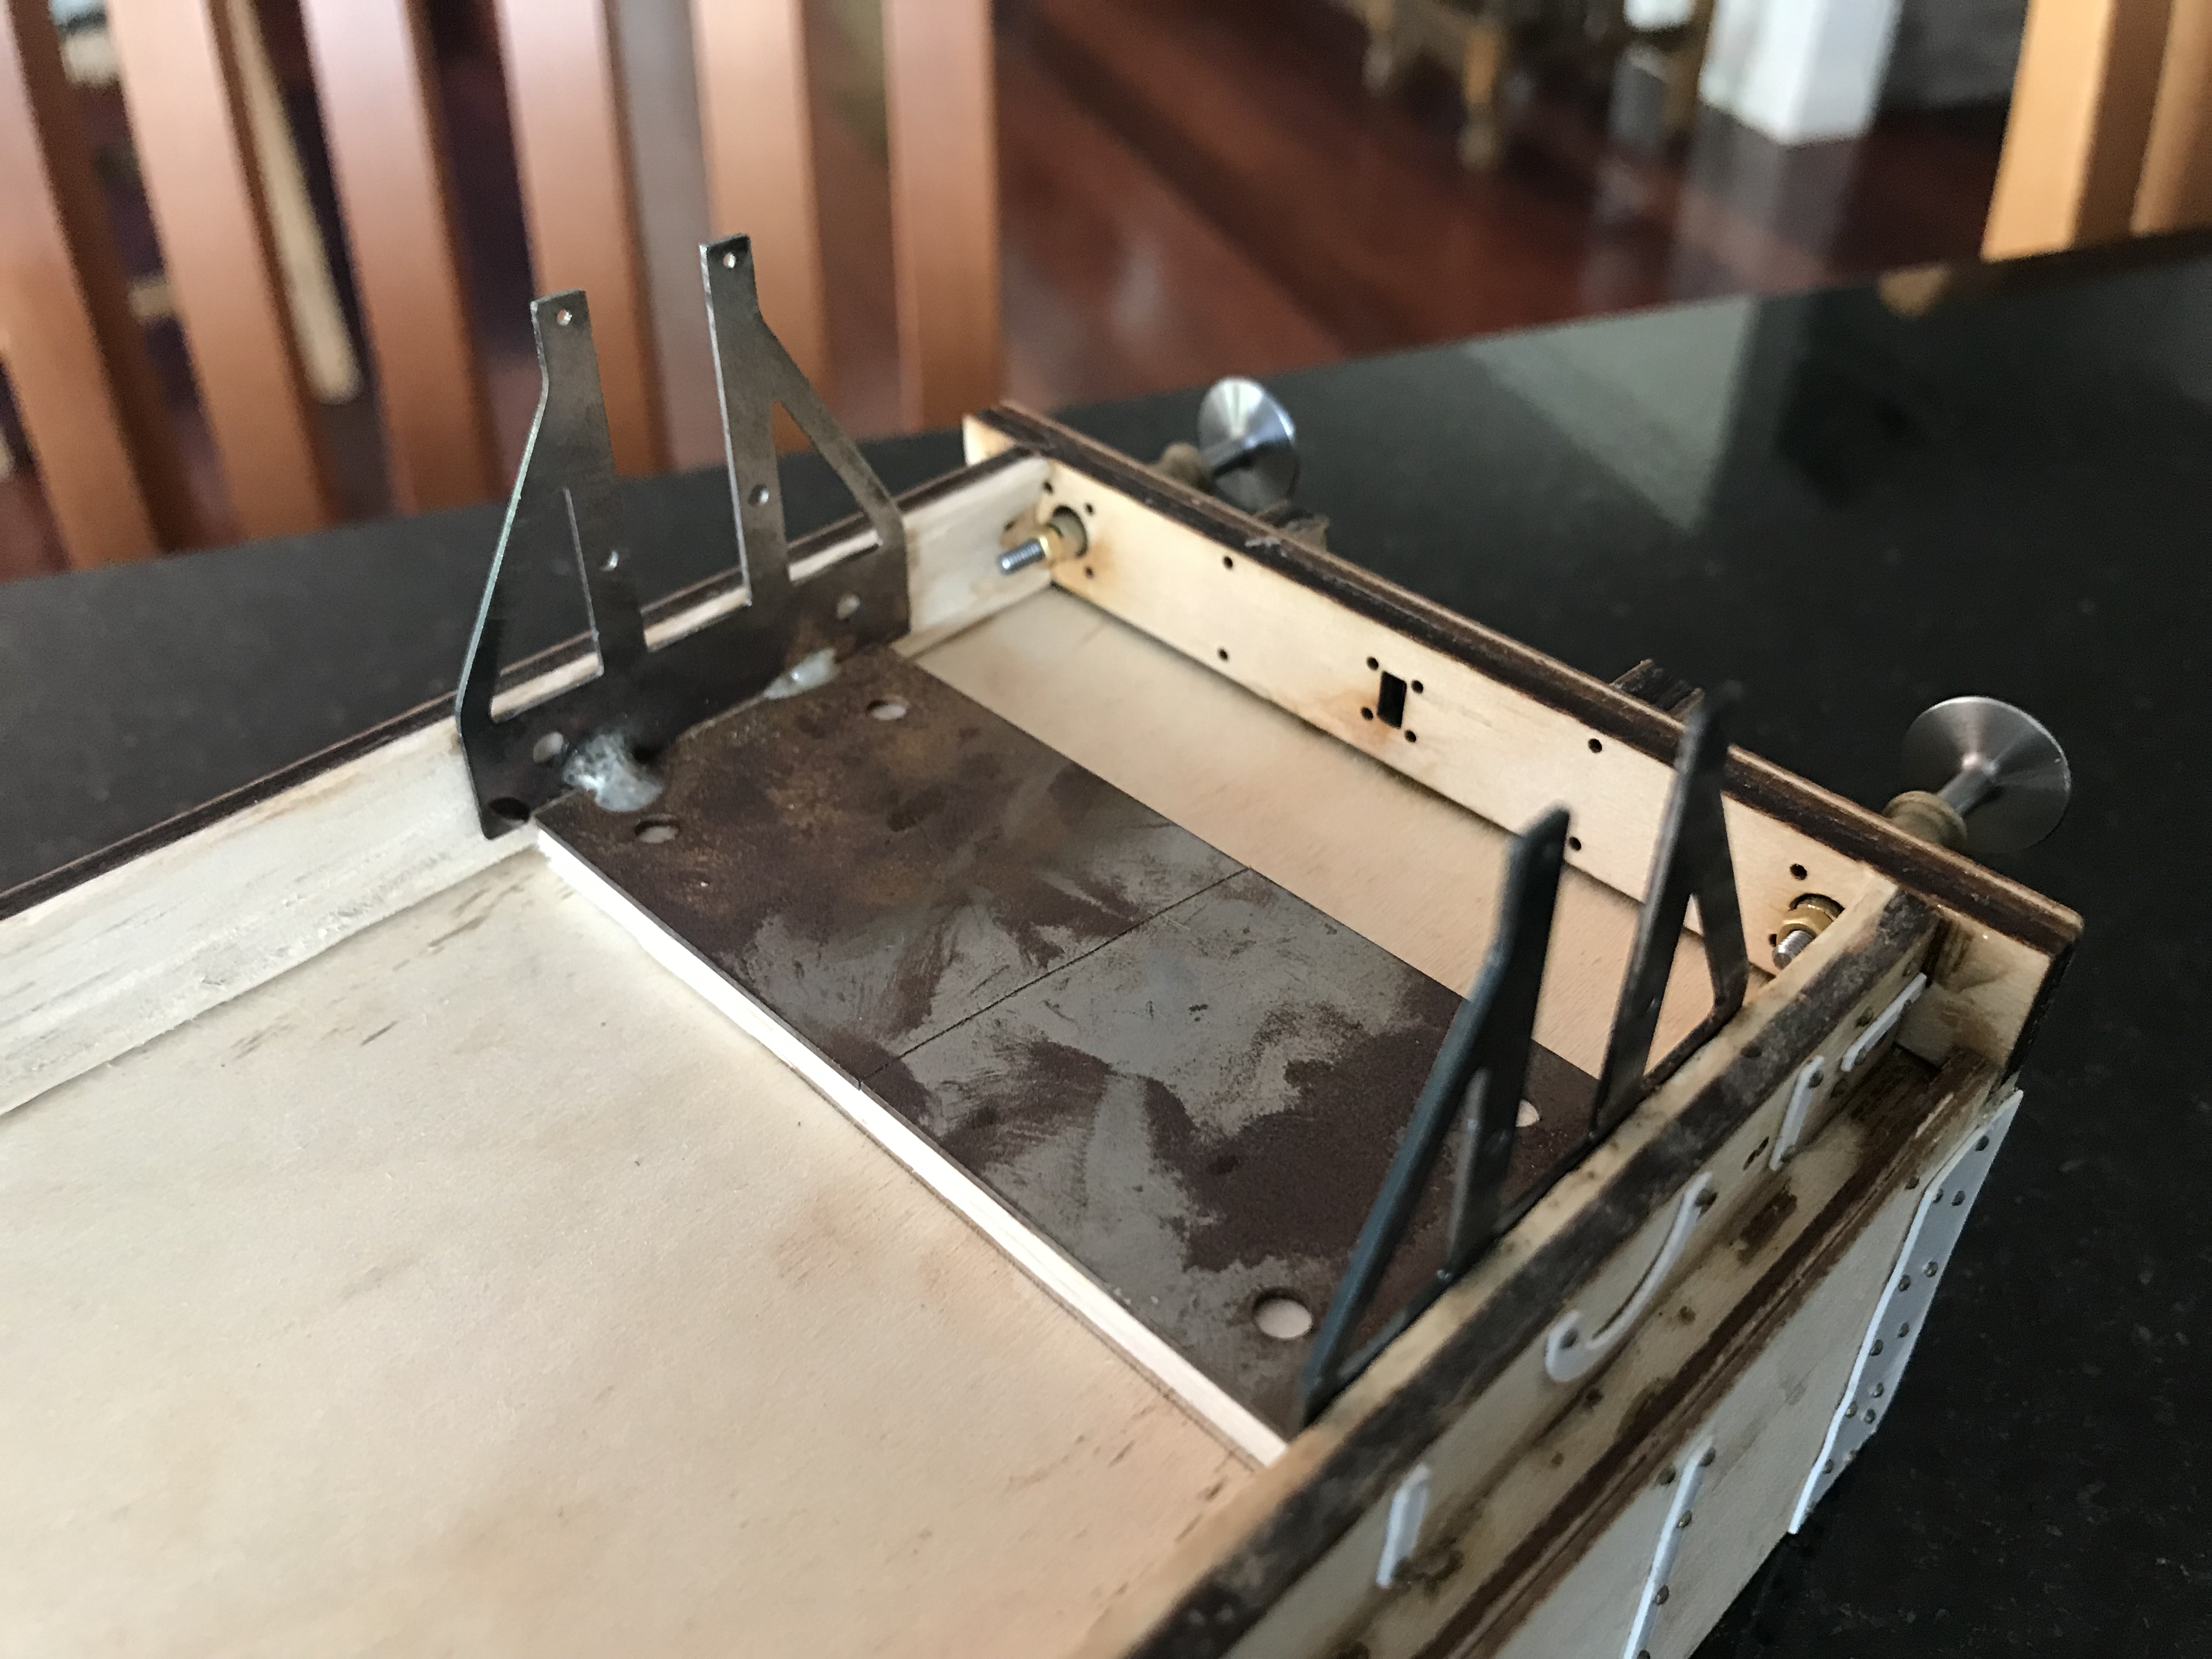
I hadn’t found a scale drawing of the prototype to use. The wagon it quite wide (101mm = 7 foot 6 inch inside width at the top). I purchased a set of Mike Williams W-irons to do the stuff not provided by Woodbury, but these W-irons (which need to be up against the solebars if the leaf-springs are to be in line with the axle boxes), don’t allow the solebars to be just inside the side-pieces of the wagon sides. Yet this seems to be the pattern of most wagons. So, should the solebars be a few millimetres inside the wagon sides, or should I have the W-irons further apart, and up against the solebars in what seems to be the characteristic position of solebars looking at drawings of other wagons on the midland railway society website?
Also the Williams leafsprings mounted on the underneath of the solebars leave no movement for the axle boxes up and down in the W-irons. So should the W-irons be packed with something so that the axle boxes are held down lower, giving more room for up-and-down sprung movement?
RESOLUTION. After asking on “Western Thunder”, I bought some balsa wood to thicken the sole bars, and 2mm thickness of balsa to lower the W-irons to the correct position.
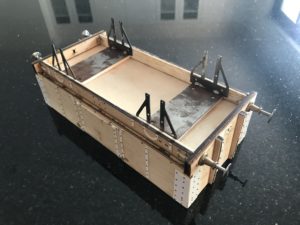
These pictures show the progress.
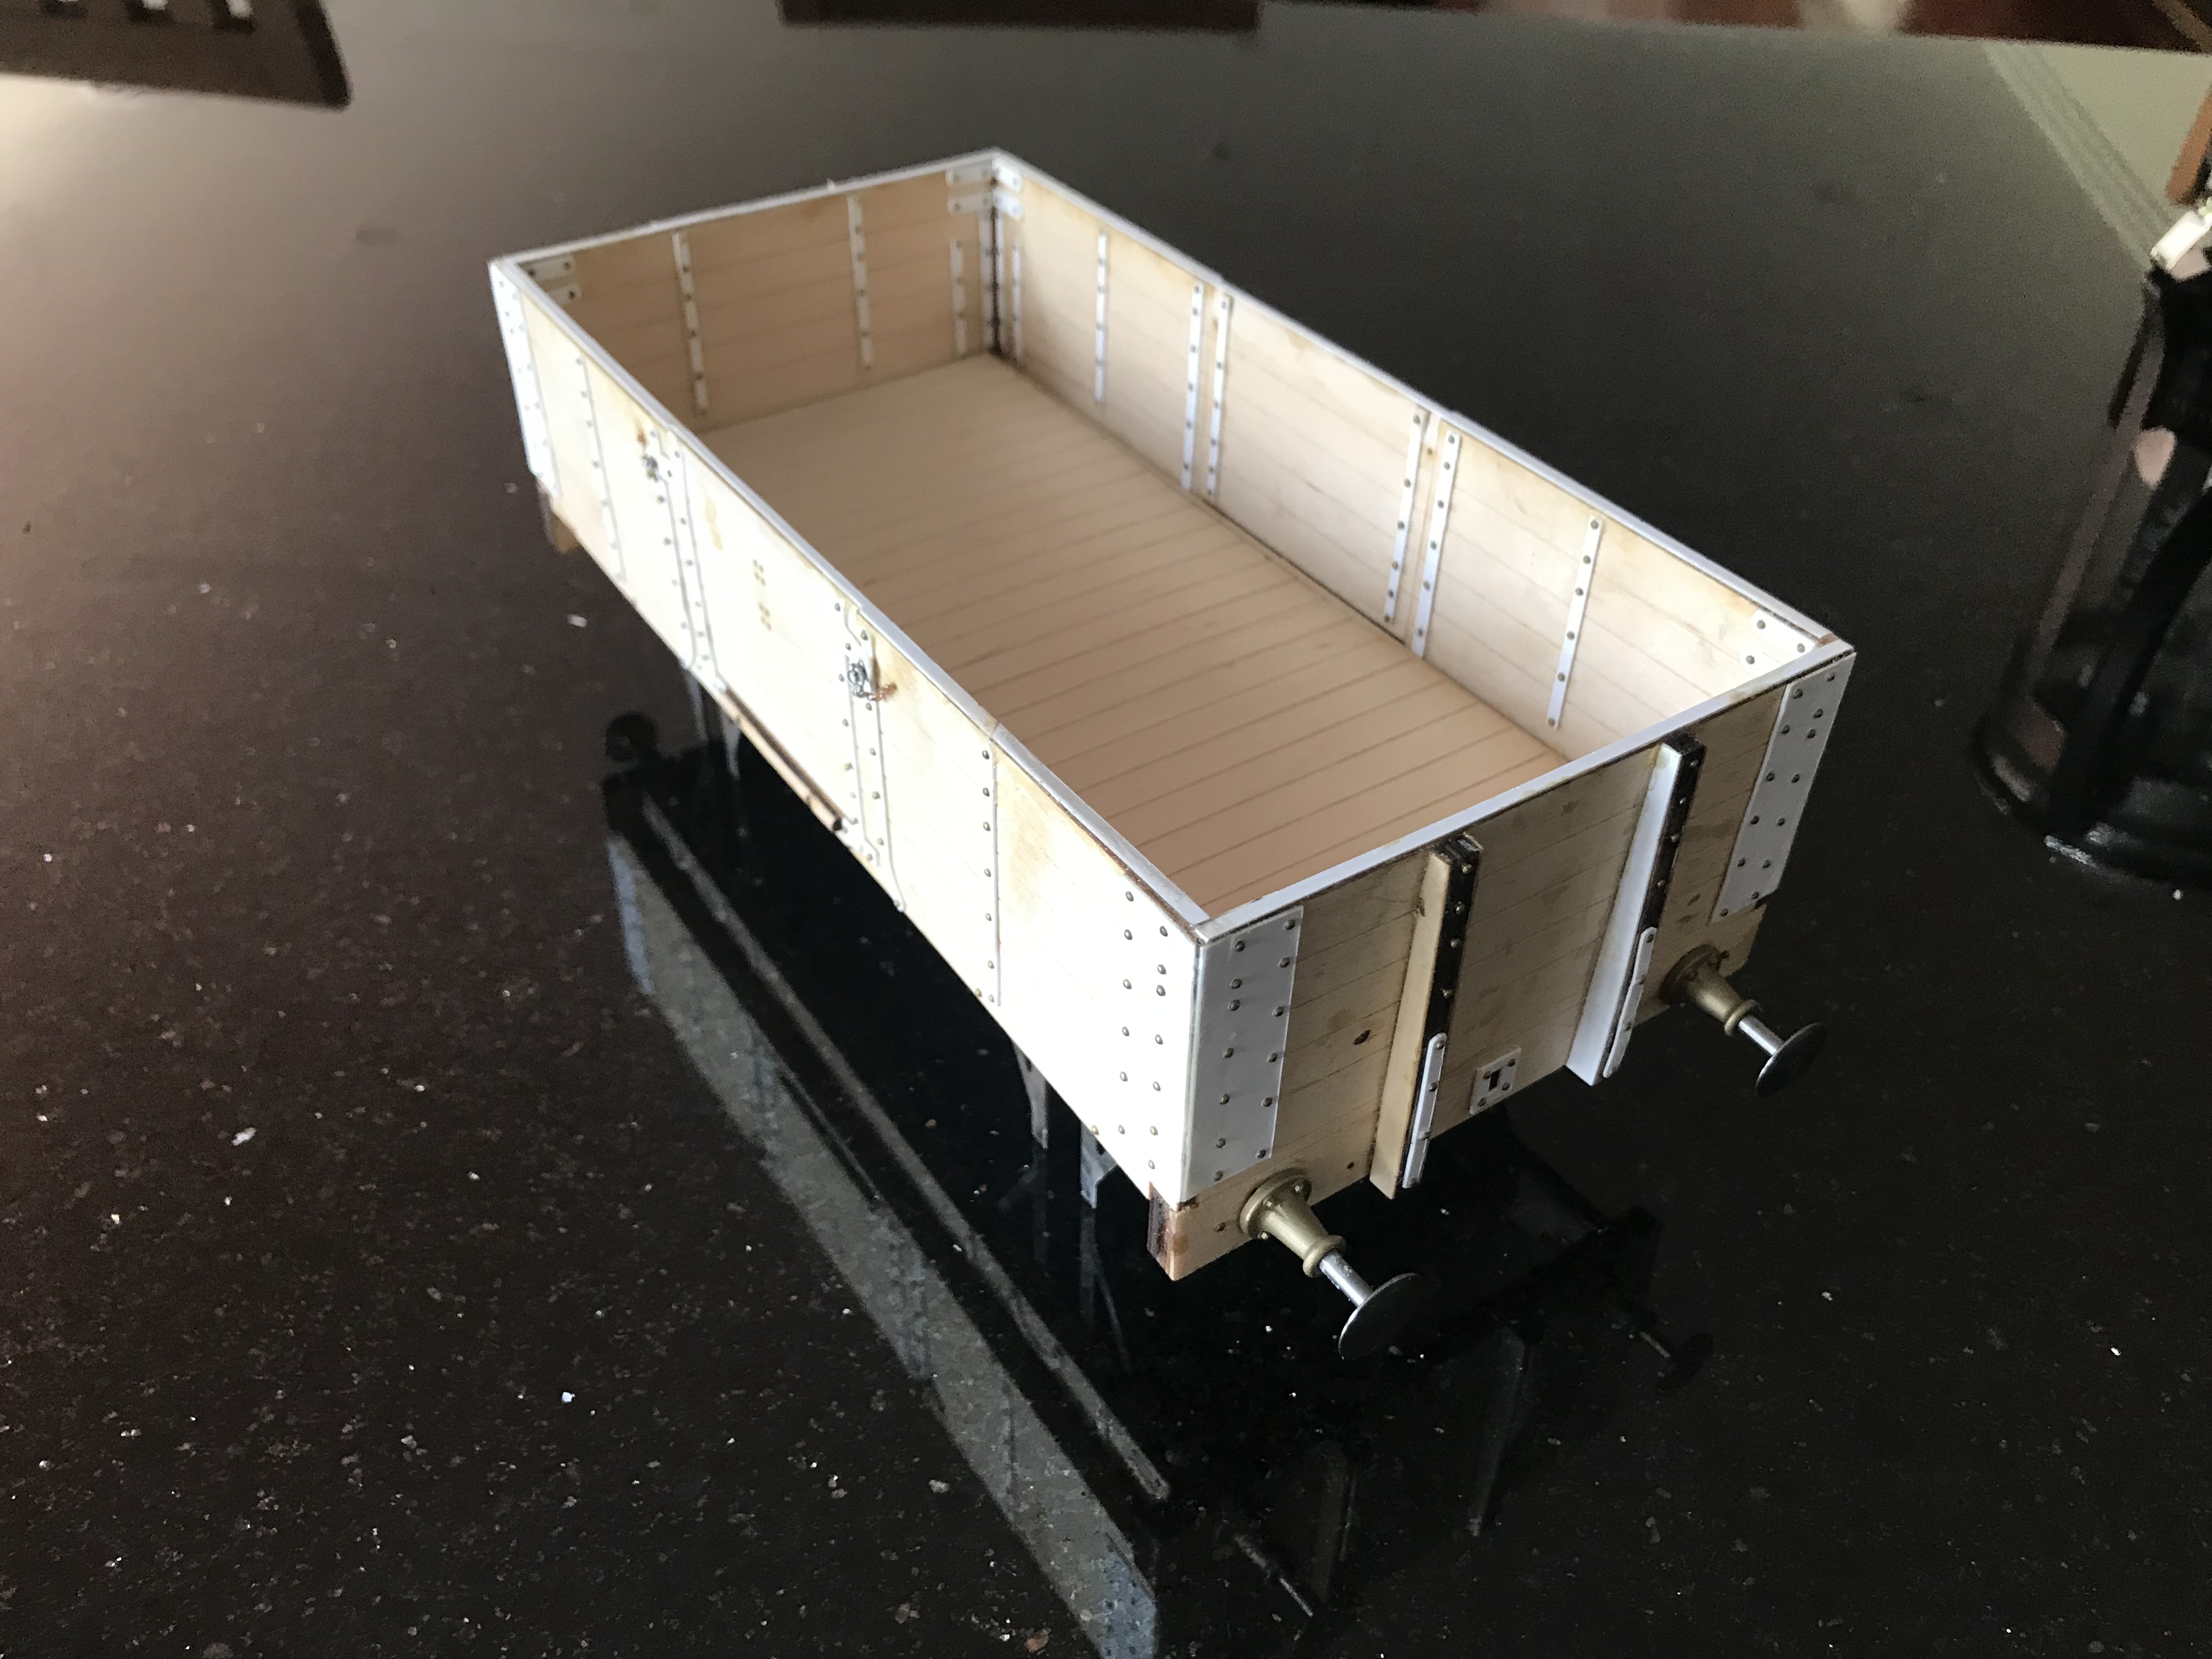

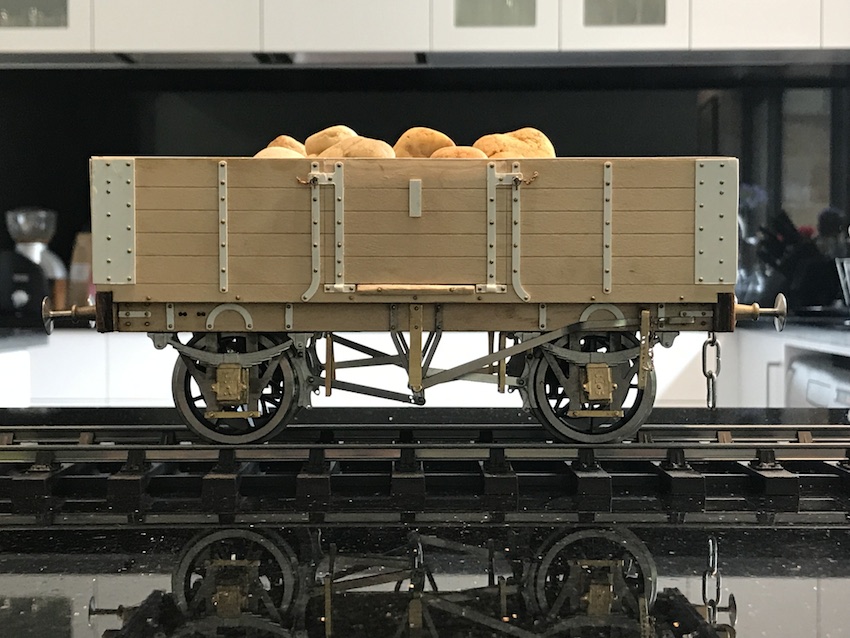
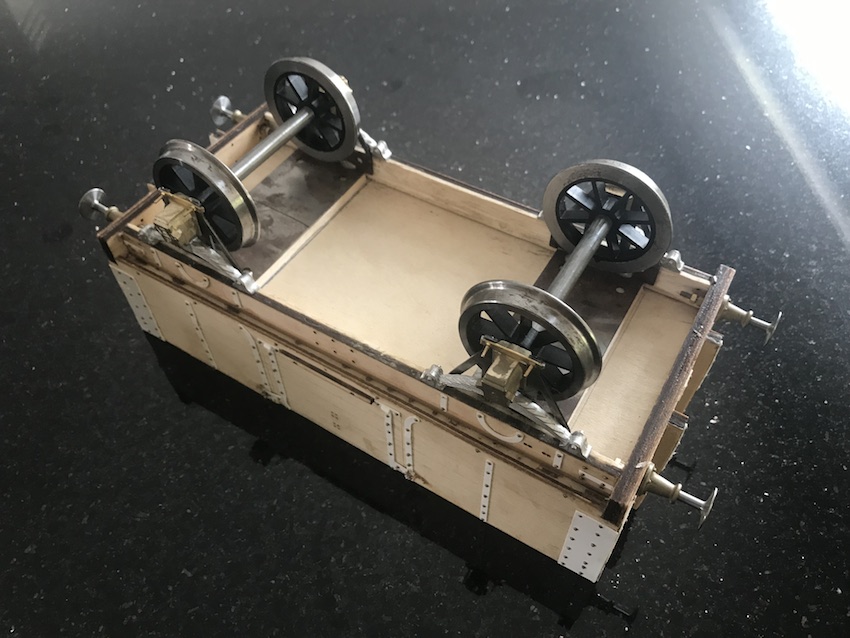 First is the assemblage with wheels.
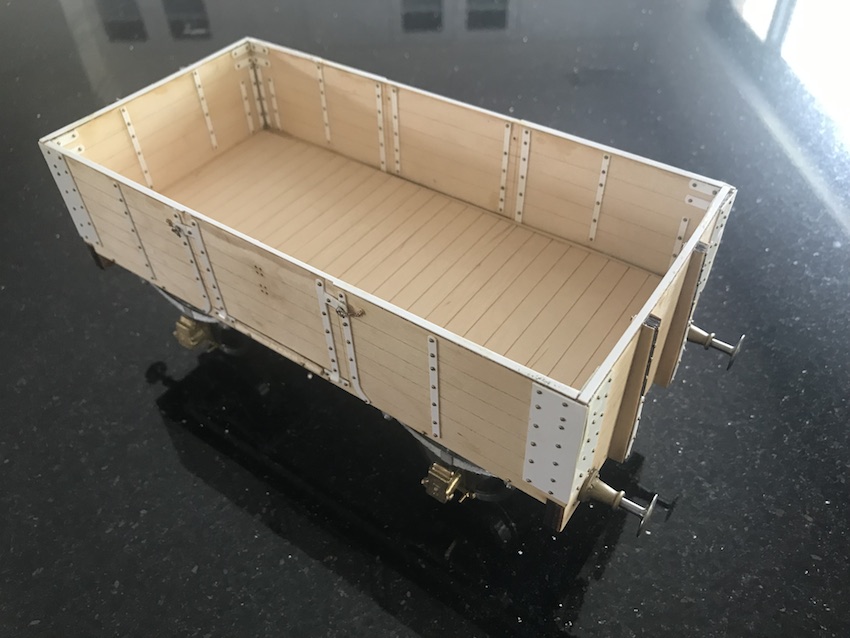

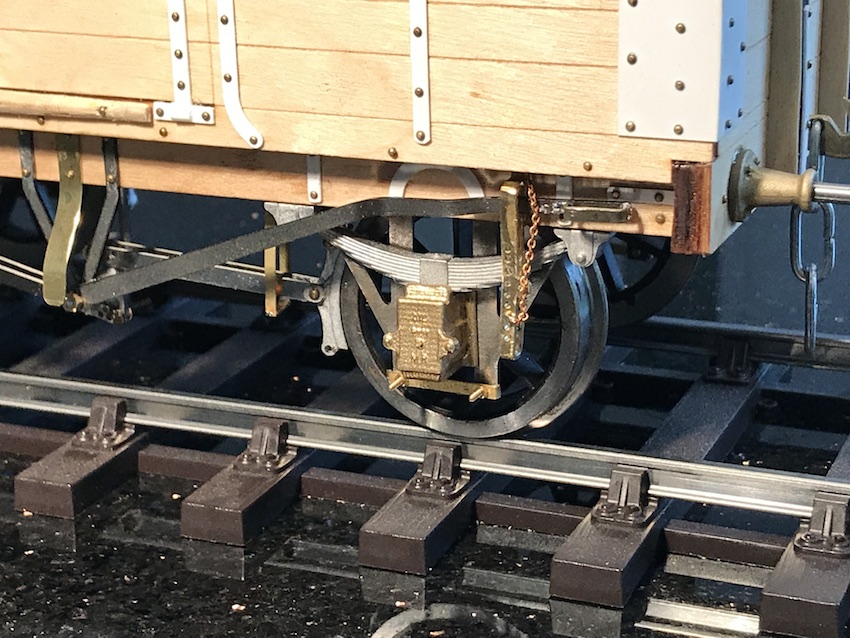 There are some other items to add, though: the brake lever racks, together with the chains which I have added, with the pins used to “pin down the brakes” as the old locomotive men used to have to do (by hand, down the whole train!) before taking a train of these wagons down a steep hill.
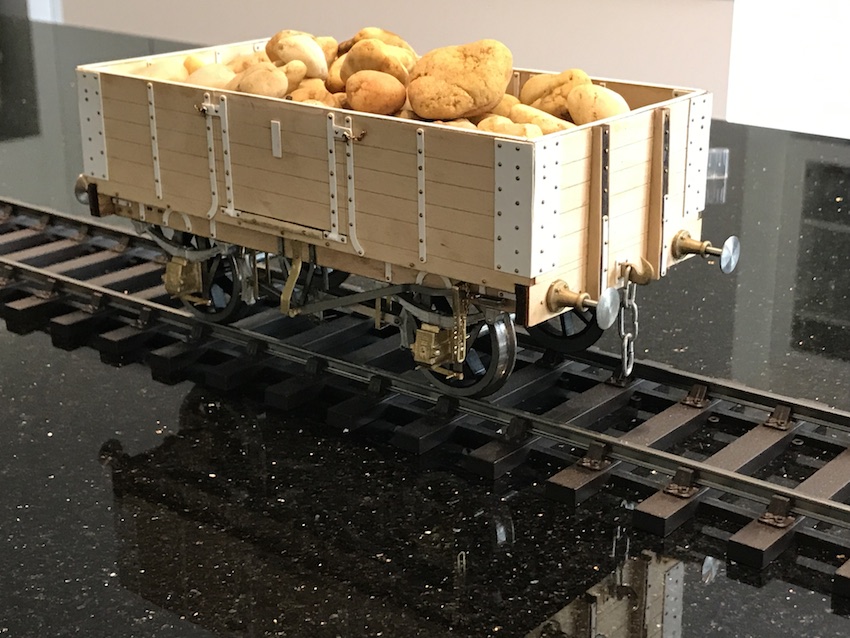 .
.