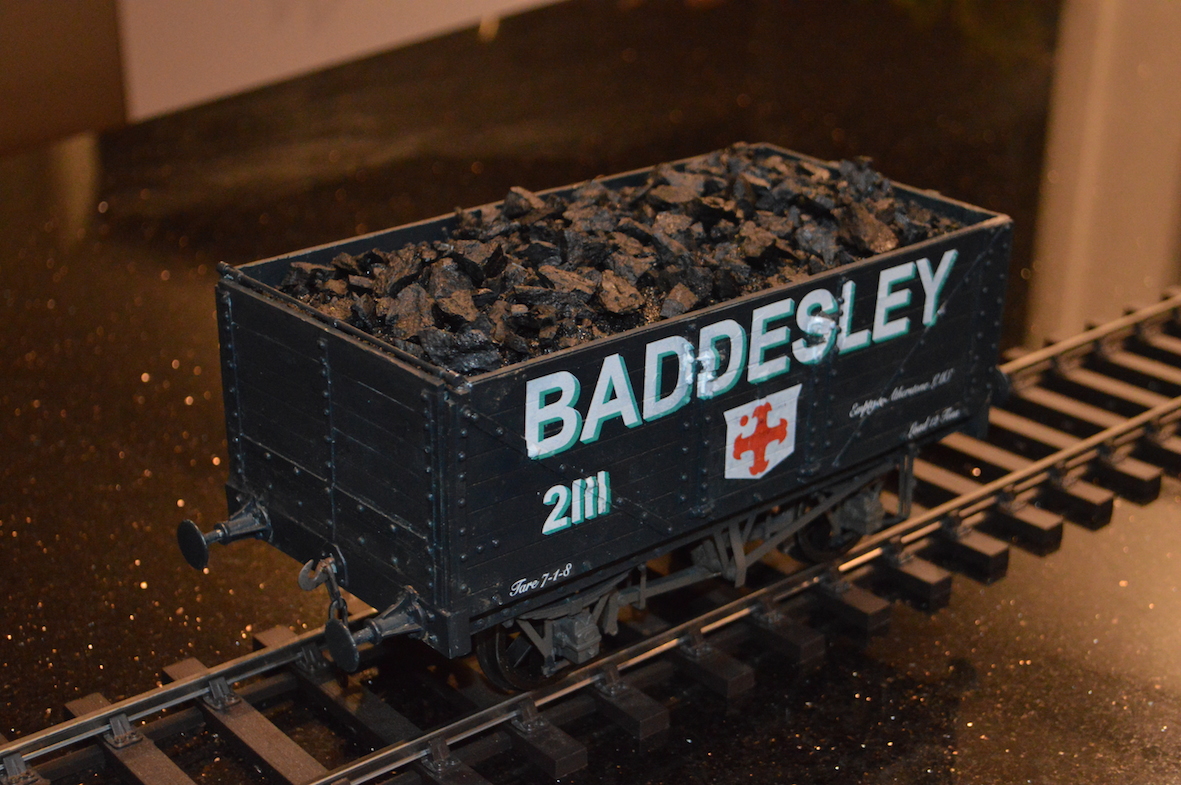
 My first try was to do the whole side at a time, black background and all. However on-line advice suggested that this was not a good idea, and a guy called “Overseer” on the website offered to do some transfers for me if I could do the design work, which included making files where all the white lettering plus the background is coloured black instead!
The raised detail on the wagon sides was clearly a problem for me also.
Now I just need an industrial Garratt to pull it.
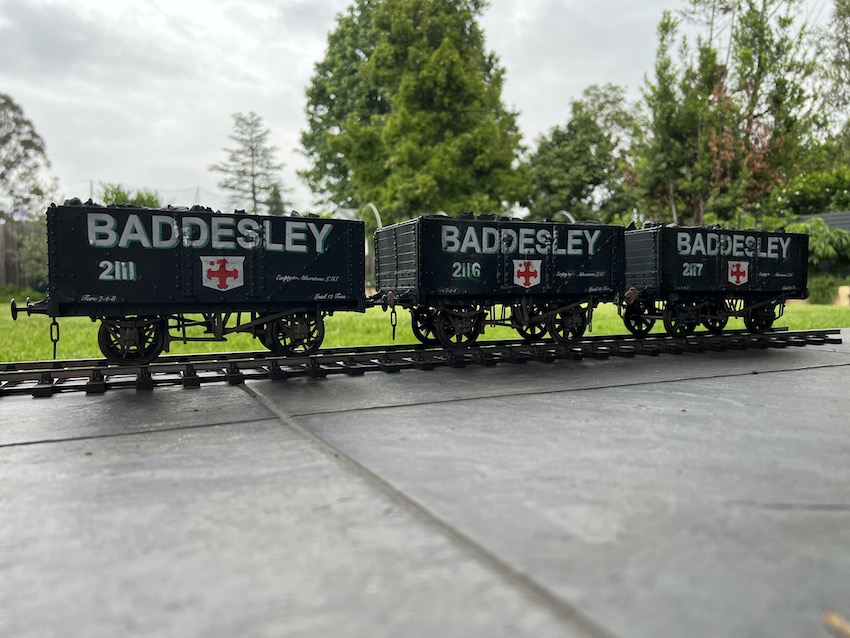
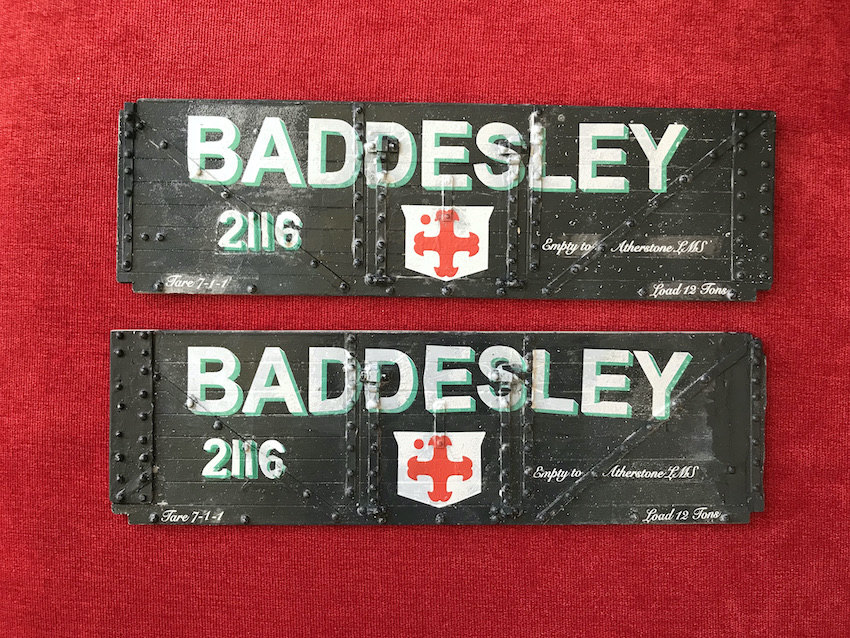
 2116 has clearly had some sort of accident, and has had to have a plank replaced.However overall I am very happy with my little group of wagons. I’m quite proud of the end result, although I think more “weathering” is needed to be at all realistic.
I started off to build the two wagons as 2116 and 2117 together, as I had two sets of Baddesley transfers to use and two of Mike Williams kits. Building the two at the same time turned out to be a mistake: you see Mike had inadvertently put three of one side in and one of the other when he sent me the kits.
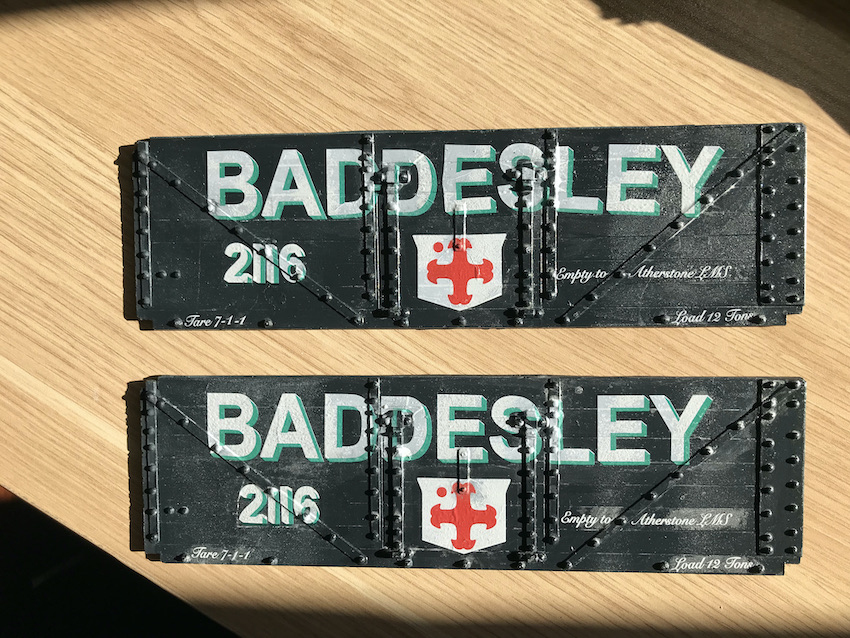 Unfortunately I didn’t notice this, even when painting them, and even more extraordinarily when putting transfers on! So although 2117 was OK, spot the trouble with 2116! By this time I had run out of transfers. I’m absolutely sure Mike would have sent me a new side if I asked (even to Australia!) but that was no use to me as I had no transfers left. So I thought about what to do, and decided to butcher the kit and I cut the ends off one of the side-pieces and reversed them, using Araldite and “Milliput” to try to correct the catastrophe.
Not perfect for rivet-counters, and clearly likely to be a little fragile, but in the circumstances not too bad I thought. A little while later:
The next problem which I created for myself came when I tried to Araldite the sides onto the underframe. It wasn’t quite square when the glue set. Not good, but recoverable I thought. Araldite melts, or at any rate loses its grip, somewhere between 50 degrees Centigrade and boiling point, in my experience. So I waited until the household manager was out, and used her oven to heat the whole wagon up progressively towards 100 degrees, thinking to re-stick the sides. The sides weren’t too far out anyway – so I used rubber bands to maintain some of the square shape.
Catastrophe! The whole thing came apart, and the resin warped with temperature so much (the elastic band didn’t help I guess) that the sides were badly distorted and the ends nearly bent back on themselves! “Don’t try this at home, viewers”.
Much anguish and thought later, and fact that the manager was still away, allowed me to use the oven and a pair of surplus flat bathroom tiles to straighten out all four sides and ends, plus the distorted underframe.
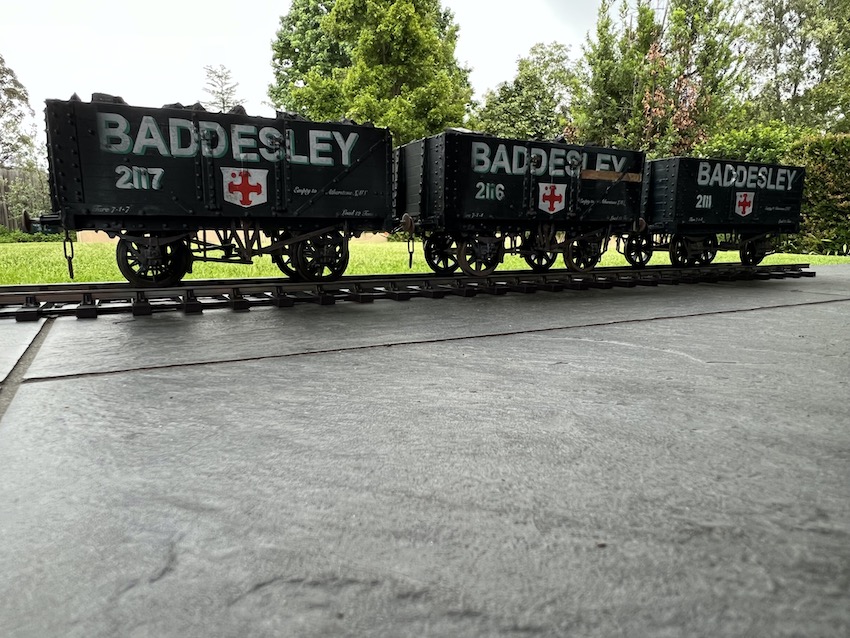
So in the end, the appearance of 2116 could have been much much worse. The wagon was put back together but now I saw that one of the transfers was distorted anyway, so I decided to “weather” the wagon, and paint it to look like one of the planks had been replaced but not yet painted.
 Good recovery, I think.