I realise that as a narrative of building this model, my entries have not been good.
The model comes as a set of parts with mild steel frames and a mixture of brass and nickel silver sheets cut into parts, plus 3D-printed plastic (nylon?) detailed parts.
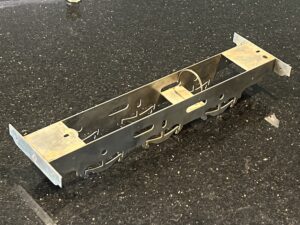
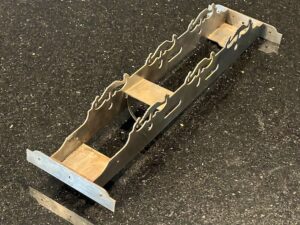
I started with the laser-cut steel frames, and used “silver-solder” to put them together, trying to make them exactly “square”. Silver-soldering steel is outside of my previous experience, but seemed to go reasonably well. Original post is in <Miscellaneous, incl. Rashmi’s wedding>. The main issue (discovered later) is that I didn’t adequately clean the steel of all the flux, which meant that I have had to face parts which were rusting! Trying to work out what to do about this led me to treating the frames with a combination of sand-paper, dipping in strong vinegar, and abrasion with various tools.
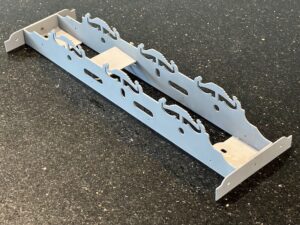
Once I had the frames back to bare metal, I had to start painting to lessen the risk of further corrosion. Here the frames are in primer: 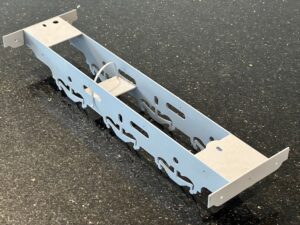
You might notice that the guard irons (Used to clear track in front of the wheels) have been removed. I hadn’t realised that the two sets of guard irons had to be laminated before fixing them in place. So I took this opportunity to remove them and correct my mistake.
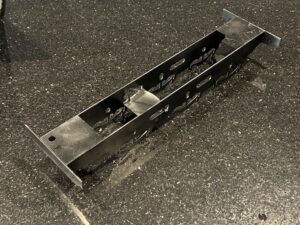
Frames painted black:
Meanwhile I had to decide what colour to paint the loco., because it is recommended in the instructions that the boiler and smokebox be painted early, because access for painting would be very difficult. I am generally an advocate of realistic appearances for models, and in the smaller scales I have done this. However for this larger model I decided to go for an “as-new” appearance – in fact there is a photograph of a G6 in LSWR passenger colours complete with lining. Even though the picture is black-and-white, i have decided to follow this historical record, although I my add a few soot and coal-dust stains, for realism.
So I started to work on the body/water tanks/boiler/smokebox unit. See <LSWR G6 Progress> ‘blog. To make up the body unit, it is necessary to construct the main structure from sheets of brass, laser-cut to exactly the correct dimensions. When it works, it’s very good, but when one misaligns something, the error can be magnified by the size of the part: see <LSWR Progress 3> to show how the boiler and smokebox don’t seem to line up once the boiler and water-tanks are put together as accurately as possible. Frustrating, but a little filler will probably disguise the defect(s).
Meanwhile I had to make a decision about how this engine would move. I decided to go for battery-powered radio-control. Another “first-time” for me. See See <LSWR G6 Progress 2>. I bought an “”off-the-shelf” solution with a 50:1 gearbox Slaters power unit, and so far it seems to work well (see the <LSWR G6 Progress 2> entry) – at first I bought the wrong battery-pack, and the motor is a 24V one instead of 12 volts, but this turns out to be unimportant.\ and with some adjustments, all is well.
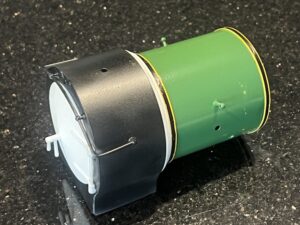
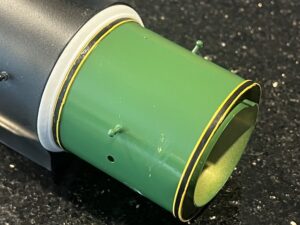
Now I am up to painting and lining the boiler. The correct shade of green is automotive RAL6002, I have been told, and I have both black paint and a small pot of automotive “Sunflower” colour for the lining. I have a German-origin HAFF bow-pen to do the lining (originally bought for my ScaleSeven Garratt model – search for “industrial garratt” on this website).
Looks pretty good on the whole, I think. The white plastic moldings with be painted black eventualy.
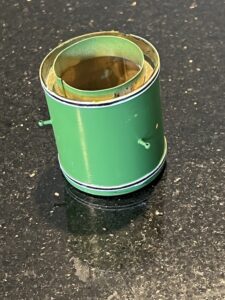
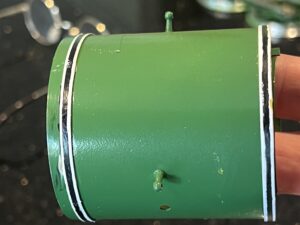
Here is the boiler section with the corrected lining colour(s):
These magnified pictures seem to show every flaw in my painting, but I think it will look OK when it is all put together.

