
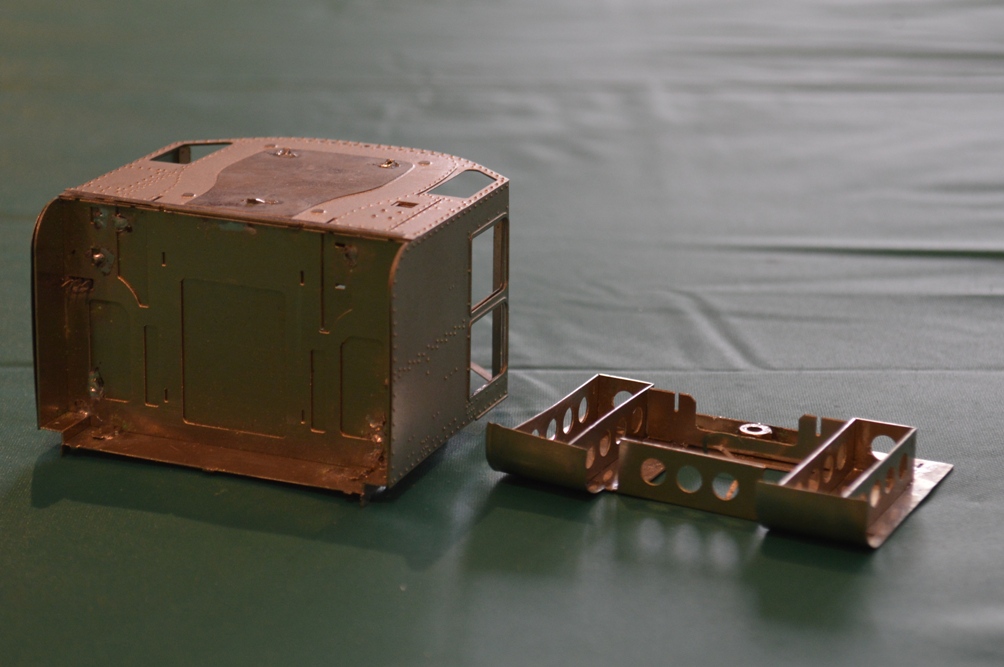
Following on from part 6, I found out from MOK (Dave Sharp) that I had definitely put the base of the cab on upside down. This has all sorts of minor but annoying effects. One was the fact that the formers inside the base of the cab had been made to accommodate the etched plates which were meant to go inside the curved sections (making them invisible – they are there only to make curving these areas easier). So the formers made the curved plates have a larger diameter of curve – hence leaving a gap at the outer end: exactly where I had found one.
 After much debate inside myself, I decided that I would never be happy if I did not do the job properly, so I pulled all the cab base apart using a 75 Watt soldering iron. Once back to the component parts I tried to clean all the solder off the nickel-silver, then I flattened the bottom plate completely (apart from the front plate [see below]) first with my fingers, then with
 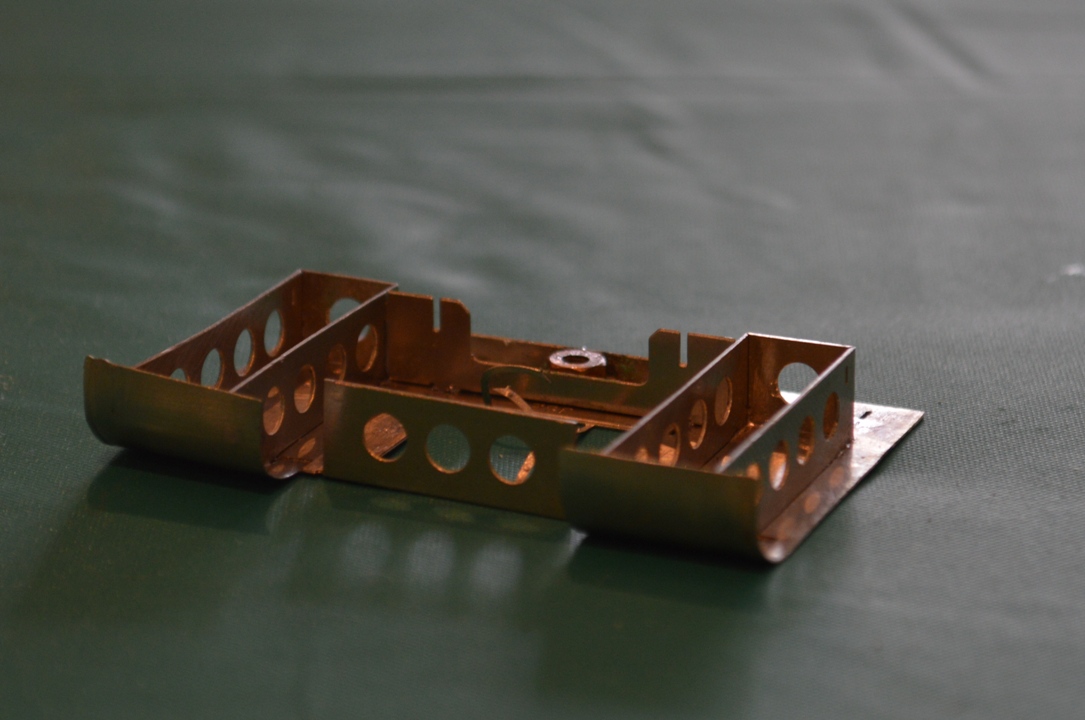 a tap hammer on a piece of flat granite. The front plate (with three holes) is now bent upwards as it should be.
I then reformed the curves, fitted the formers back (now easier because the former correctly fitted onto the curved sections. At the point shown in the picture, my soldering iron stopped working. So I have sent off for a replacement.
Whilst I wait for a new 25 Watt soldering iron, here is a picture of the completed boiler backhead.
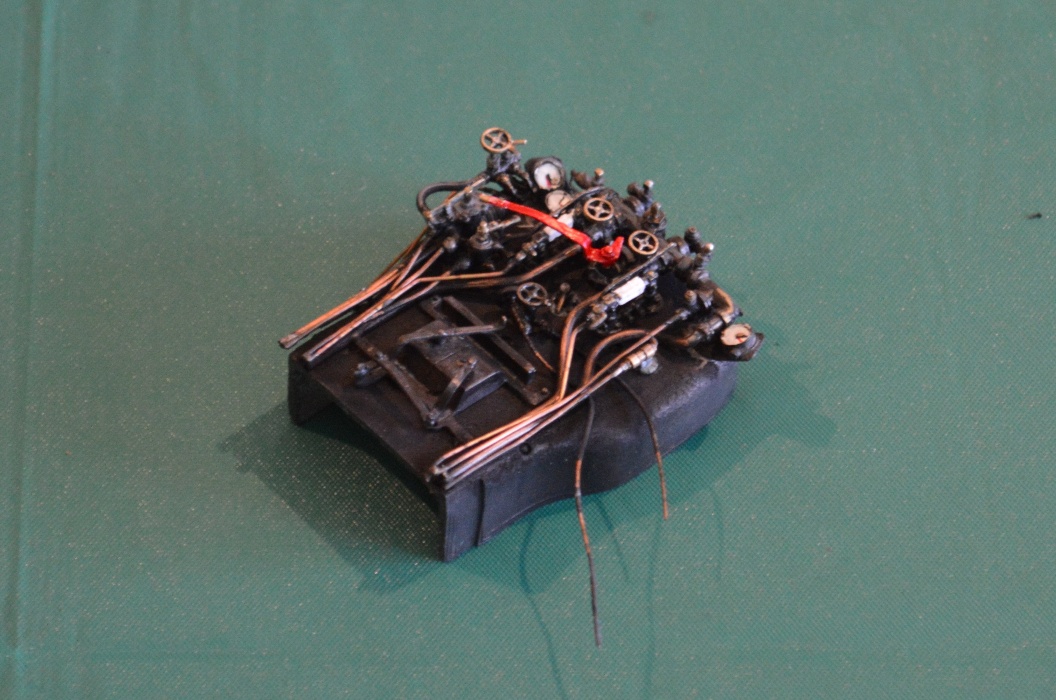 I am quite pleased with it. Basically I followed what fittings I could see on photo.s of preserved and other engines, and then upt as many pipes as I could on the brass castings, to be realistic. I “painted” it using metal blackener, scraped some off the copper pipes and painted the dials and water gauges by hand. A thin covering of matt varnish to complete the work.