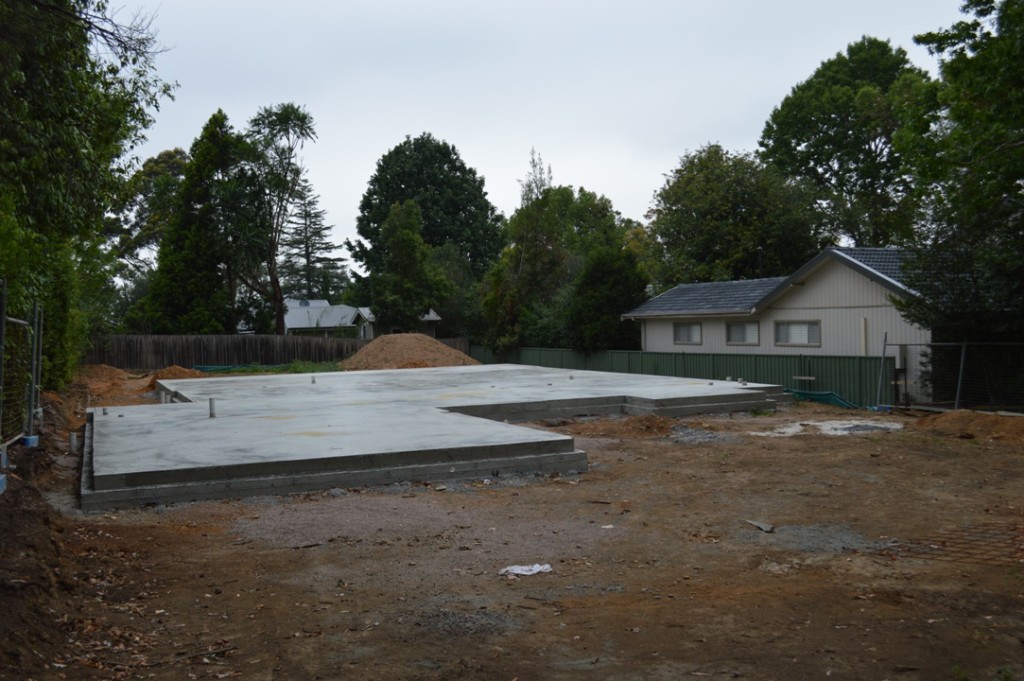
Whilst we were away in Japan and Hong Kong, the foundations were laid for our house in Glenbrook.
These pictures were taken by our builder, Michael Edwards, because he knew we were recording the whole process, and he knew we were away – thank you!
The whole process is much more involved than I had thought. It you look at previous posts, the site had to be levelled, and then Michael had to arrange for holes to be drilled down to the bedrock (I think) to construct concrete pillars stretching from the rock up to the level where the “slab” was to be laid. The basic below-ground pipes had to be positioned before the concrete is poured, of course, but prior to seeing this construction, I had just thought a concrete slab would be poured over the ground as it stood.
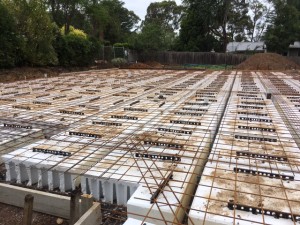
Not so. First Michael explained that we would be using things which I think he calls “waffle pods” (sounds like listening to politicians on your iPhone) within the concrete. These are large polystyrene blocks, which I assume mean the concrete transmits less heat away from the house into the ground, and saves on the amount of concrete that has to be bought for the slab. I’m not sure which is the main influence!
When we returned from holiday, I was surprised at how high off the ground the floor level of the building was going to be, and it was clear when I saw all the pictures, I had completely underestimated the work Michael had to do.
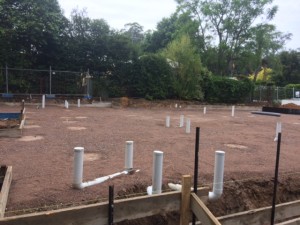
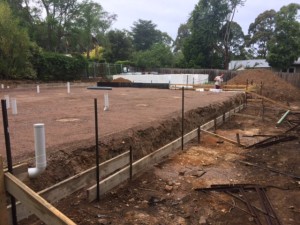 First it would seem that the builders had to build up the ground a bit to achieve a horizontal base. Exactly how this was done I am unsure, but the stuff on the ground doesn’t look like normal soil, and the base level is already well above ground level.
I estimate that before this process began there was at the most 30cm difference in height between one side of the site and the other.
The plumbing it still poking well above ground level, though.
The concrete posts from the bedrock are still visible at this stage.
Their polystyrene nature can be seen. I assume that the metalwork on top is both to reinforce the concrete, and to ensure a uniform depth on top of the pods. Perhaps also to hold them down under the concrete as it is poured?
I assume that the pods have to be positioned so that the gaps between them allow direct contact between the slab concrete and the uprights from the bedrock.
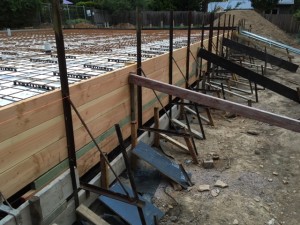 Either as part of laying the waffle pods or afterwards, a temporary wall has to be built to restrict the concrete as it flows into the slab, which is clearly going to be about 1/2 metre above the level of the ground seen in the first two pictures above.
If you look carefully it is possible to see the tops of the plumbing pipes just visible above the waffle pods.
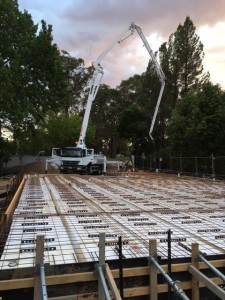
Fnally, pouring the concrete!
I wish I had been there to see it, as it involved one of those trucks which pumps concrete through a long overhead pipe to wherever it is needed on the site.
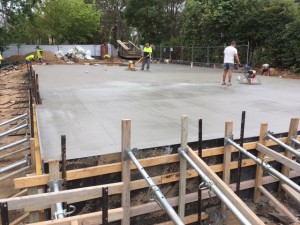
Finally it would appear that the concrete has to be polished in some way – probably just taking the worst irregularities out.
This is the final result as seen before. Note the plumbing sticking through (but not by much!), and the height of the slab surface above ground level.
After that, nothing much happened for a while, because the concrete has to set, or “cure” or some such process.

