“Slaters Gauge 3 Midland Railway D299 wagon – 2” because I have shown a little bit of the construction of this kit from Slaters Plastikard in my entry “Gauge 3 action” earlier.
Despite name of the company who made it, this kit has almost no plastic! It is nearly all wood and metal, which I greatly like. It is also phenomenally well-designed and made, and all fits together very precisely and accurately. 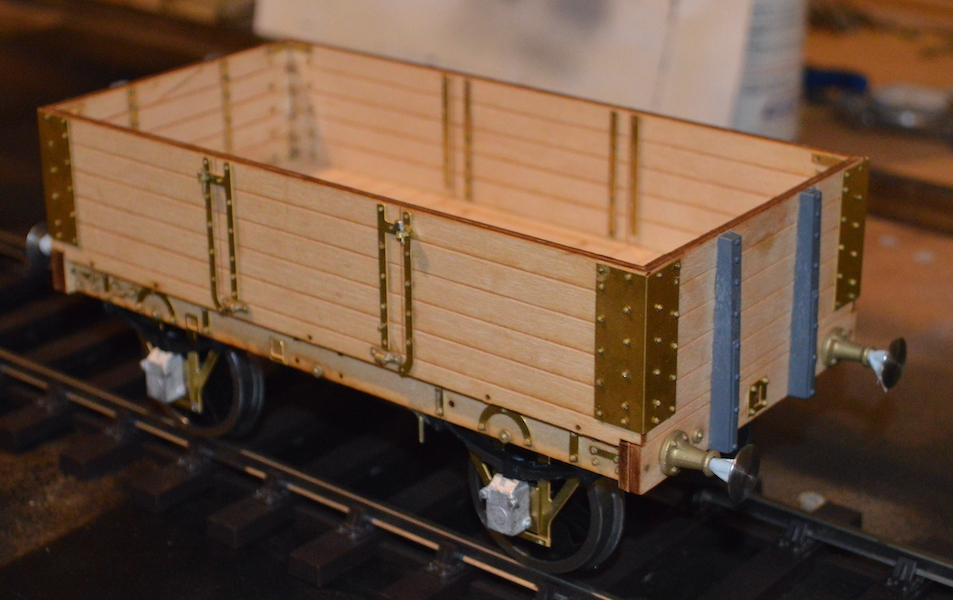 My previous entry left it at the stage where the body had been put together, but then I had the opportunity of having help with my “live steam” Dyak, and so the wagon project was abandoned.
Well here I am back at the wagon works.
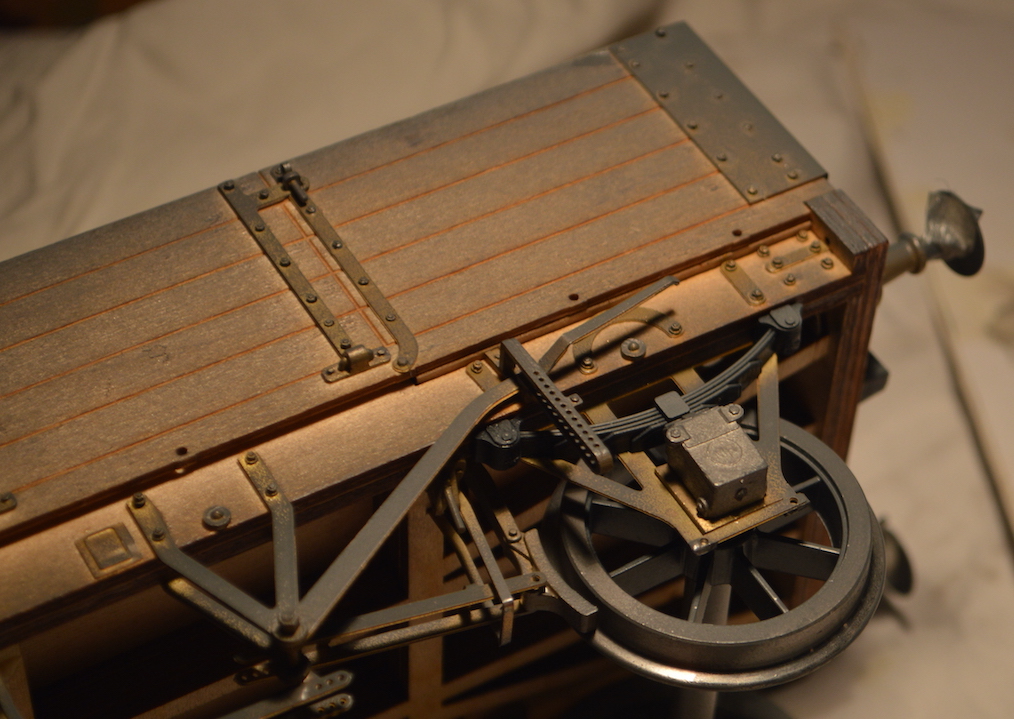
After the wonder of putting together the beautifully laser-cut wooden body, and the tedium of inserting over a hundred dummy bolts (about 1x5mm each!), I have put on the wheels, including the suspension, and the rest of the underframe details.
As you can see from this and the previous picture, these wag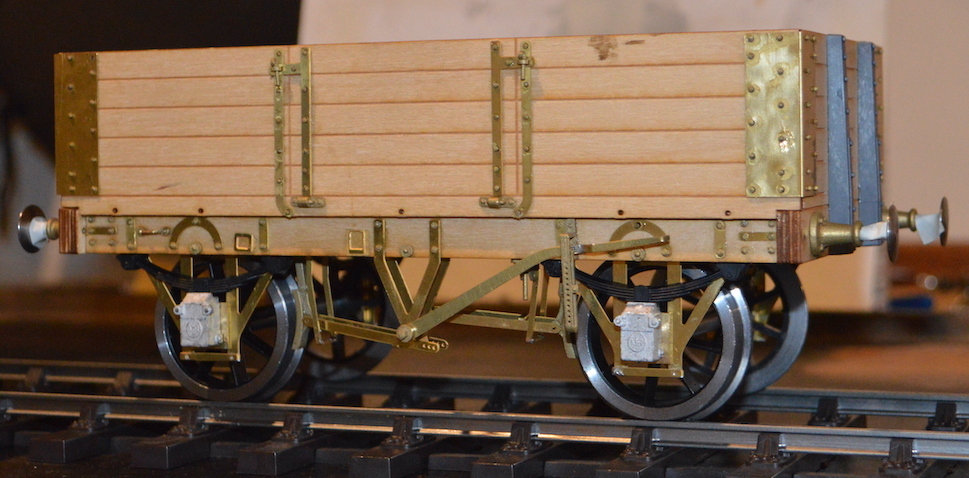 ons often only had brakes on one side, and that is what I am modelling.
Painting should be straightforward – in theory, if not in practice! Everything above the bottom of the sole bar in wagon grey, and everything below in black! What is more, wagon grey was variable in shade, so almost any light- (or indeed quite dark-) grey is realistic!
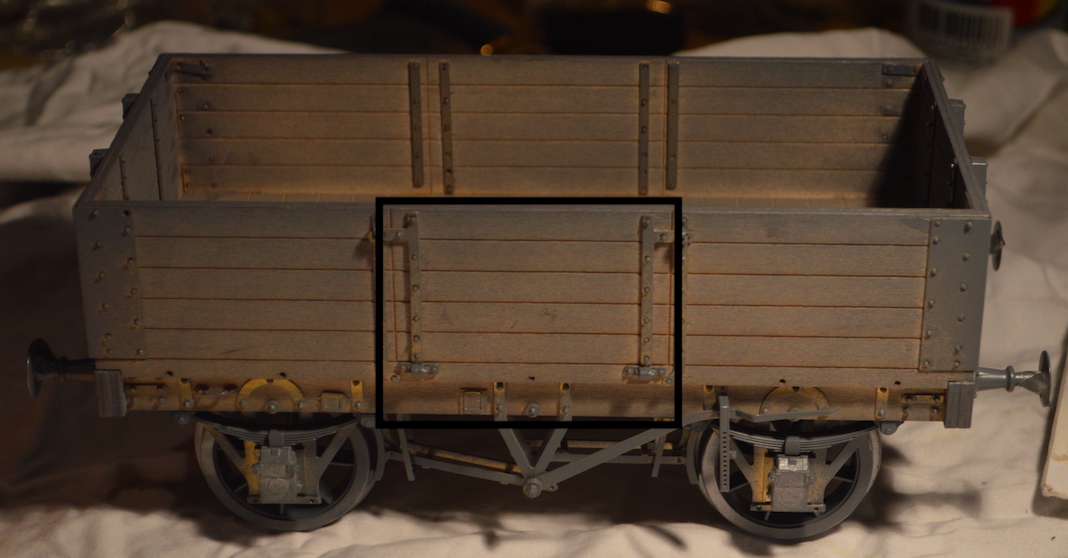 I found a grey. primer, but once applied, I have decided it is a bit dark to look nice (I want to have a variable grey fleet of wagons, even if I cannot have a colourful collection). So I will apply a lighter coat of grey later – I had hoped that the primer would double as a final colour.
 In any case the primer came from a “rattle can”, and didn’t provide an even coat, not getting into the corners well at all. Using the airbrushes with a lighter grey should fix that issue as well as making the colour more acceptable (to me …). On the other hand the primer appears to have covered all the metalwork, which is what I really needed it to do.