Slaters Gauge 3 Midland Railway D299 wagon – 2
“Slaters Gauge 3 Midland Railway D299 wagon – 2” because I have shown a little bit of the construction of this kit from Slaters Plastikard in my entry “Gauge 3 action” earlier.
Despite name of the company who made it, this kit has almost no plastic! It is nearly all wood and metal, which I greatly like. It is also phenomenally well-designed and made, and all fits together very precisely and accurately.  My previous entry left it at the stage where the body had been put together, but then I had the opportunity of having help with my “live steam” Dyak, and so the wagon project was abandoned.
Well here I am back at the wagon works.
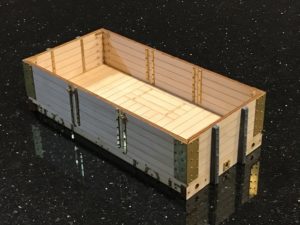
After the wonder of putting together the beautifully laser-cut wooden body, and the tedium of inserting over a hundred dummy bolts (about 1x5mm each!), I have put on the wheels, including the suspension, and the rest of the underframe details.
As you can see from this and the previous picture, these wag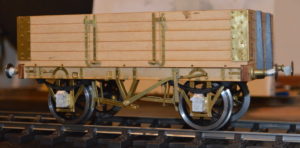 ons often only had brakes on one side, and that is what I am modelling.
Painting should be straightforward – in theory, if not in practice! Everything above the bottom of the sole bar in wagon grey, and everything below in black! What is more, wagon grey was variable in shade, so almost any light- (or indeed quite dark-) grey is realistic!
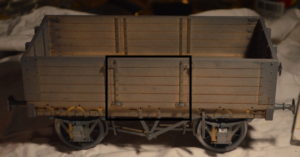 I found a grey. primer, but once applied, I have decided it is a bit dark to look nice (I want to have a variable grey fleet of wagons, even if I cannot have a colourful collection). So I will apply a lighter coat of grey later – I had hoped that the primer would double as a final colour.
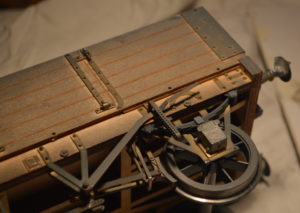 In any case the primer came from a “rattle can”, and didn’t provide an even coat, not getting into the corners well at all. Using the airbrushes with a lighter grey should fix that issue as well as making the colour more acceptable (to me …). On the other hand the primer appears to have covered all the metalwork, which is what I really needed it to do.
Local Walks (8) – flowers
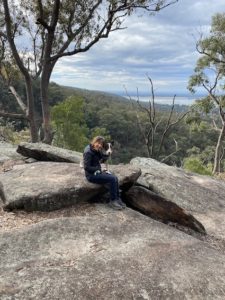
Almost counterintuitively (for an ex-Brit, anyway) winter is a time of flowering for many native plant species. Sue and Marchelle went on a walk last week, which even though very close to Blaxland/Mount Riverview was through some beautiful country with lovely flowers.
This is the lookout which they walked to, with views over the Nepean region.
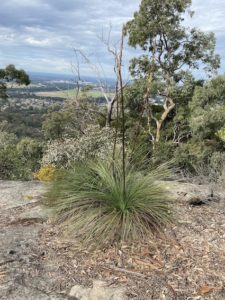
– “The Nepean Lakes.”
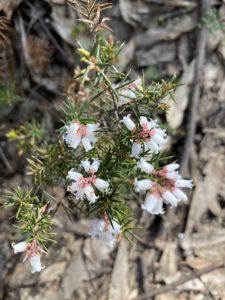
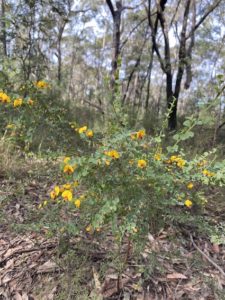
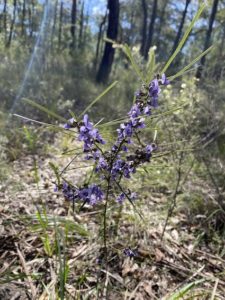
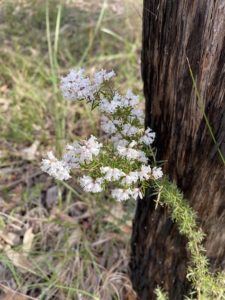
Below are some of the beautiful flows/shrubs/bushes which they found.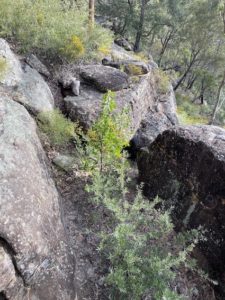
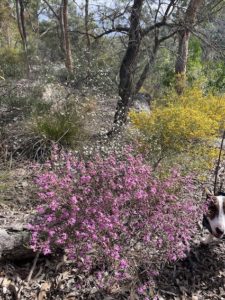
I must admit to not thinking of the spring flowers in Australia, but this is the equivalent, I believe, and very beautiful, too.
Local Walks (7) – the Blue Pool
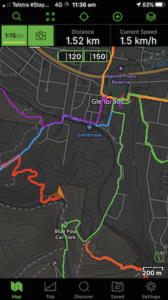 Another lovely walk, and very local to us. This map shows the location of Blue Pool, in Glenbrook Gorge.
When this was taken (a “screenshot” off my iPhone), we were where the arrow marks, a little below and to the left of the centre, at the Blue Pool. As you can see, and the crow (or Currawong) flies, this is only about two kilometres from our house, which is about where the second “o” of Glenbrook is placed on the map.
It is a lovely walk down through the bush-covered slopes of the Gorge.
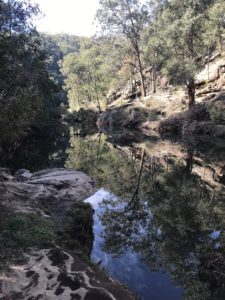
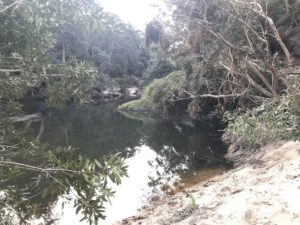
Here are a couple of pictures of the Blue Pool, taken from the northern side where we came down.
The water is very still, with great reflections to be seen in the water.
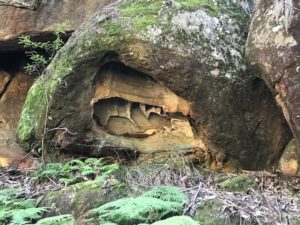
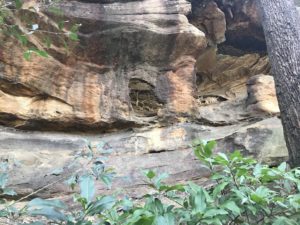
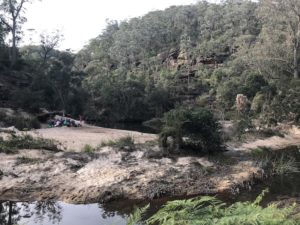
As is true up and down the gorge, there are amazing rock formations created by wind and water eroding the sandstone, here are a couple of examples seen by just this small stretch of river.
Anyway, it was a lovely walk, straight out of our front door!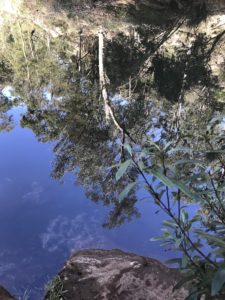
Reflections, in the Blue Pool.
As ever, with any image double-click to enlarge.
Local Walks (6) – the Blue Gum Swamp (near Winmalee)
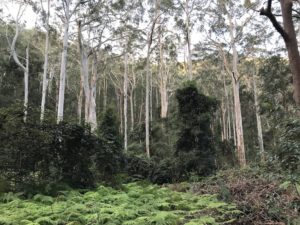 There are several areas with Blue Gum forests but this one is a pleasant walk from Winmalee. It’s best done mid-week, though, Marchelle tells me. Otherwise you apparently have to spend much time dodging mountain bike riders.
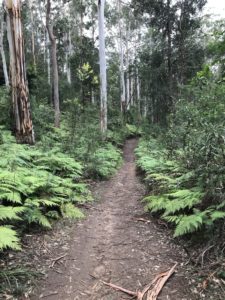
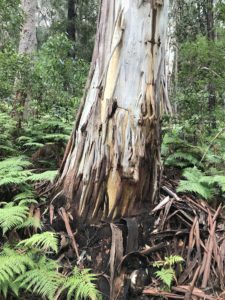
The trail is wide and relatively flat, with some extraordinary trees:
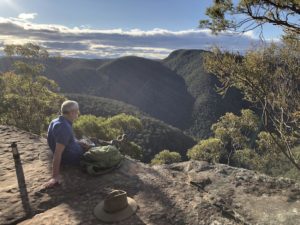
Although the route can be kept relatively level, we walked up to a lookout over the Grose Valley.
Local Walks (5) – Duck Hole
Another local walk – this one with no driving at all. We just walked from our front door down through the village to the start of this walk. Down to Glenbrook Creek, then along the creek to Duck Hole.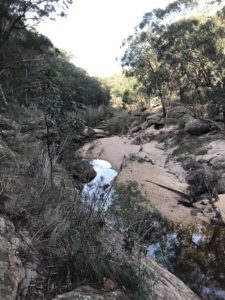
This is our recent walk to the creek with friends Chris and Greg. The descent was quite difficult in parts, as we didn’t seem to follow any clear and well-used route, although such routes are available – we must just like a challenge! The valley has been cut deep into the rock by the creek, and the amount water at times is clearly immense: after the recent flooding rain (a couple of months ago) the water must have been at least 5m above its current level, as shown by knots of twigs around the branches quite high up in the trees – knots clearly made by twigs carried down on the floodwater.
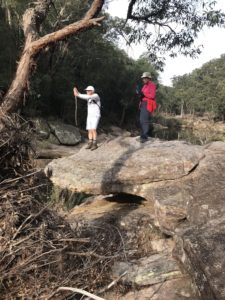
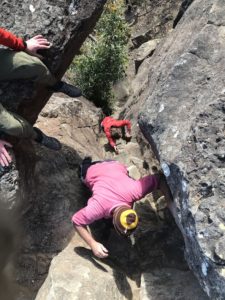
The erosion of rock in the creek is astounding, as can be seen in this picture – at first Sue and Greg were completely unaware of the gap beneath them.
The rock is cut away even under Sue, not seen so well in my picture.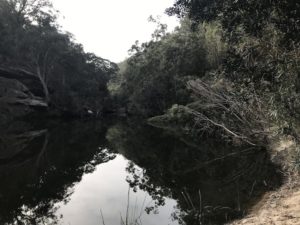
Why it’s called Duck Hole is obscure, but there are many such pools along this section of the creek.
Local walks (4) – Hanging Rock
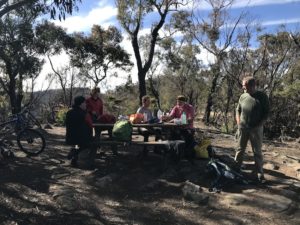
To carry on the theme of walks relatively local to us (meaning within a short drive to the start), Sue and I went on a walk with our friend Marchelle (who has lived in this area all of her life, and consequently knows much about the surrounding country and the walks available).
This walk was from Blackheath, about an hour’s drive up the Blue Mountains main road) out to a rock formation called Hanging Rock.
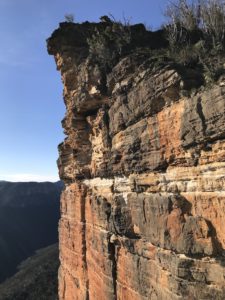
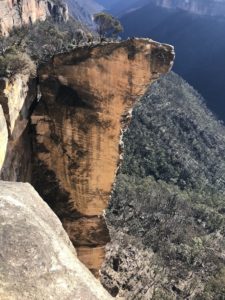
This involved a largely flat walk along a fire trail, to Baltzer Lookout, then a descent to view the Hanging Rock itself. The cliff faces are sheer and unguarded – apart from an occasional warning sign.
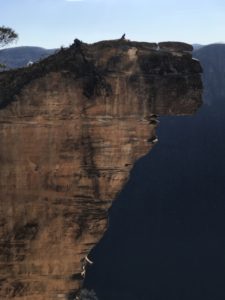
We DIDN’T go out to pose on the tip of Hanging Rock itself, although it is certainly possible to do so. The whole rock formation is actually a stand-alone rock mass, separated from the main cliff formation with a very deep fissure only about 30cm wide at the top, but clearly going over 10 metres down. Not for the faint-hearted to cross, even before you get to the overhanging formation itself …
.
.
Local Walks (3) – Carlon Point and Tarro’s Steps
Last year I started a series about walks local to our (then new) house in Glenbrook. This is another “local walk” although it actually starts near Katoomba, so calling it local is a little bit of a stretch – it took us about 40 min. to drive there.
I went with Marchelle Madden, a local friend, and part of the walking group which she has become part of. They are a varied group of people of about our age. Actually according to Marchelle they vary from early 50s to early 80s (although the early 80s ones are in very good shape for their ages apparently). The group on this day were also keen bike-riders as well as walkers.
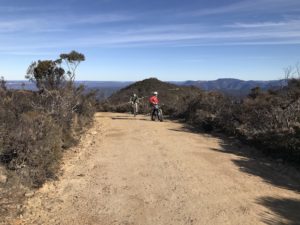
 This is a picture of the group, taken with the “panoramic” ability of my iPhone. We started off at the end of the Narrow Neck ridge, south of Katoomba, cycling along the fire-trail towards the upper reaches of Warragamba Dam. We left the bikes at a fire tower before walking to Carlon Head (where the above panoramic view was taken). Magnificent views over the valley below, and such sights as Ironpot Mountain, Ironpot Ridge and Breakfast Creek.
Back on the bikes and along to the Tarros Steps at Clear Hill.
The steps are to take you down to Duncan’s pass, and although we climbed down them, we did it really just to say that we had, and that was the furthest point of our walk/ride.
It was a lovely day out, covering a lot of ground – we cycled about 20km and must have walked/climbed for several hours as well. A cool winters day with clear skies made if perfect for the walking.
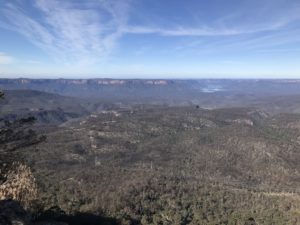 Some truly magnificent views, this being the view over the Warragamba Catchment Area (which you are not supposed to enter of course).
The cycle back seemed arduous of course, but a lovely day out.
Dyak progress May to July 2020
[Updated four times]
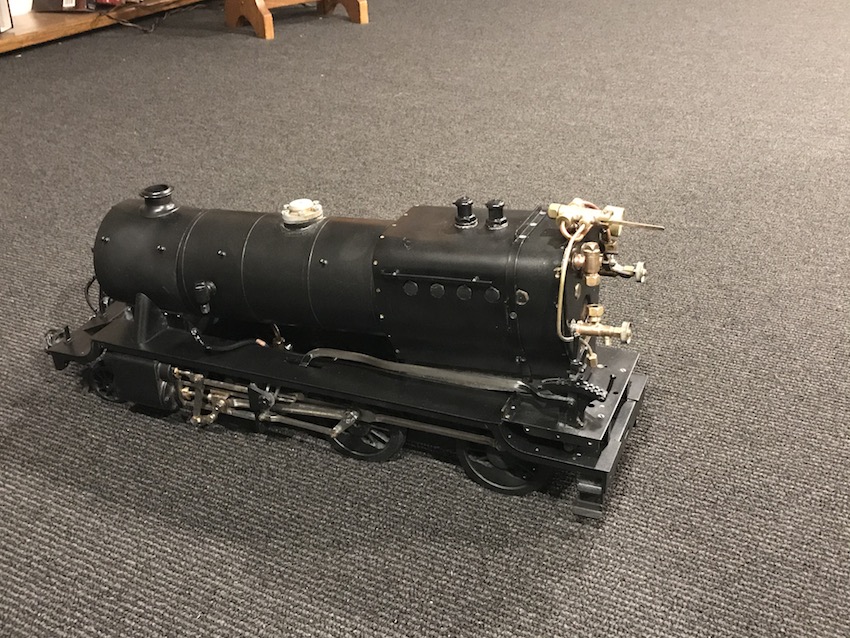
While the Dyak 2-6-0 has its boiler removed for restoration and repair is clearly the best time to consider painting it. It has never been painted before, and as it isn’t a scale model of any particular, I could really paint it any colour I like (so long as it’s black …).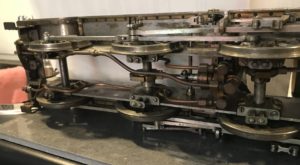
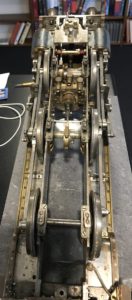
So I am going to have to take the wheels off, to paint the frames behind.
This is not simple. If you look at the driving wheels, I need to “drop” them as a unit (all six wheels) to make it a manageable task.If you look at the first picture, there are a lot of pipes in the way, and they have to be taken off first.
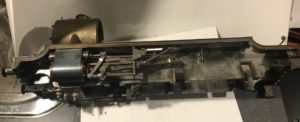
This picture shows from underneath what it looks like with the pipes removed.
Trouble is, there are still two eccentric drives to be disconnected – for the axle water pump (for pumping water into the boiler as the wheels go around), and the mechanical lubricator.
Once the eccentrics are gone the wheels still aren’t free: the connecting rods and valve gear have to be disconnected first.

Then finally the wheels can be removed, complete with axle boxes.
All this, just to get black paint behind the wheels …
27th May. Having dismantled the engine as far as I dare, here is the result of painting on the “primer”. In the end I used a “rattle-can” (aerosol paint) as my airbrush simply wouldn’t handle the epoxy primer I had bought – even after thinning it with the special primer solvent.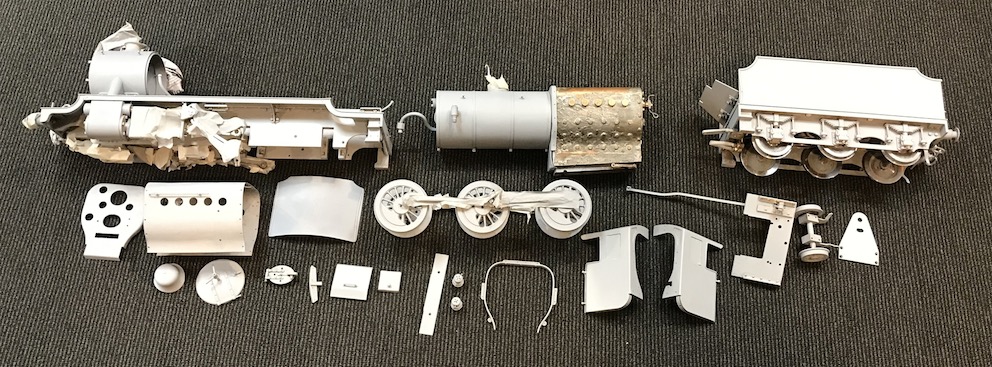
Much of the masking tape can be seen, trying to cover the moving parts and those which clearly shouldn’t be painted.
7th June. Painting it black was better – a rattle-can used at first, covering the majority, but the paint easily could be thinned (with the appropriate solvent), to fill in the areas not easily reached by the aerosol.
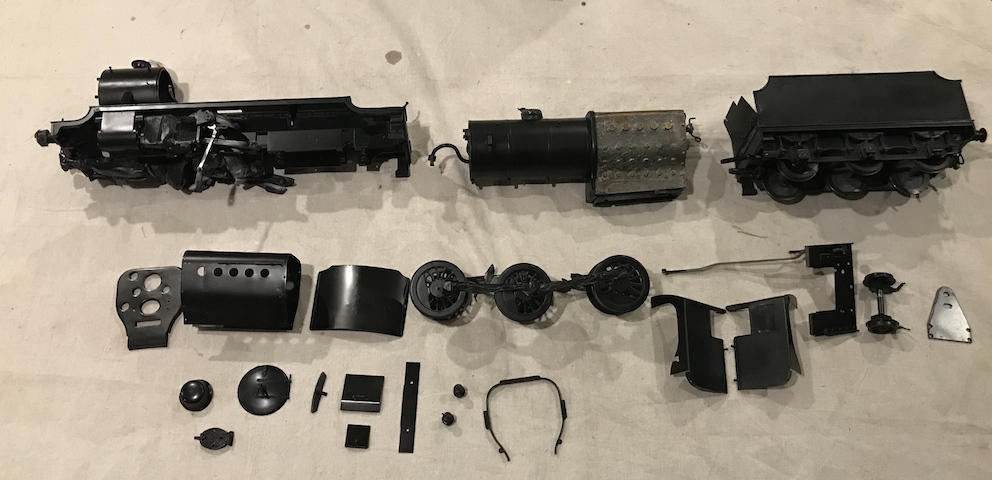 Now to the simple task of putting it back together …
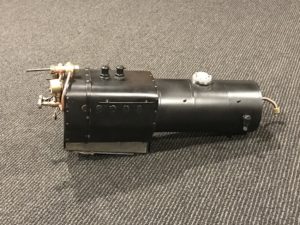 Now I have put the “Cladding” back on – the wrapping around the boiler firebox, and I have put some of the fittings back onto the boiler. Mostly the controls on the “back head” – the face of the firebox in the cab.
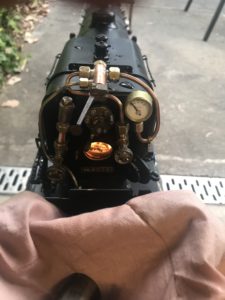
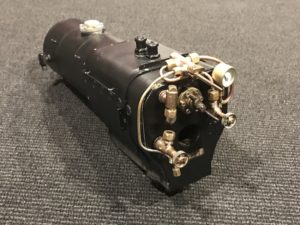 Here is a picture of the back head.
It’s now possible to get an idea (a very approximate one) of what the end result will be like:
This day was a great day …
On 28th June, the Dyak steamed for the first time, I believe, in about 50 years. It is a great tribute to Warwick Allison that this has proved possible. My original assessment was I think correct (that it had been very well made, but subsequently abandoned by whoever made it), but it was only with Warwick’s guidance that I could get it going!
So I took all the parts, now painted black, over to his house in Mount Riverview. First we had to reset the valve gear and make sure that it ran, on compressed air. Click on the link to view it at this stage: Dyak black no boiler
Next was to put the boiler back on, connect it up and make sure there were no leaks on compressed air. Yes, there were, but with Warwick’s help we found them all and fixed it up. It still didn’t have the cab on, but it looked much more like a locomotive now. We began the steam test: filled the boiler with warm water, put a fire in the firebox. This in itself was a good moment!
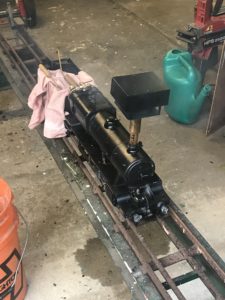 The fire initially was “kitty litter” soaked in kerosene, but after a while real coal could go in the firebox.
The orange cloth protected the tender, the gadget on the loco. chimney is a fan to “draw” the fire through the boiler.
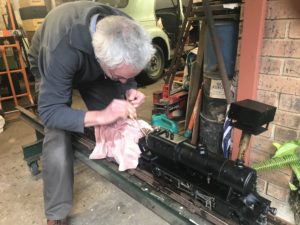 This is me supervising the steam-raising.
After what seems like ages, pressure was shown on the gauge, and I could hear the engine “blower” beginning to work.
Finally the great moment arrives: the engine wheels are propped up above the track, the regulator opened, and for what I guessed to be the first time in 50 years, the engine turns it wheels under the power of steam produced in its own boiler.
Click on the link to watch: Dyak first steaming 2.
So in the end I didn’t waste my money on 20kg of useless brass scrap ….
And as of 5th July
Engine running first time ever 5th July
By the way, I have decided that it is an “impressionist” model of a Stanier Mogul. It doesn’t have a taper boiler, the cab windows aren’t quite correct, and maybe the wheel sizes are wrong, but the tender looks right and the straight unstepped footplate makes it closer to a Stanier Mogul than any other locomotive that I have seen. There is the minor problem that the design for this model (the “Dyak”) and probably the manufacture of this particular example of it, pre-dates the first example of the real Stanier Mogul being made!
Gauge 3 action
Yet another Midland Railway wagon! This time it is a D299, which is a bit like the D302 which I have already made (see prior entries), but this time it is a Slater’s kit. Like previous ones which I have written about, it is largely laser-cut wooden in construction, which I like.
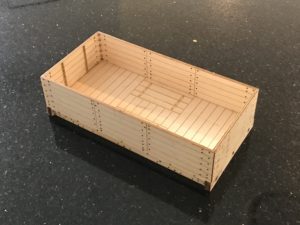 “Etching” with a laser is also possible, and the parts fit pretty-well perfectly (computer design and computer-guided cutting also).
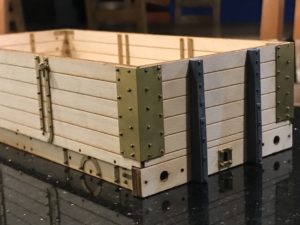
This is the body after all the wooden bits are stuck together.
There is a long and tedious part now fitting the “strapping” and braces, and all the tiny rivets through the strapping.
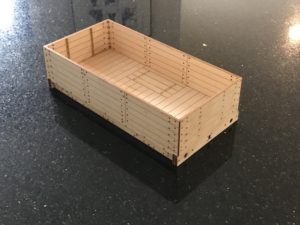
This is the result afterwards.
Next is the underframe.
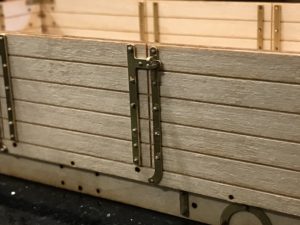 But there is lots of lovely detail.
The other part of the “Gauge 3 action” relates to my locomotive. The boiler has now been removed and the leaks found largely to relate to the boiler fittings (all the controls and gauges which come out of or go through the boiler).
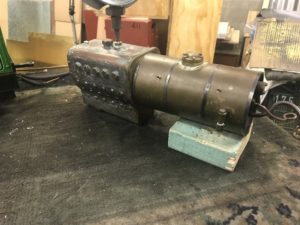 A considerable relief – it pressure-tests well when all the fittings are removed and the holes for them plugged temporarily.
Here (right) the front safety vale has been replaced with a (large) pressure gauge.
Once this was established, we could work on all the small parts – the regulator, the manifold fitting, the clack valves, etc (when we come to them I will explain what these arcane terms refer to).
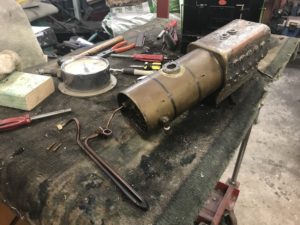 Here is a picture with the “superheater tube” removed (the last tube before the steam reaches the cylinders, where it is superheated to get it well about the temperature at which water could condense in the cylinders).
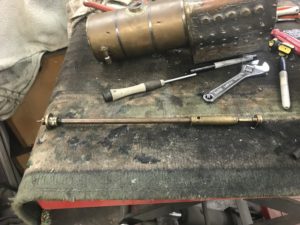
Next is the regulator removal and remaking. Here is the old regulator. The regulator shaft has to go the entire length of the boiler.
Warwick Allison (who is doing much of this work with me helping as best I can) said that for a better long-term result we had better remake the regulator, to which I knowledgeably (ha, ha!) agreed. This involved me learning a little lathe-work, as well as learning much more about how steam engine actually works!
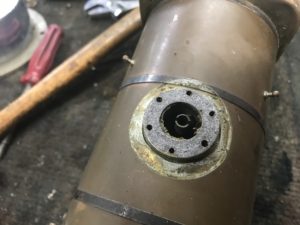
For instance, why does a steam-engine have a dome (usually)? Well it is to create a place to gather steam which is well-above the water level. If water is collected, you see, and gets into the cylinders then (not being compressible like steam is) it will severely damage the cylinders. Here is the loco. steam-collecting pipe after the dome is removed.
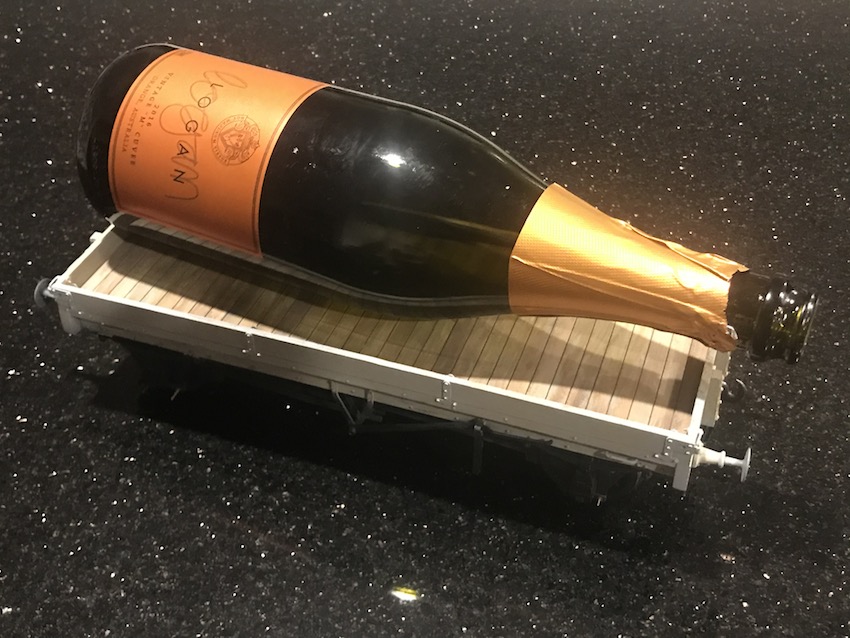
On a final note, Sue has said I can have a garden railway so that I can send a train out to her and her friends, sitting out in the garden, carrying a cargo of sparkling wine. So I had to check that my flat wagon would carry the load ….

