Author Archives: admin
Protected: Local Walks 8. Duck Hole via Not Duck Hole and Not Not Duck Hole
Local Walks 7. Grey Hat Falls.
We could, actually do this walk from home, but it would make for a long day, and as the weather forecast was for temperatures in the mid-30s (Centigrade), we opted to drive to the car-parking pot on the road to Red Hands Cave.
The route from there is a relatively popular one in NSW terms, which means that if you are careful, there is a trail to follow. Mostly, as I discovered many years ago, the presence of a track on a maps simply means that people have walked that way before and so it is possible, but there may be no real path to follow. Anyway, this path was relatively easy to follow: at crucial points there were either ribbons (yellow or pink) to show that one is still on the track, or there were arrows scraped onto a rock face pointing which way to go.
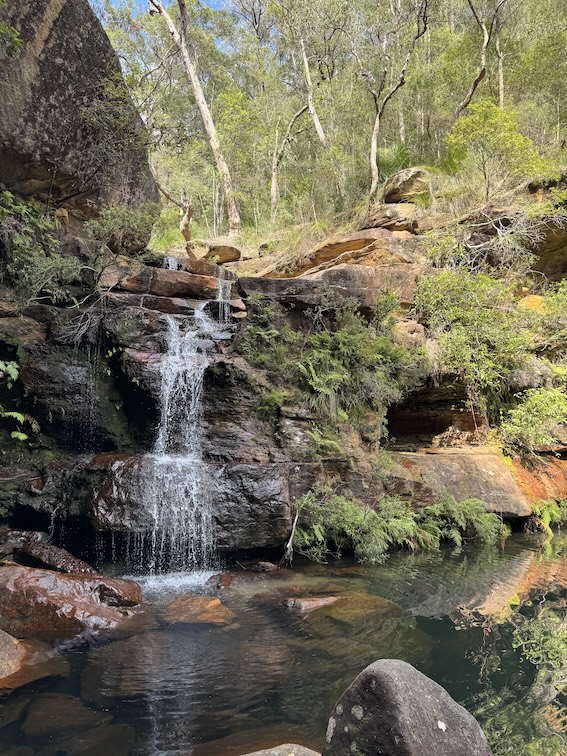
It took us quite a while to get there, but Grey Hat Falls is a beautiful place.
It reminded us again how we have come to live in such a spectacular place here. When we arrived there were no other visitors, although we met half-a-dozen as we walked back to the car – it’s a well known picnic spot and swimming hole.
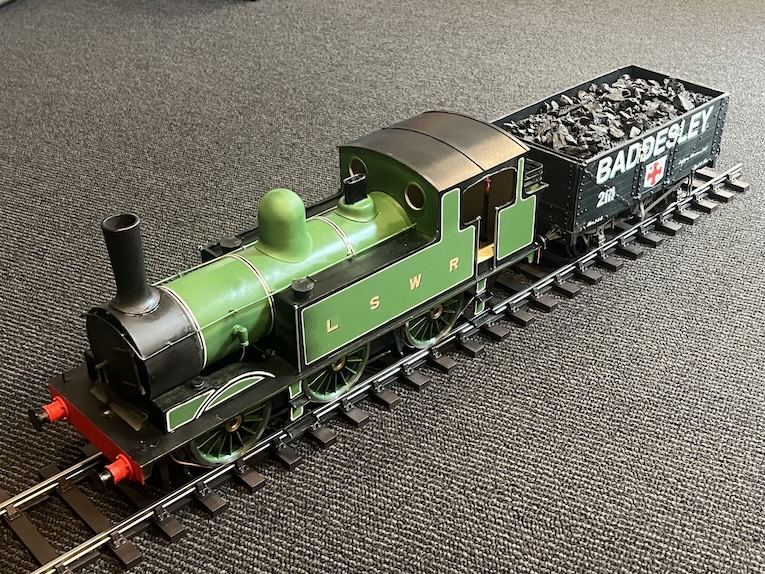
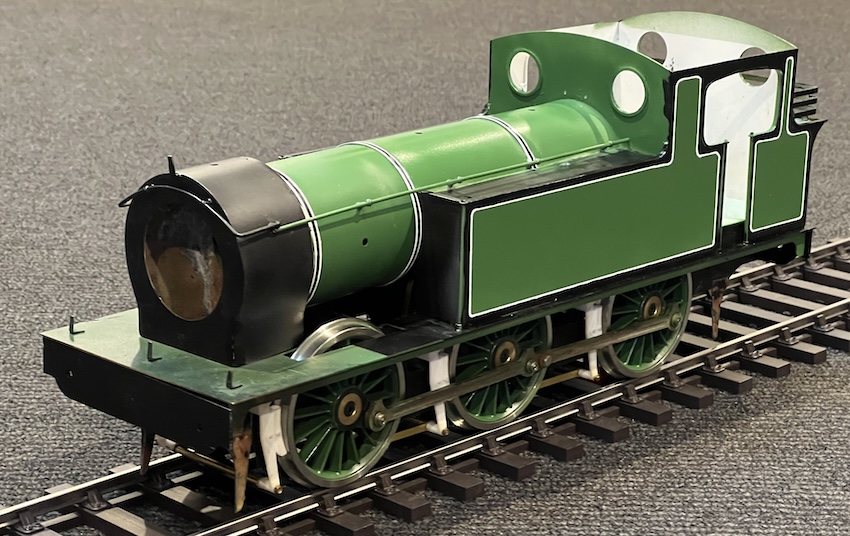
LSWR model G6 0-6-0T progress
Not much visible progress has been made recently, because I have had a lot of problems with the electricity. The system sent originally had a very large battery pack, with about 18 AA cells. This had to be taken apart and remade into two packs of six cells, which will fit in the side-takes of the model. Easier said than done, and during the process I have either caused several cells to fail, or the cells are inherently unstable. I either event I have been left with just twelve usable cells, generating about 14.5 Volts (each cell is 1.2V). The 24 Volt motor is OK with this power, but even with a 50:1 gearing, the engine seems to run quite hesitantly. I’ve learned a lot about rechargeable cells over the last few weeks: NiMH cells charge up higher than 1.2V, but rapidly lose power to about 1.2V before being stable at that power for a good while. Anyway, the engine is moving now, producing the correct sound-effects, and I can move back to putting on detail: making the cab fittings, adding the sanding apparatus, adding coupling hooks and “safety chains”. These chains hang on the buffer beam and apart from their descriptive name, I don’t really know what they are for. Almost all the pictures which I have of the G6 in LSWR days show the safety chains, so I will put them on. Not part of the original kit, Mike Williams from the UK has been very generous and supplied me with the necessary parts.
Here is a video:
The model still is far from complete.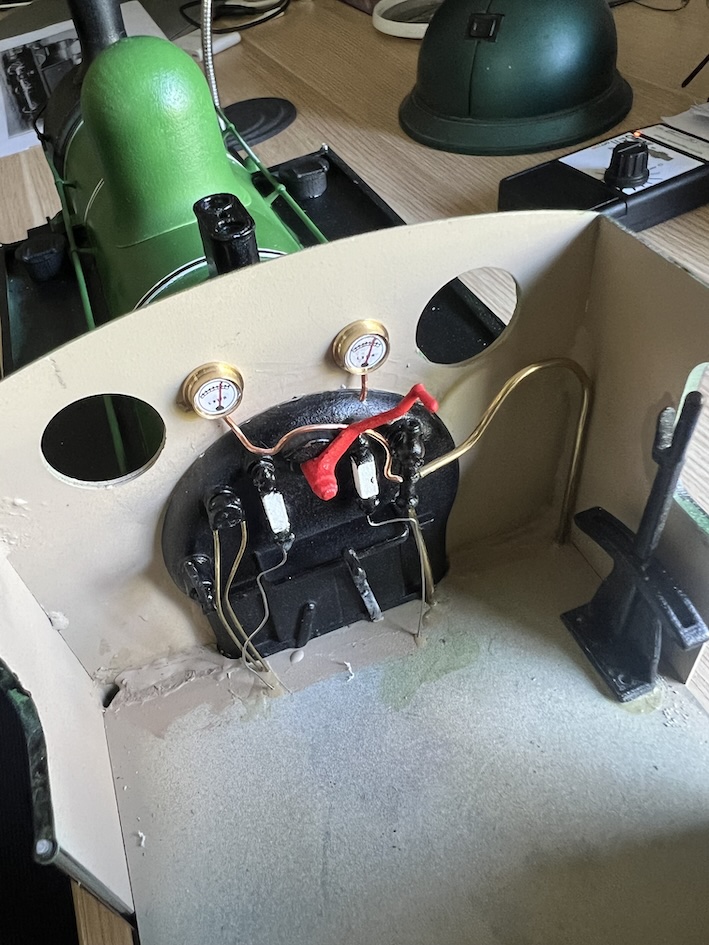
Here is the inside of the cab, so far:
… and after lettering:

Protected: Norway
Protected: England and Wales 2024
LSWR G6 construction updated 21st July
I often see models completed except for painting, and very nice they can look all in brass/nickel-silver. However I suspect that doing a kit this way makes the painting/lettering/finishing more difficult. So although I had originally thought that I would make my locomotive that way, the instructions imply that some parts (particularly the boiler) would be easier to paint during construction.
 So I have now painted the boiler and smokebox. I have also had to take all the wheels off to paint the frames (after rubbing off all the corrosion left by the soldering flux).
I have also now fitted the brakes. As one of my fellow-builders has had trouble with the brakes binding on the wheels, I reduced the side-to-side movement by using thin home-make washers on the outside of the frames behind the wheel bosses.
Having started the process of painting part-way through construction, I am going to carry on, particularly as I am doing the lining which will be made more difficult by lots of added details.
 So here is the start of the process of painting the tanks and cab.
I made the mistake of using black metal primer on the tanks, having used light-grey primer on the boiler. Using green paint over a different undercoat would show up as different shades of green, so I have had to re-do the green areas with grey primer!
I’m not an expert air-brush operator either, so trying to get right to the edge of colours is tricky – hence the use of masking tape to help with this. I could touch up with a normal brush, but I’m concerned about brush marks, and the effect of the thicker paint that is inevitable if you use a brush. For me, there is no clear answer to this, so I will just have to hope that it won’t be noticeable. With previous models I have used “weathering’ to hide blemishes in the paintwork, but with this model I am hoping that only a small amount of “dirt and grime” will allow the attractive livery to shine through.
****
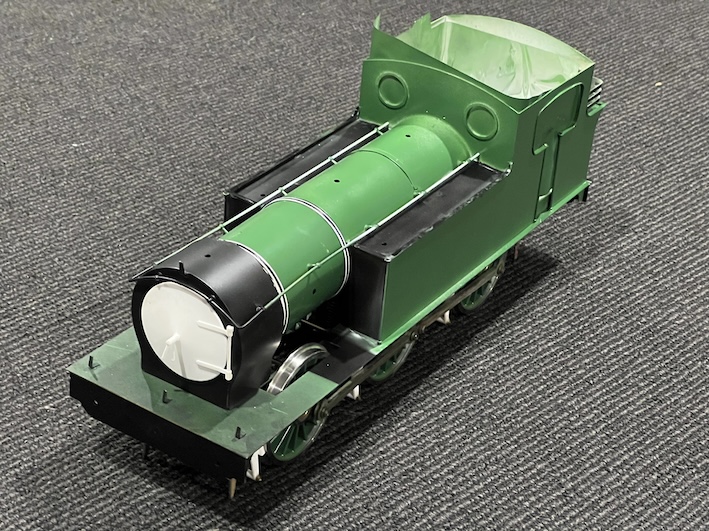
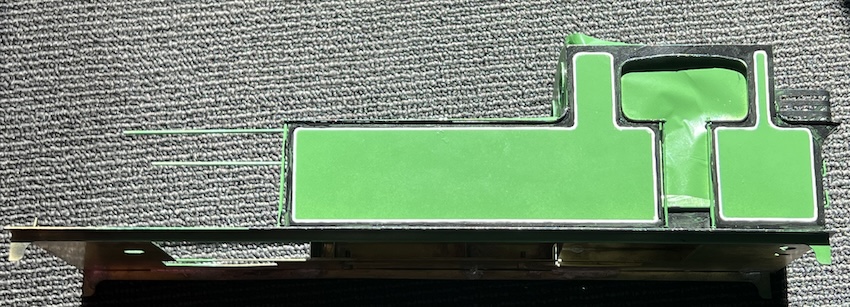
Here are a couple of pictures after I painted the majority of the areas which are going to be green (and a few areas which will later have to turn black again!). I realise that some areas are uncertain – the front of the water tanks, for instance: green or black? Not terribly important but the prototype picture of G6 number 257 in lined livery is taken from the side, so the fronts of the tanks and the rear of the bunker are mystery areas.

Next is to apply lining to the larger areas, and to the steps below the footplate. My plan was to do the underneath coat in green, as shown above, then to put the white lining on, using a bow-pen and a straight edge (ruler) where possible. I then had to hand draw the curved lines using the bow pen. There were several hopeful thoughts here: firstly that I could draw consistent lines with the bow pen; next that the corners drawn by hand without a guide would be satisfactory; next that blemishes (and I was sure that there would be many!) could be touched up using green paint on the inside of the lines, and black on the outside; and finally that the black outside of the lining would be even although I could not possibly use an airbrush and must hope that the brushmarks will not be obvious.
 So here is the result of the first attempt at the lines.
As part of this process I needed to paint the steps which hang below the footplate. Clearly using a ruler here was not going to be possible and even the small bow-pen would be awkward around the footsteps themselves. Nevertheless it proved to be a good trying-out ground for my scheme.
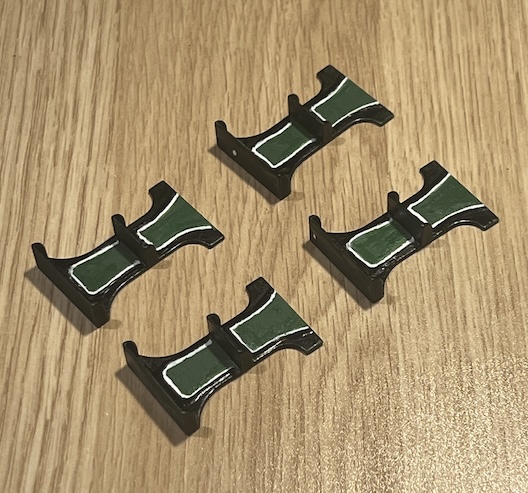
The left-hand picture (click to enlarge as ever) shows the steps and the wheel valances after my initial attempt. The valances are OK, but the step lining is in my view too thick and uneven.
So I took my bow pen up again, loaded it with green paint and re-painted the inner edges of the lines. I did this also for the outer edges with black paint, and managed to make the lines both thinner and with more even edges (see the RH picture). Don’t look too closely though please: it is a long way from being perfect on close inspection. I’m hoping, though, that on a larger model steam engine like this one, close inspection will not happen too often! Here is a sequence of pistures as I do the lining on the rear of the bunker, showing the process.
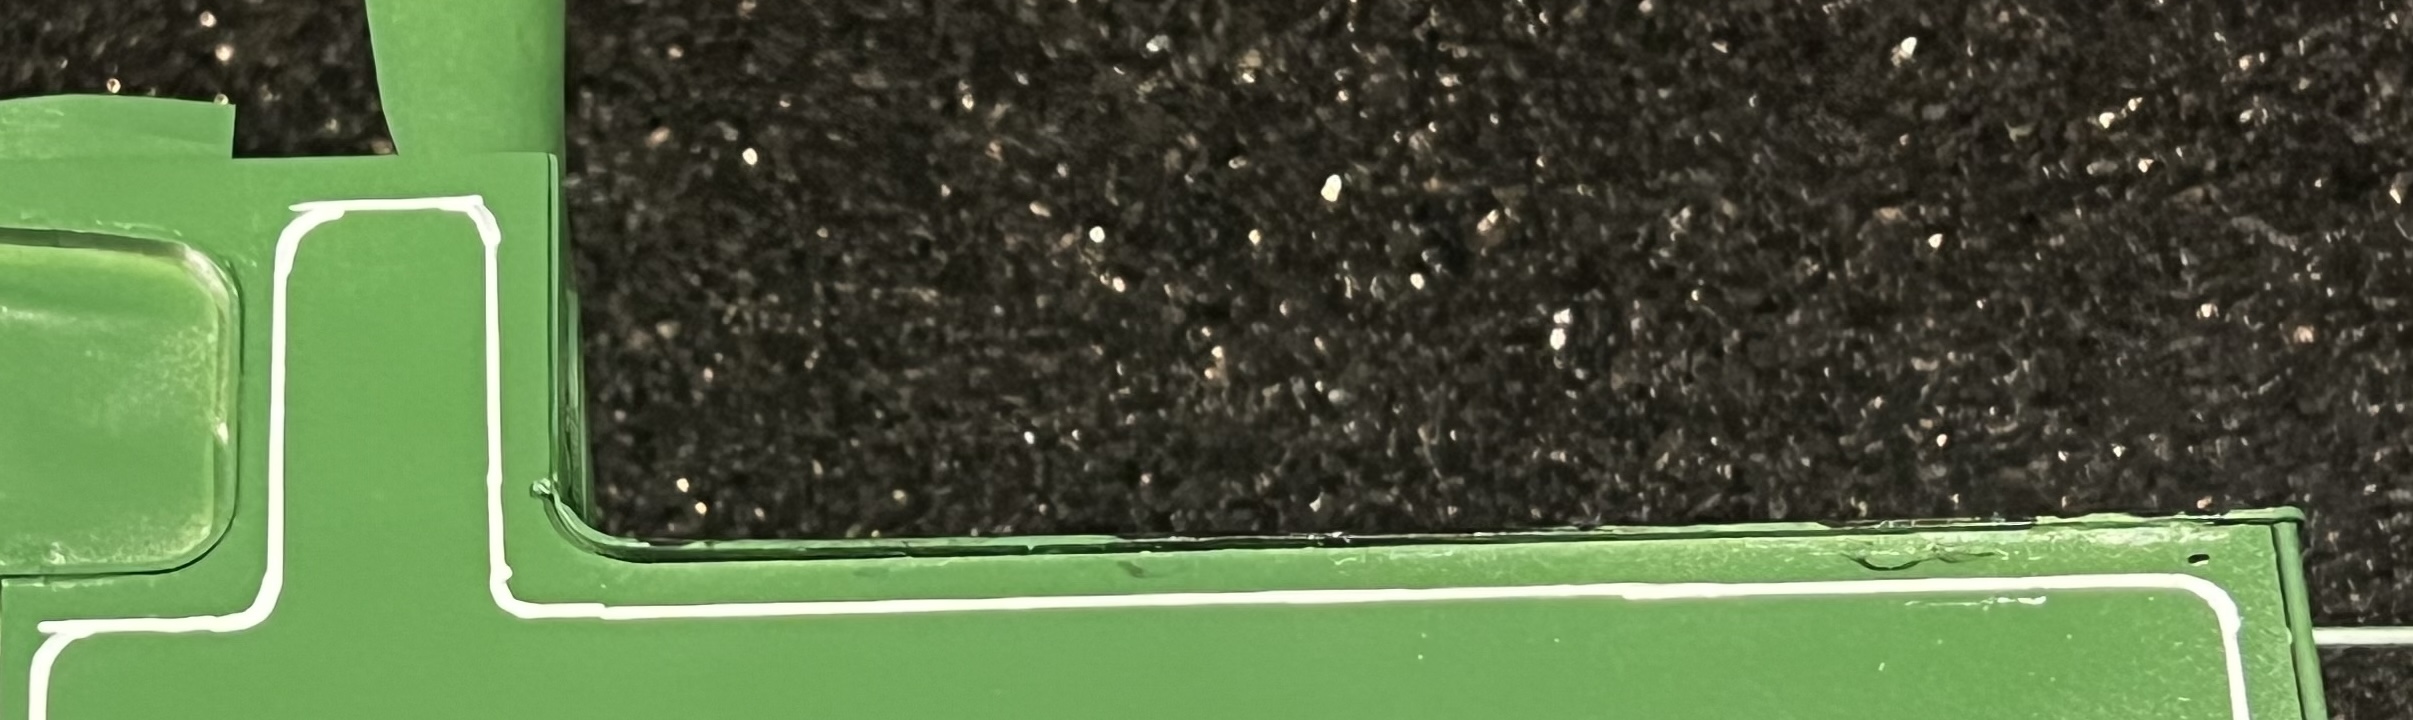
 First, putting the white lines on over the even green colouring. The bow pen can be used with a ruler or other straight edge where possible, but clearly the curves at the corners are tricky.
The white lines are deliberately too thick at the corners so that after the 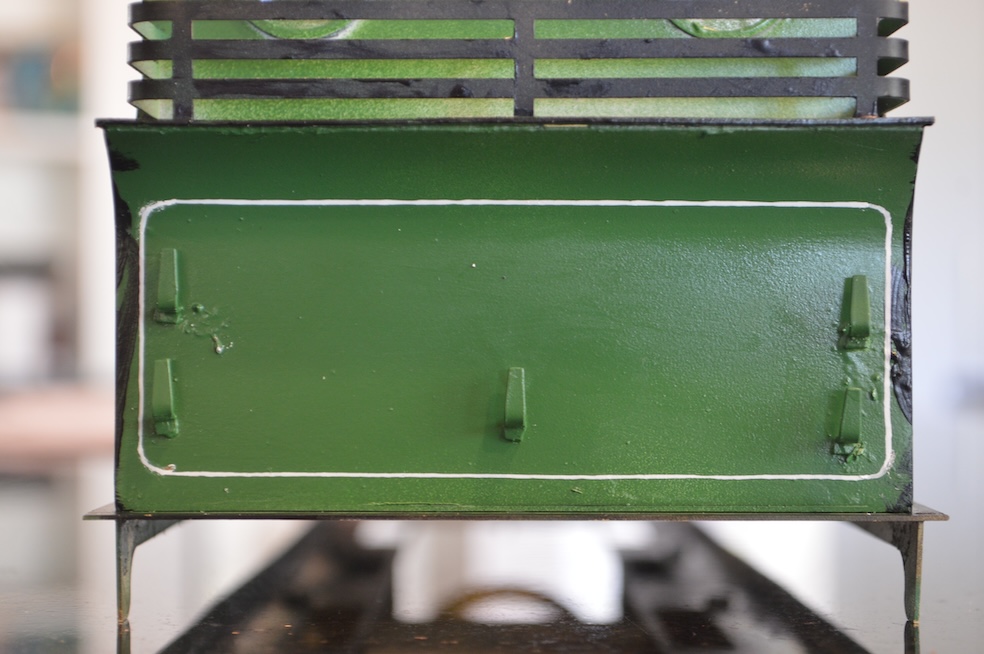 paint has dried I can scrape some off with a scalpel blade.
I hope to leave green paint showing from beneath the white paint, but if you enlarge the photo., it’s possible to see bare metal in places.
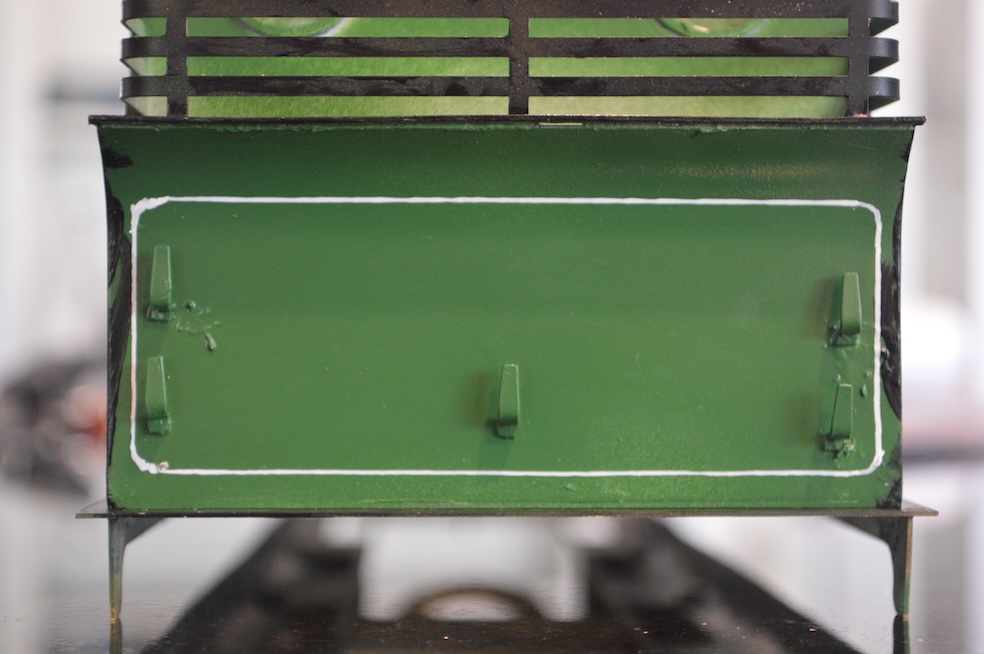
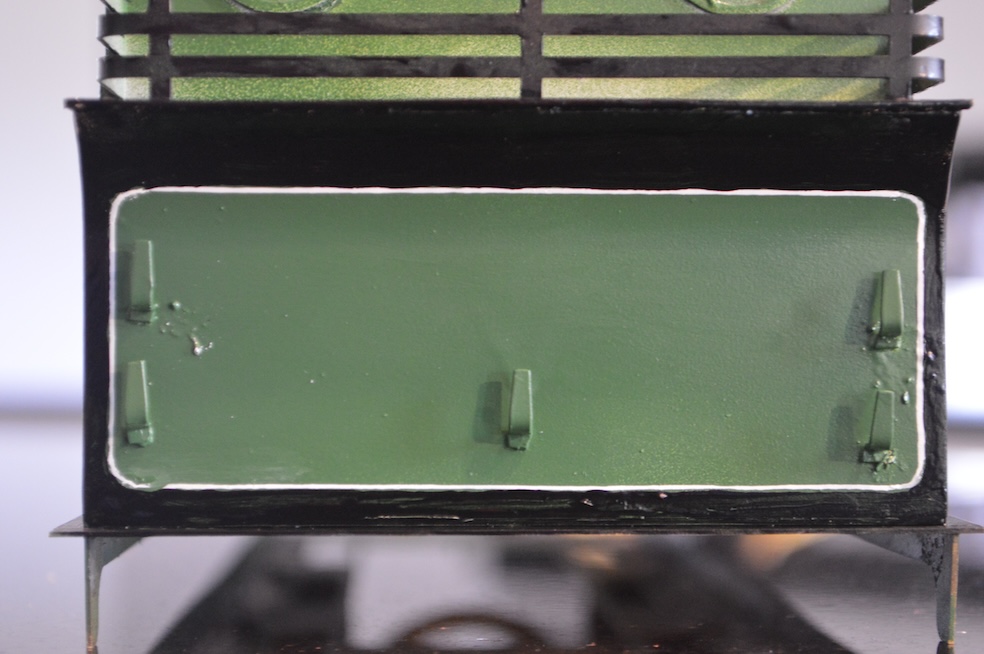 I try to make the bared metal only happen on the outside, because next is using black paint to colour the part outside the white line, right up to the edge of the panel.
Some touching up with green is inevitable, though.
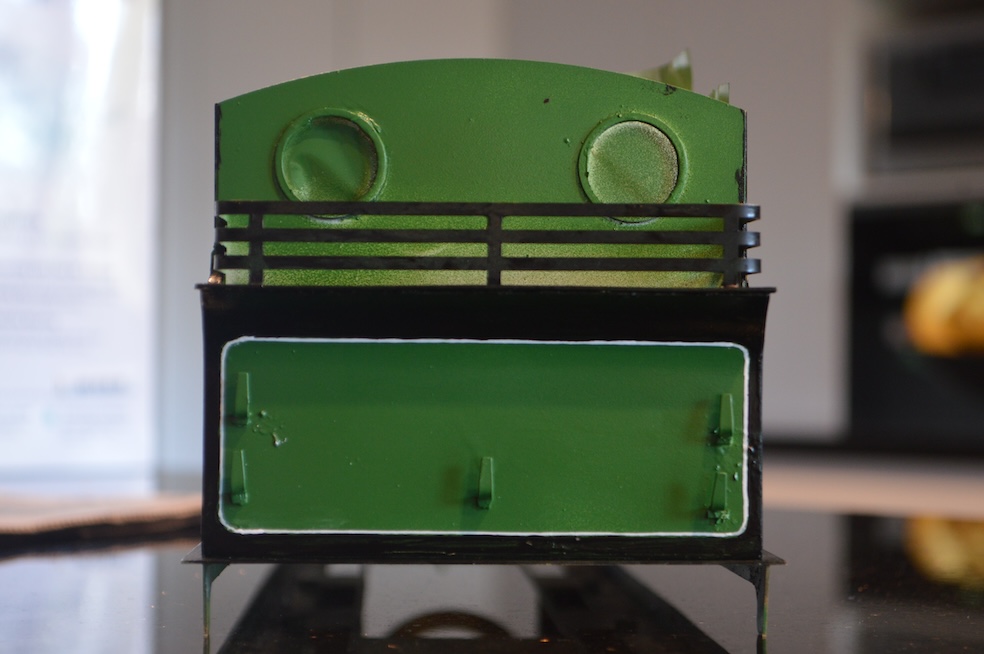
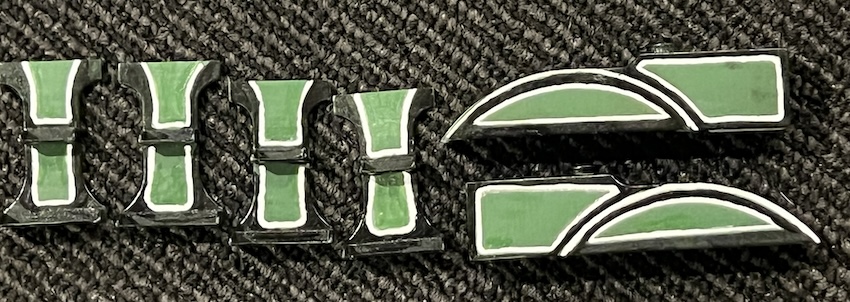
Here is the finished object, and below is a picture of the tank sides and cab sides after the same process was used there.
Progress so far …
Now to reinstall the electrics …
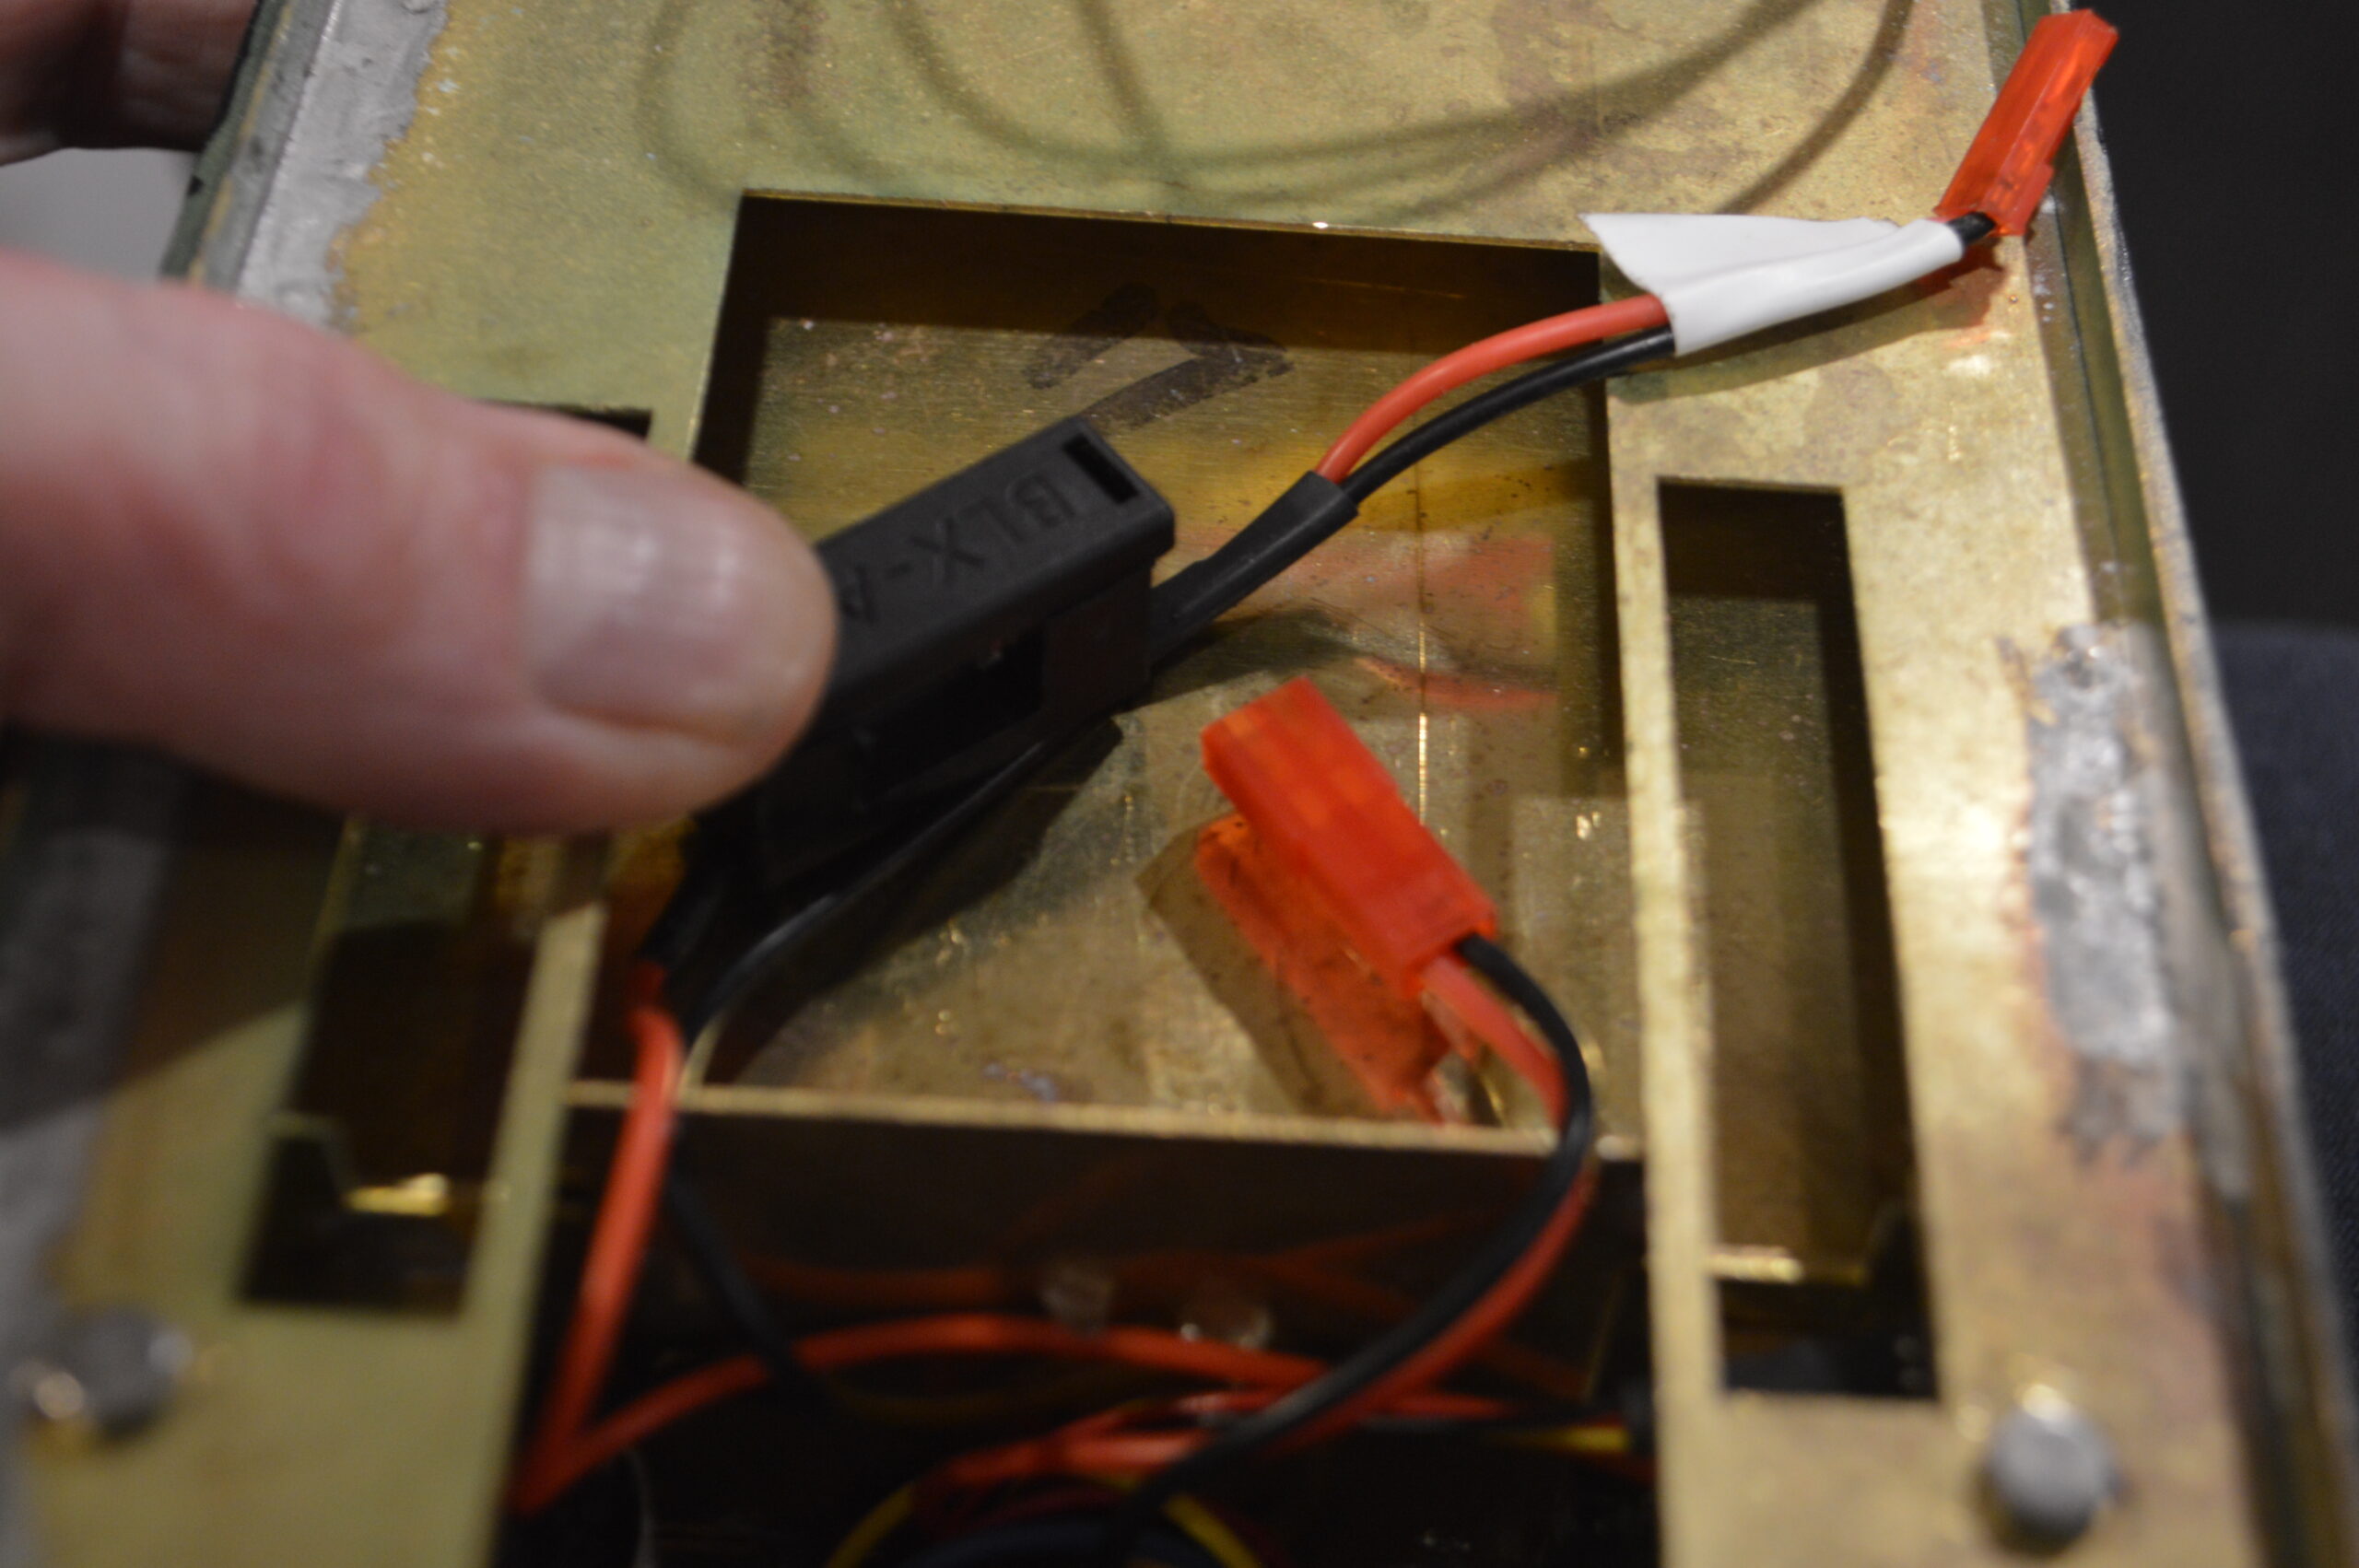
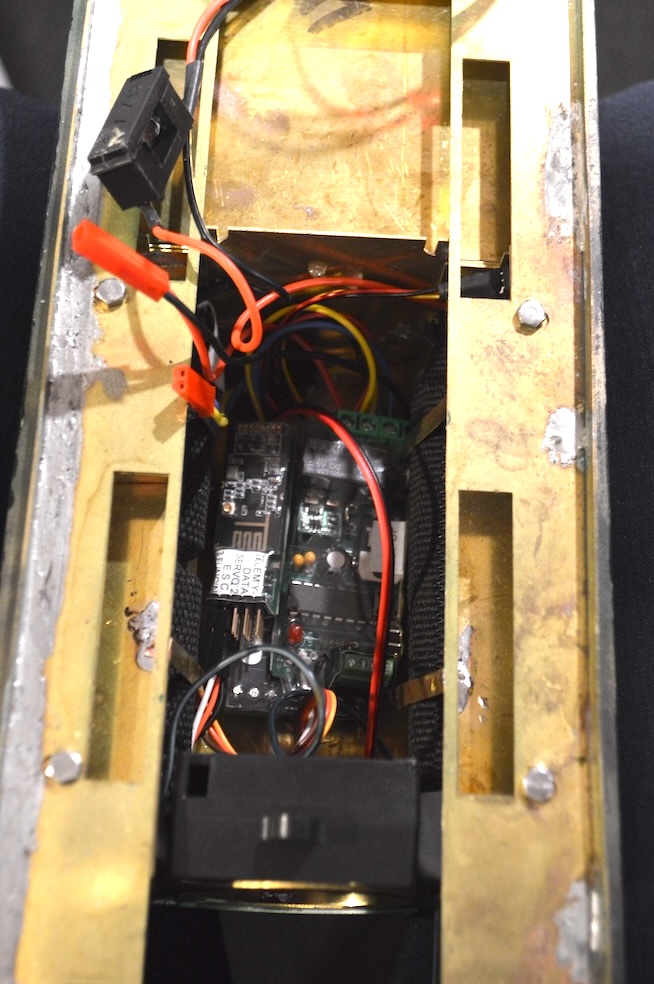 The speaker and the circuit boards I had purchased from Fosworks, and a very good setup it seems to be. My sole criticism is a set of fairly short wires between the on/off switch and recharging socket (which are made to be mounted in the coal bunker) and the rest of the circuits. There are three sets of connectors however which are standard ones and so were easily replaced on longer wiring.
The circuit boards and speaker have to be mounted in the boiler/water-tanks section, and I glued them in place. I decided that the connections could all be made in the space below the footplate in the cab – there is a space there which might even have been designed to take these connections.
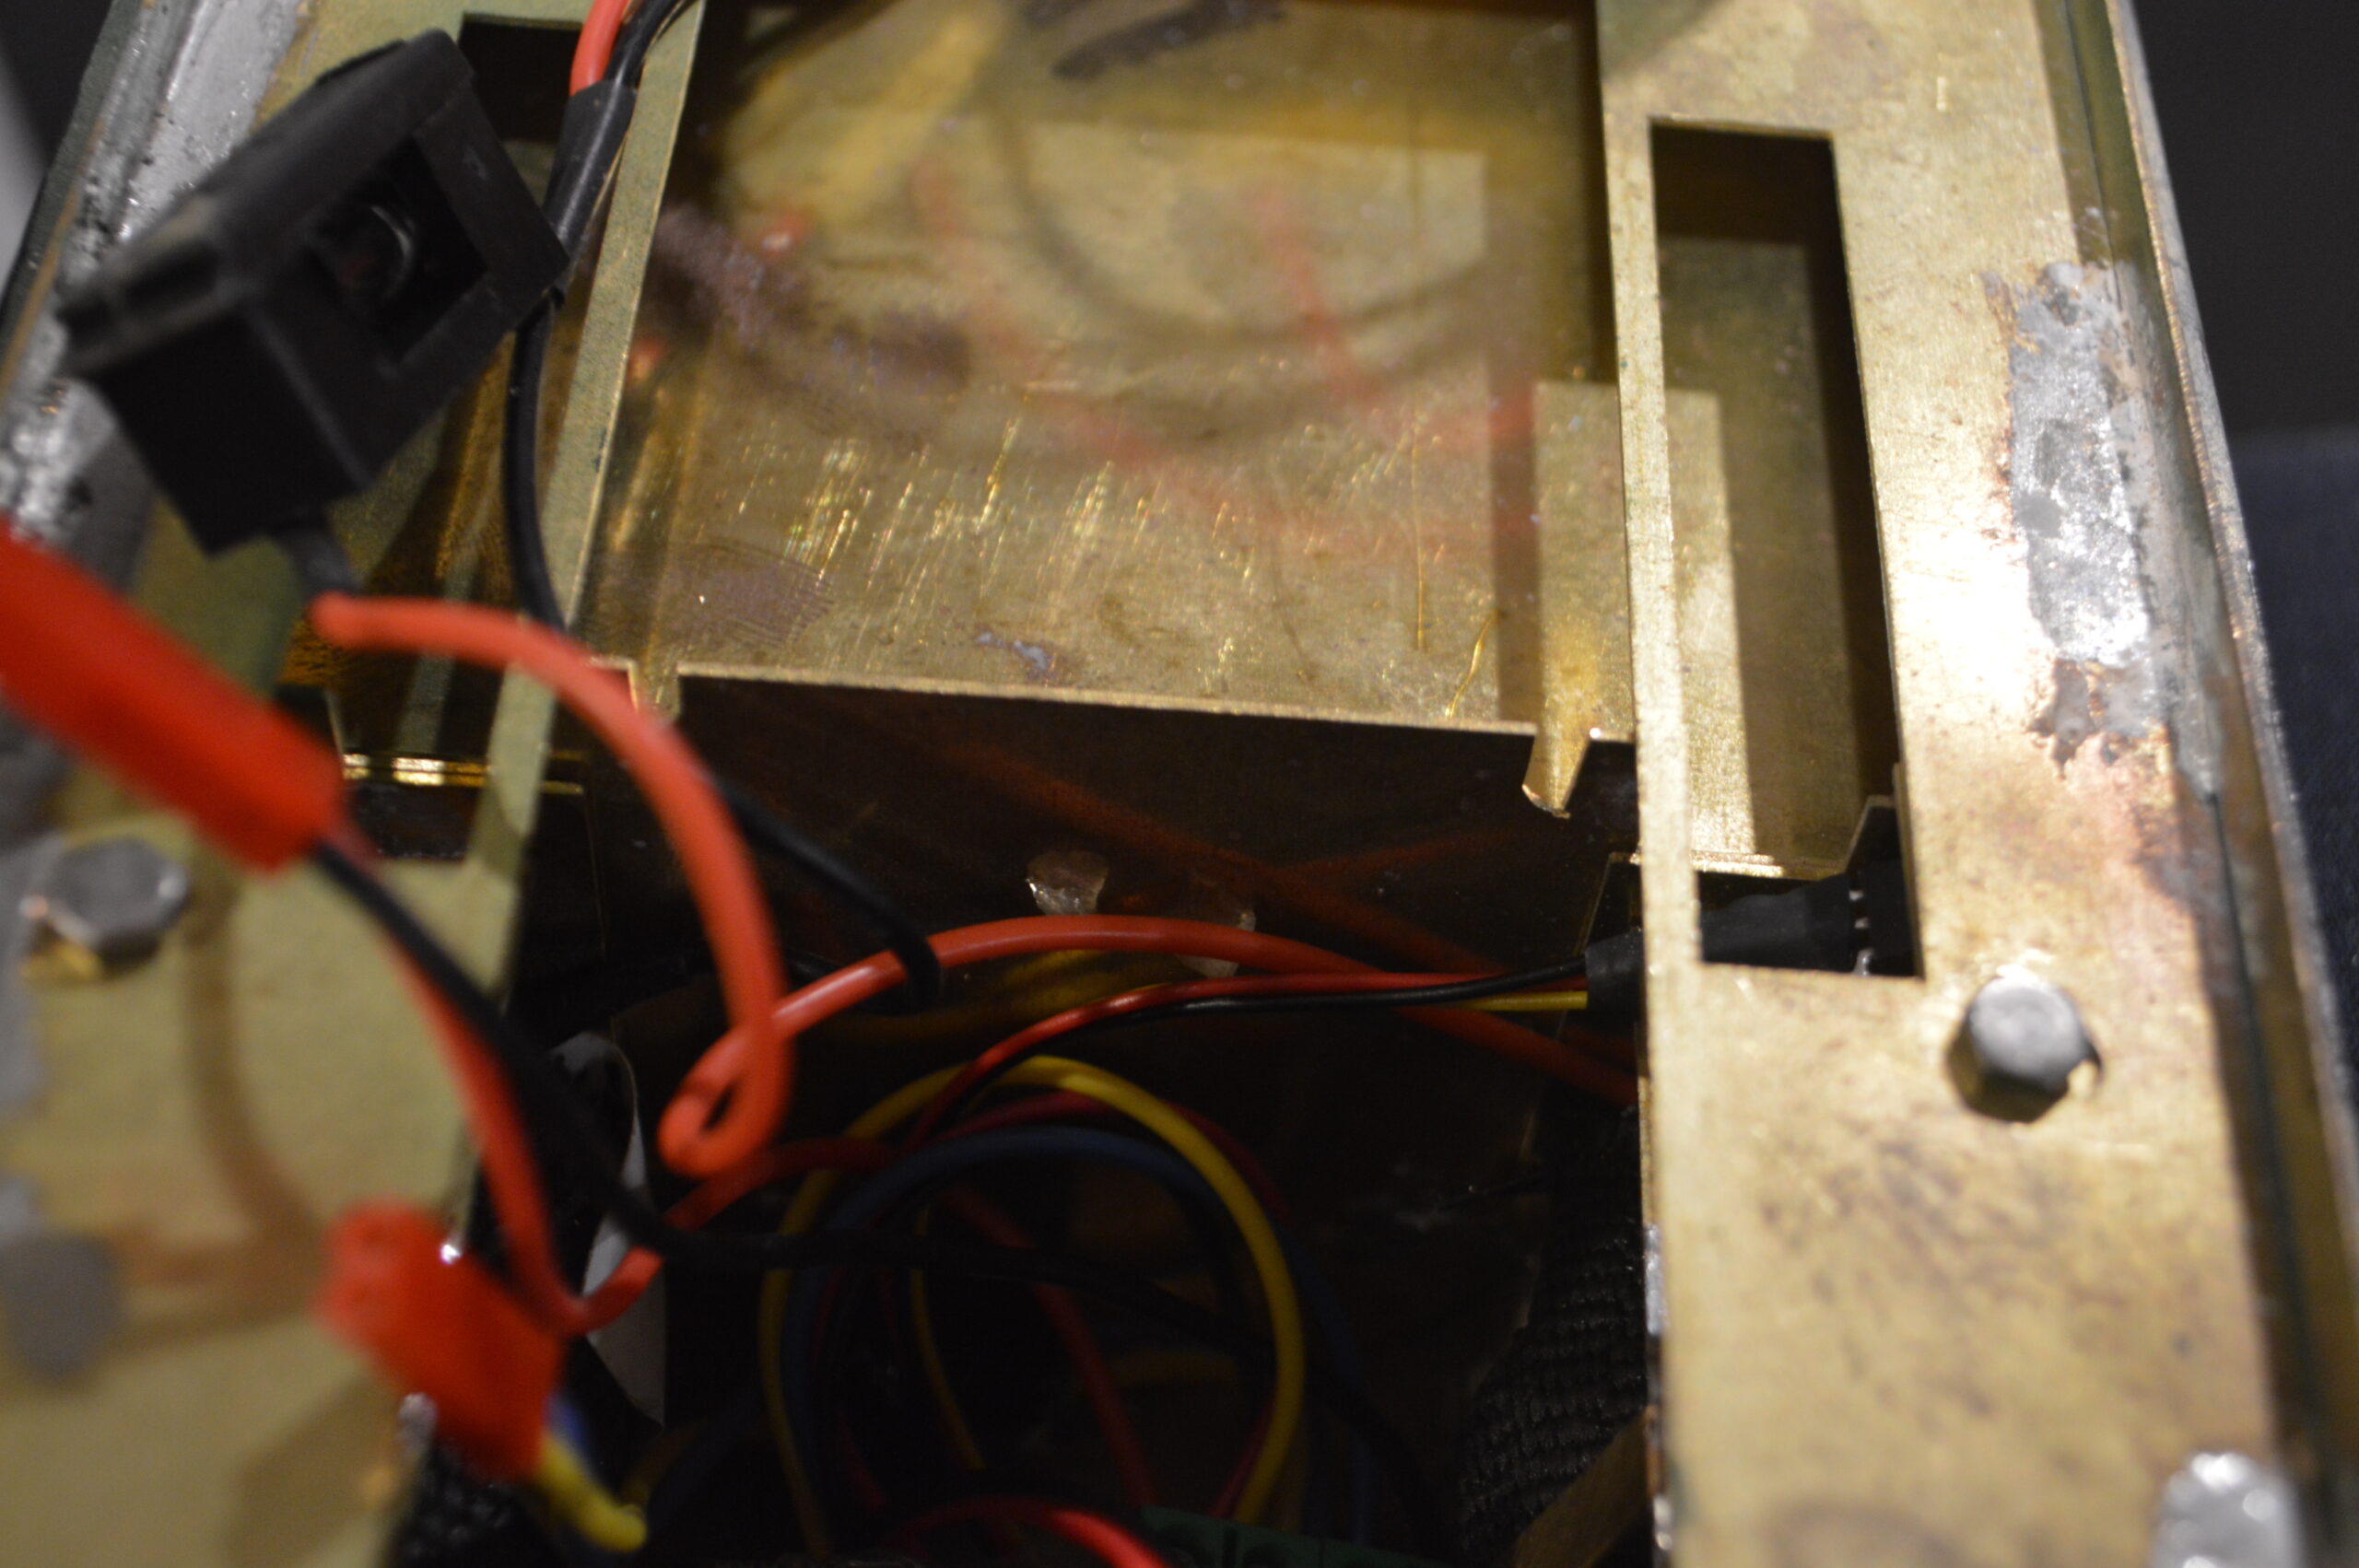 Clearly with the motor in the frames and the batteries, etc., in the superstructure, putting it together will be tricky, or taking it apart. I decided though to make some slots in the brass sheet which is part of the cab front, just to keep the wires well clear of the wheel and frame.
.
This is all aimed to allow relatively easy disassembly, removing the superstructure from the frames, partly because I am far from convinced that it will run easily and smoothly once put together.
LSWR G6
I realise that as a narrative of building this model, my entries have not been good.
The model comes as a set of parts with mild steel frames and a mixture of brass and nickel silver sheets cut into parts, plus 3D-printed plastic (nylon?) detailed parts.
I started with the laser-cut steel frames, and used “silver-solder” to put them together, trying to make them exactly “square”. Silver-soldering steel is outside of my previous experience, but seemed to go reasonably well. Original post is in <Miscellaneous, incl. Rashmi’s wedding>. The main issue (discovered later) is that I didn’t adequately clean the steel of all the flux, which meant that I have had to face parts which were rusting! Trying to work out what to do about this led me to treating the frames with a combination of sand-paper, dipping in strong vinegar, and abrasion with various tools.
End result: 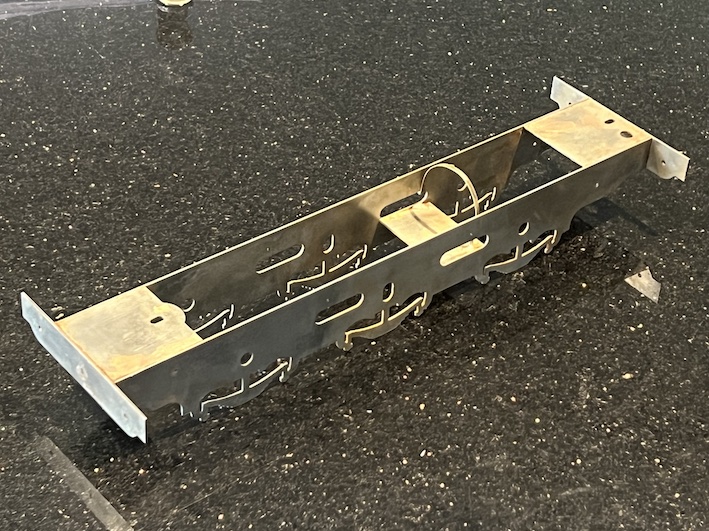
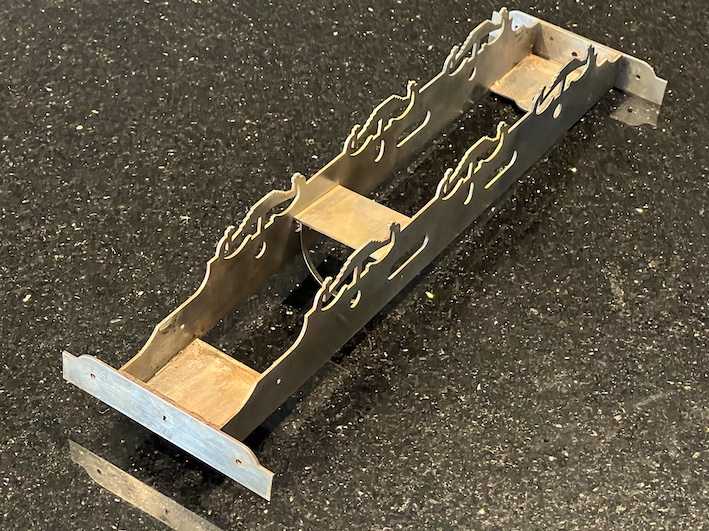
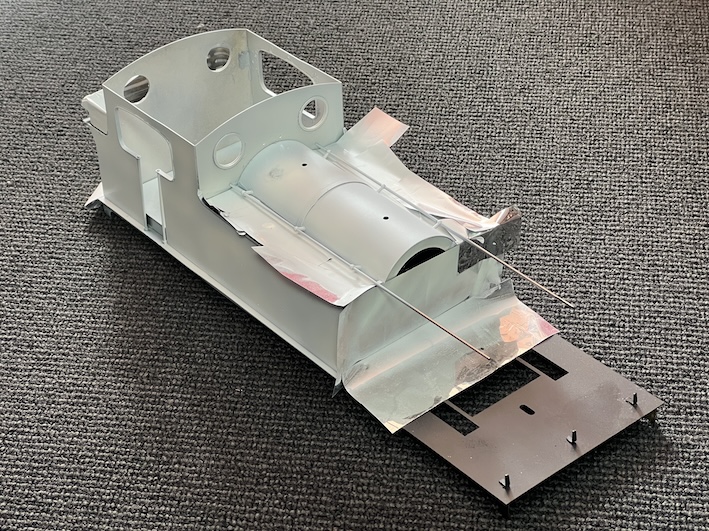
Once I had the frames back to bare metal, I had to start painting to lessen the risk of further corrosion. Here the frames are in primer: 
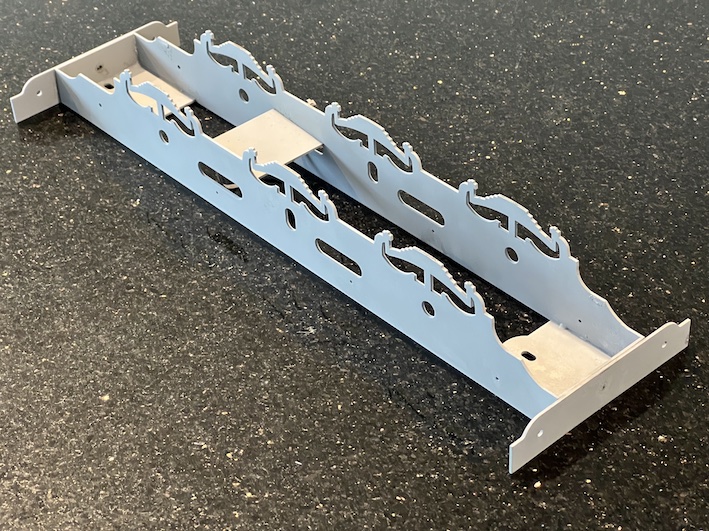
You might notice that the guard irons (Used to clear track in front of the wheels) have been removed. I hadn’t realised that the two sets of guard irons had to be laminated before fixing them in place. So I took this opportunity to remove them and correct my mistake.
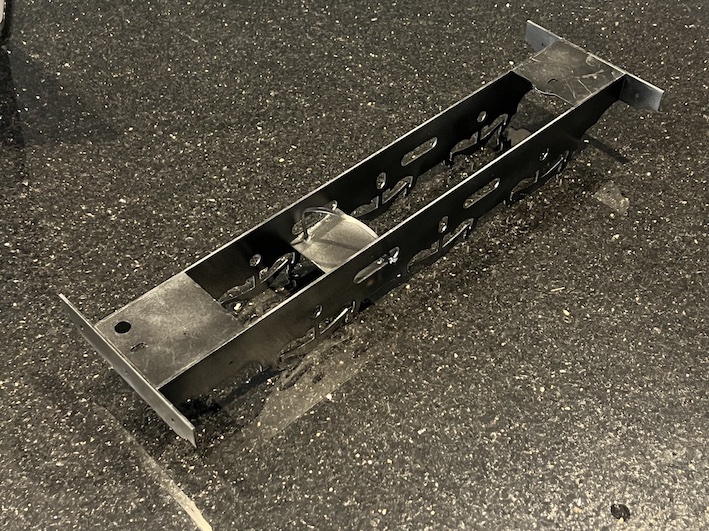
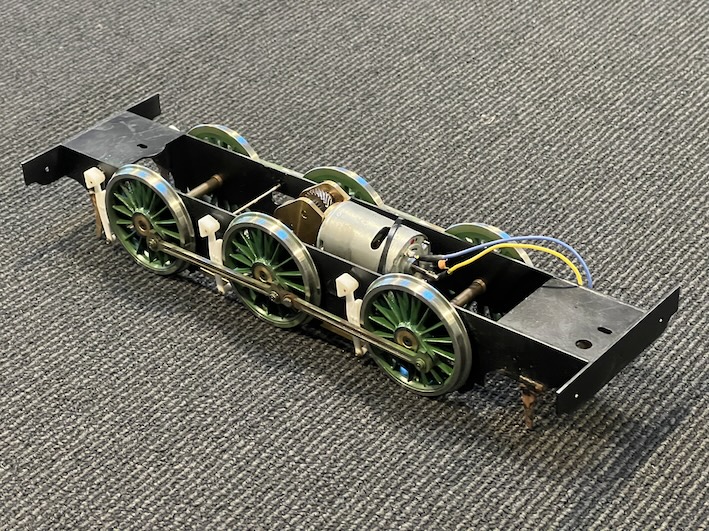
Frames painted black:
Meanwhile I had to decide what colour to paint the loco., because it is recommended in the instructions that the boiler and smokebox be painted early, because access for painting would be very difficult. I am generally an advocate of realistic appearances for models, and in the smaller scales I have done this. However for this larger model I decided to go for an “as-new” appearance – in fact there is a photograph of a G6 in LSWR passenger colours complete with lining. Even though the picture is black-and-white, i have decided to follow this historical record, although I my add a few soot and coal-dust stains, for realism.
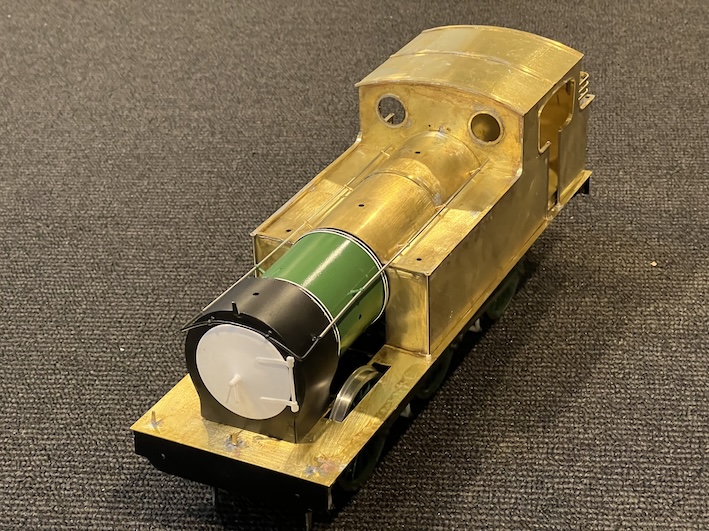
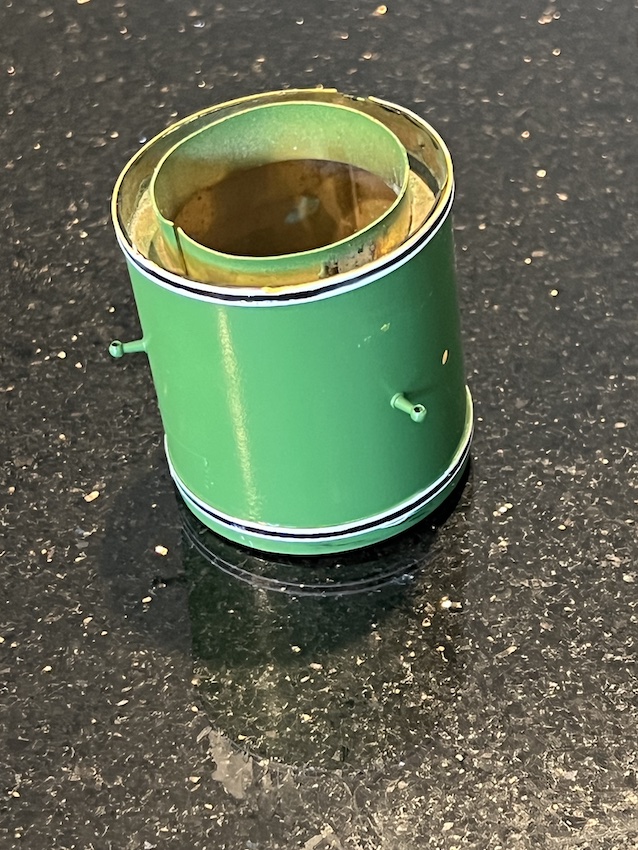
So I started to work on the body/water tanks/boiler/smokebox unit. See <LSWR G6 Progress> ‘blog. To make up the body unit, it is necessary to construct the main structure from sheets of brass, laser-cut to exactly the correct dimensions. When it works, it’s very good, but when one misaligns something, the error can be magnified by the size of the part: see <LSWR Progress 3> to show how the boiler and smokebox don’t seem to line up once the boiler and water-tanks are put together as accurately as possible. Frustrating, but a little filler will probably disguise the defect(s).
Meanwhile I had to make a decision about how this engine would move. I decided to go for battery-powered radio-control. Another “first-time” for me. See See <LSWR G6 Progress 2>. I bought an “”off-the-shelf” solution with a 50:1 gearbox Slaters power unit, and so far it seems to work well (see the <LSWR G6 Progress 2> entry) – at first I bought the wrong battery-pack, and the motor is a 24V one instead of 12 volts, but this turns out to be unimportant.\ and with some adjustments, all is well.
Now I am up to painting and lining the boiler. The correct shade of green is automotive RAL6002, I have been told, and I have both black paint and a small pot of automotive “Sunflower” colour for the lining. I have a German-origin HAFF bow-pen to do the lining (originally bought for my ScaleSeven Garratt model – search for “industrial garratt” on this website).
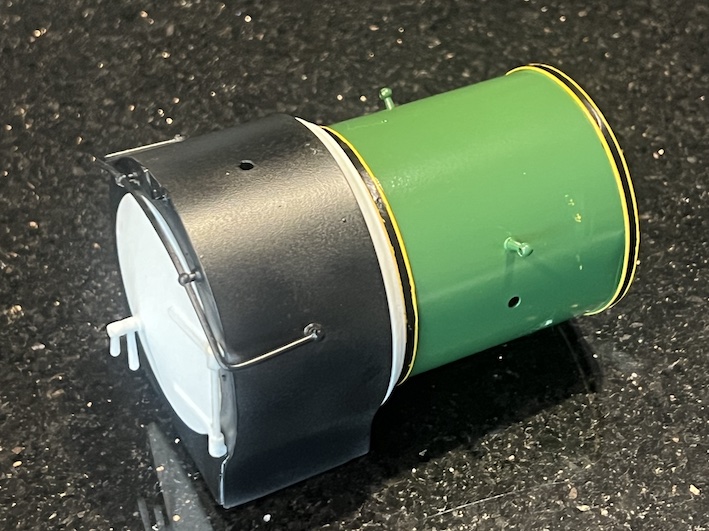
Looks pretty good on the whole, I think. The white plastic moldings with be painted black eventualy.
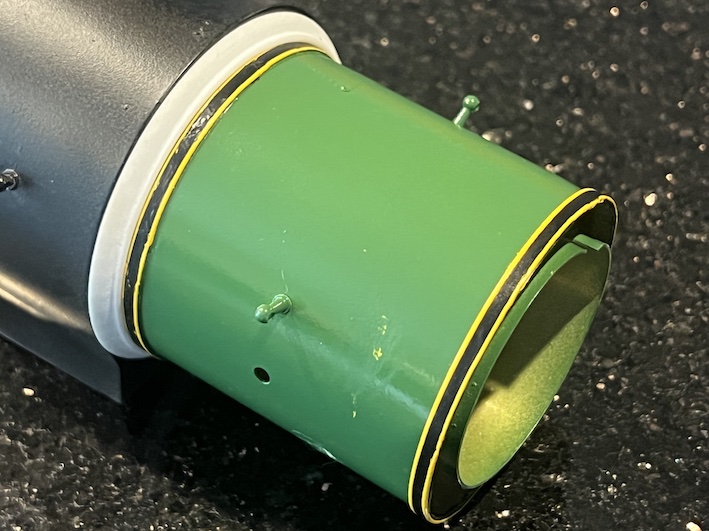
Here is the boiler section with the corrected lining colour(s):
 .
.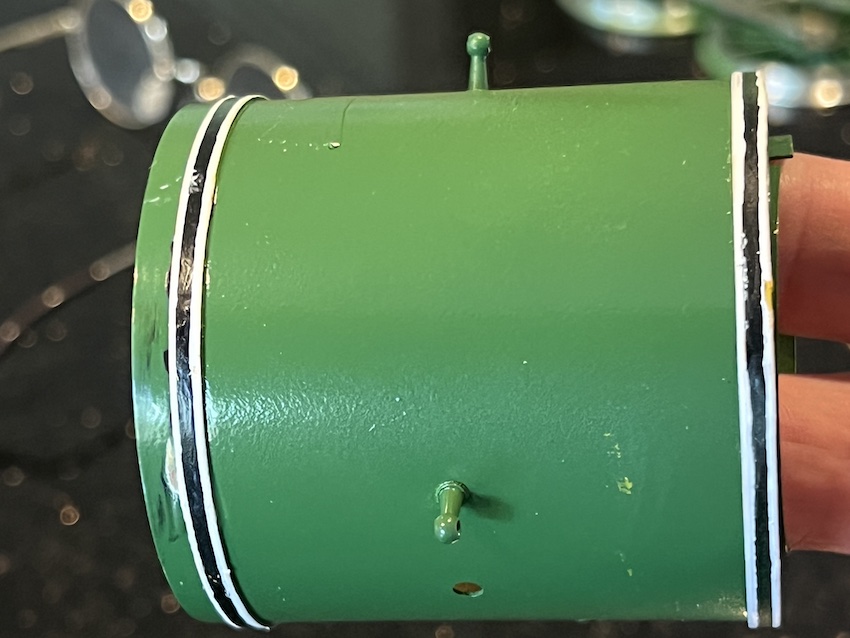
These magnified pictures seem to show every flaw in my painting, but I think it will look OK when it is all put together.
LSWR progress 3
We have been away for a fortnight (in Uzbkistan – see the ‘blog) but I can now do some more on my G6. Actually it is not going as well as I had hoped.
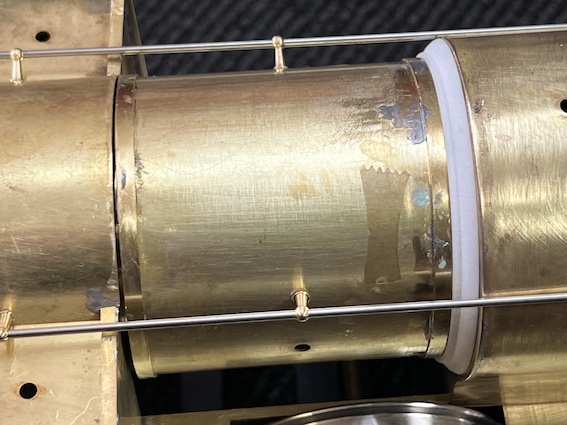 The individual sub-assemblies seem to work OK and go together well; it’s just that the subssemblies seem not to align quite correctly. As you can see above, when the boiler/smkebox and watertanks are put together, then don’t quite align and there are cracks.
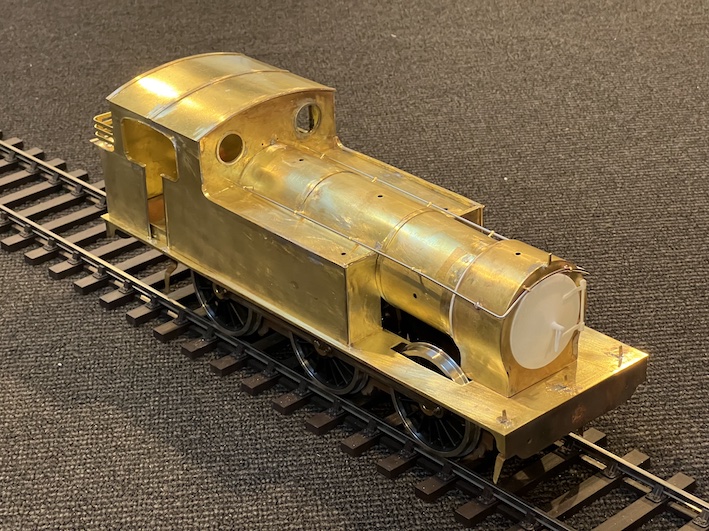
On the other hand I can now put the handrails on.
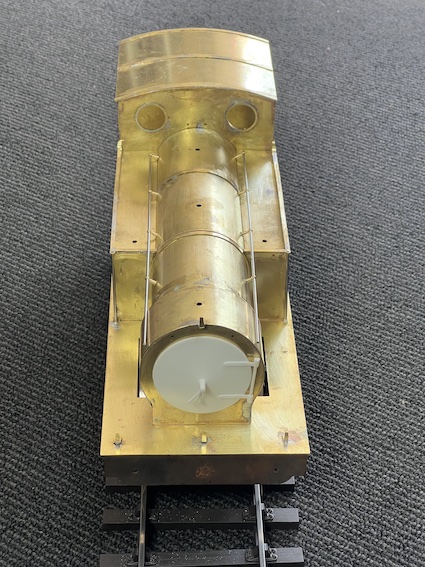
Putting the handrails on proved quite a challenge: curving the part for the smokebox is difficult o get right.
I have reached the stage where it may be necessary to start painting as I go along. Once the subassemblies are united there will some little corners and areas under the boiler for instance, which will be quite difficult to get at by brush or airbrush.
I am hoping that one the various parts are united, and held together in various way, the alignment may all “come good”