Slaters Gauge 3 Midland Railway D299 wagon – 3 and D351 wagon

Even before finishing my D299 wagon I have started my Slater’s kit of a D351 wagon.  Also, I haven’t even finished my model of the MR flat wagon D336.  There are reasons for this, but it’s mostly that I simply like the construction phase and the painting is less pleasurable.  As for adding the lettering – well that’s just stressful!

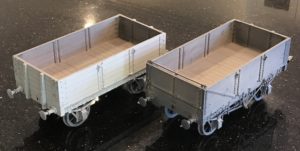
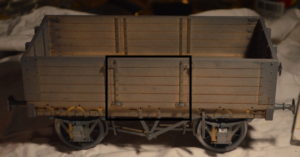
Here are the two wagons.  The one on the right is the newly-constructed D351.  The only difference between the wagons was the end-door.  When this pic. was taken I had only put primer on the D351 though.


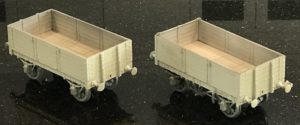
So this weekend I have airbrushed the wagons so that they look very similar.  One will have brakes on only one side (see the left-hand wagon on this picture, as most did until the 1930s.  The other will have brakes both sides.  Slightly different lighting makes them look cream-coloured but they are both Midland-grey!
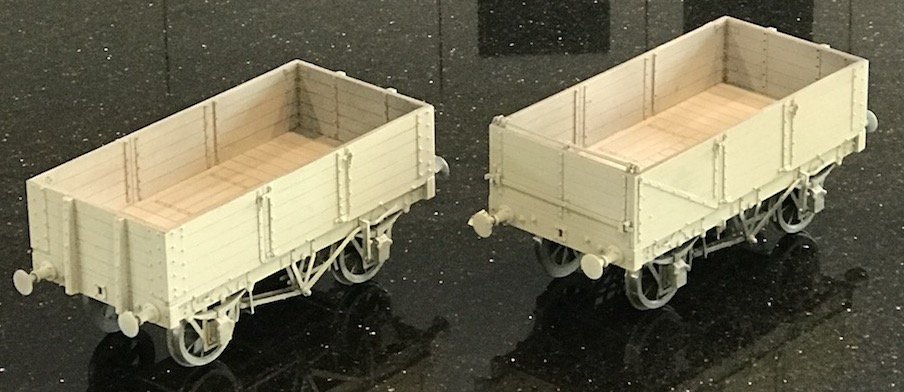
Clearly the two wagons are very similar and the Slaters kits mean that making the second one is a lot easier.  The detail on these kits is astounding.
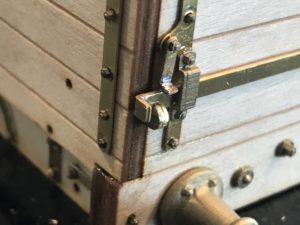
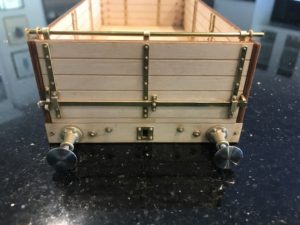
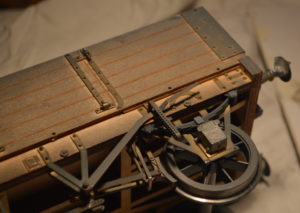
These are pictures of the end-door version (D351) – the catches to hold the end-door closed.

I suppose that this is why I find the kits so satisfying to make.  The catches almost look as though they would work!


So there you are – next will nearly complete, I guess …

Slaters Gauge 3 Midland Railway D299 wagon – 2

“Slaters Gauge 3 Midland Railway D299 wagon – 2” because I have shown a little bit of the construction of this kit from Slaters Plastikard in my entry “Gauge 3 action” earlier.

Despite name of the company who made it, this kit has almost no plastic!  It is nearly all wood and metal, which I greatly like.  It is also phenomenally well-designed and made, and all fits together very precisely and accurately. My previous entry left it at the stage where the body had been put together, but then I had the opportunity of having help with my “live steam” Dyak, and so the wagon project was abandoned.  

Well here I am back at the wagon works.

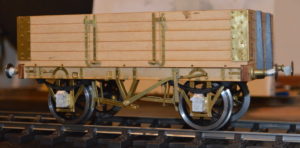
After the wonder of putting together the beautifully laser-cut wooden body, and the tedium of inserting over a hundred dummy bolts (about 1x5mm each!), I have put on the wheels, including the suspension, and the rest of the underframe details.

As you can see from this and the previous picture, these wagons often only had brakes on one side, and that is what I am modelling.

Painting should be straightforward – in theory, if not in practice!  Everything above the bottom of the sole bar in wagon grey, and everything below in black!  What is more, wagon grey was variable in shade, so almost any light- (or indeed quite dark-) grey is realistic!

I found a grey. primer, but once applied, I have decided it is a bit dark to look nice (I want to have a variable grey fleet of wagons, even if I cannot have a colourful collection).  So I will apply a lighter coat of grey later – I had hoped that the primer would double as a final colour.

In any case the primer came from a “rattle can”, and didn’t provide an even coat, not getting into the corners well at all.  Using the airbrushes with a lighter grey should fix that issue as well as making the colour more acceptable (to me …).  On the other hand the primer appears to have covered all the metalwork, which is what I really needed it to do.

Local Walks (8) – flowers

Almost counterintuitively (for an ex-Brit, anyway) winter is a time of flowering for many native plant species.  Sue and Marchelle went on a walk last week, which even though very close to Blaxland/Mount Riverview was through some beautiful country with lovely flowers.


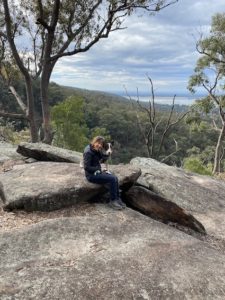
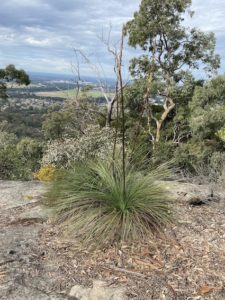
This is the lookout which they walked to, with views over the Nepean region.

– “The Nepean Lakes.”

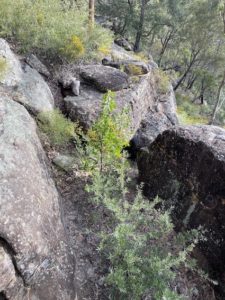
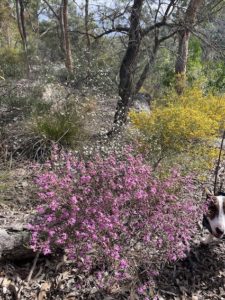
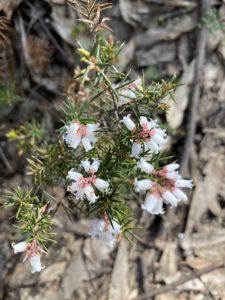
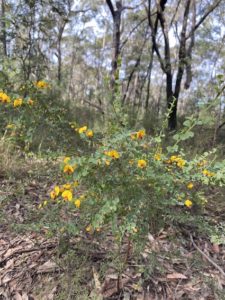
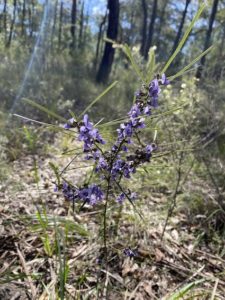
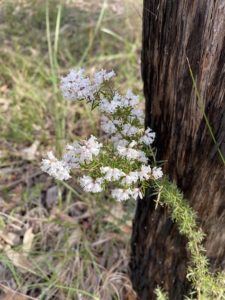
Below are some of the beautiful flows/shrubs/bushes which they found.


I must admit to not thinking of the spring flowers in Australia, but this is the equivalent, I believe, and very beautiful, too.

Local Walks (7) – the Blue Pool

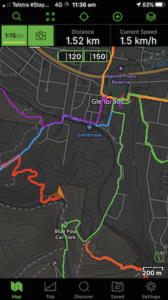
Another lovely walk, and very local to us.  This map shows the location of Blue Pool, in Glenbrook Gorge.

When this was taken (a “screenshot” off my iPhone), we were where the arrow marks, a little below and to the left of the centre, at the Blue Pool.  As you can see, and the crow (or Currawong) flies, this is only about two kilometres from our house, which is about where the second “o” of Glenbrook is placed on the map.

It is a lovely walk down through the bush-covered slopes of the Gorge.


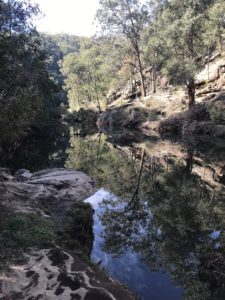
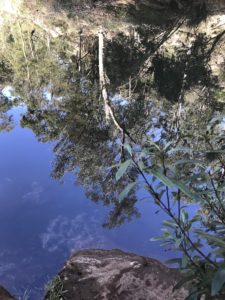
Here are a couple of pictures of the Blue Pool, taken from the northern side where we came down.


The water is very still, with great reflections to be seen in the water.

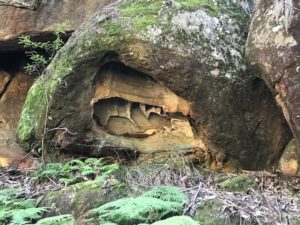
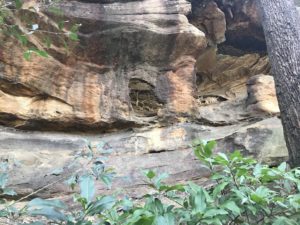
As is true up and down the gorge, there are amazing rock formations created by wind and water eroding the sandstone, here are a couple of examples seen by just this small stretch of river.


Anyway, it was a lovely walk, straight out of our front door!


Reflections, in the Blue Pool.

As ever, with any image double-click to enlarge.

Local Walks (6) – the Blue Gum Swamp (near Winmalee)

There are several areas with Blue Gum forests but this one is a pleasant walk from Winmalee.  It’s best done mid-week, though, Marchelle tells me.  Otherwise you apparently have to spend much time dodging mountain bike riders.


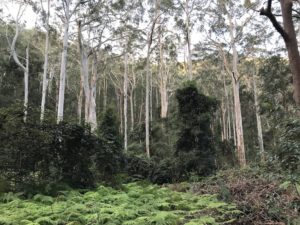
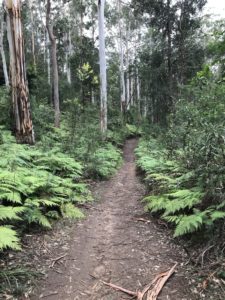
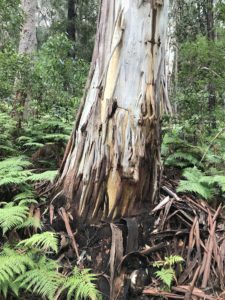
The trail is wide and relatively flat, with some extraordinary trees:

.


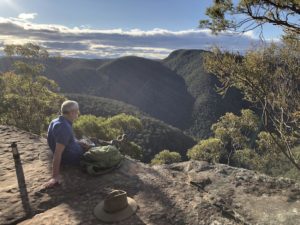
Although the route can be kept relatively level, we walked up to a lookout over the Grose Valley.


Local Walks (5) – Duck Hole

Another local walk – this one with no driving at all.  We just walked from our front door down through the village to the start of this walk.  Down to Glenbrook Creek, then along the creek to Duck Hole.

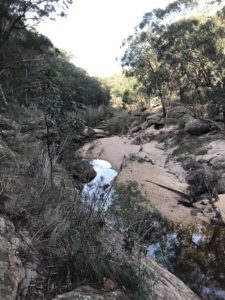
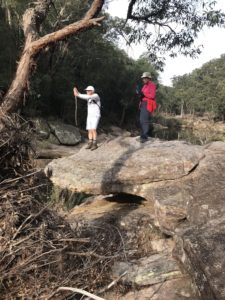
This is our recent walk to the creek with friends Chris and Greg.  The descent was quite difficult in parts, as we didn’t seem to follow any clear and well-used route, although such routes are available – we must just like a challenge!  The valley has been cut deep into the rock by the creek, and the amount water at times is clearly immense: after the recent flooding rain (a couple of months ago) the water must have been at least 5m above its current level, as shown by knots of twigs around the branches quite high up in the trees – knots clearly made by twigs carried down on the floodwater.


The erosion of rock in the creek is astounding, as can be seen in this picture – at first Sue and Greg were completely unaware of the gap beneath them.

The rock is cut away even under Sue, not seen so well in my picture.


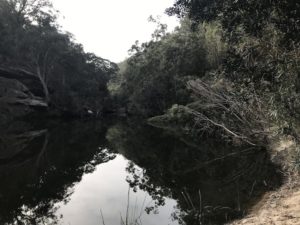
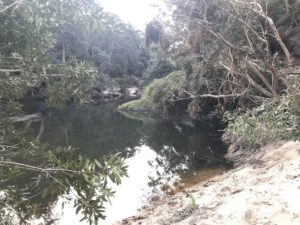
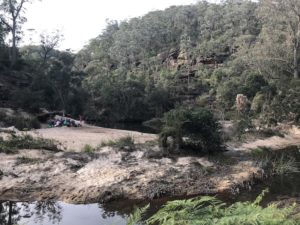
Why it’s called Duck Hole is obscure, but there are many such pools along this section of the creek.


More pictures of Duck Hole: