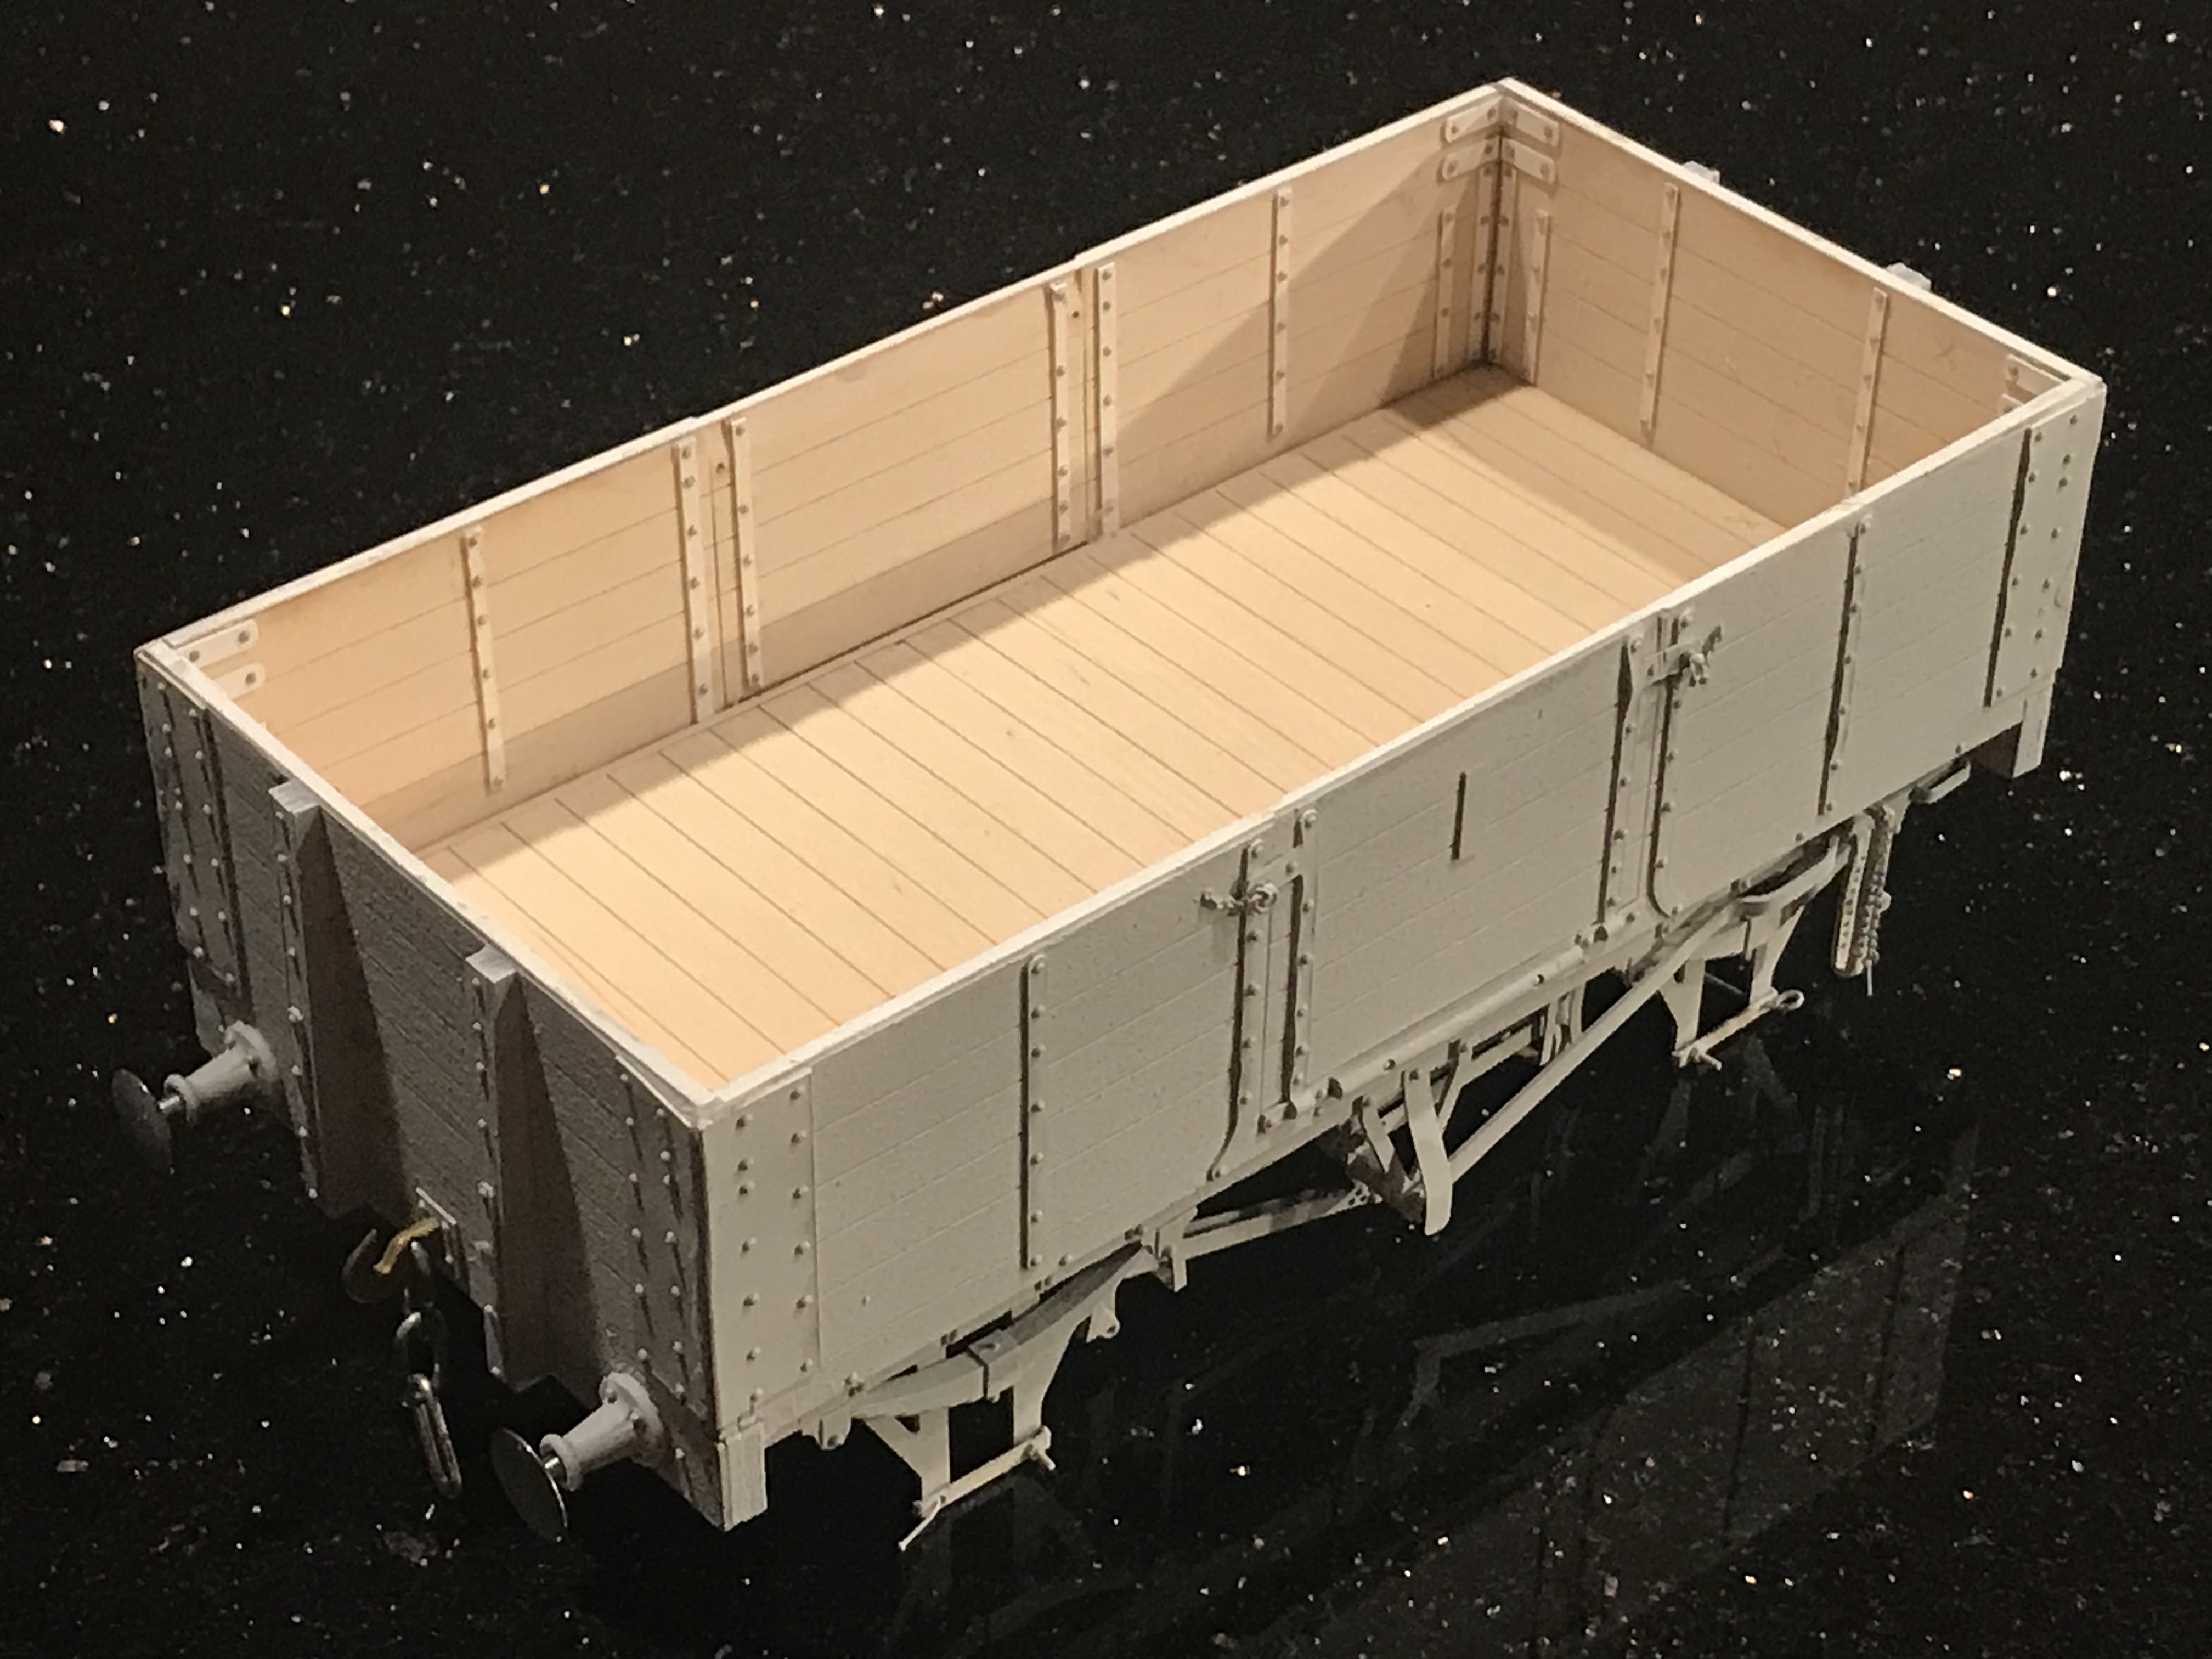
 I’ve painted the wagon in undercoat and then a topcoat of what I thought would be a good representation of the Midland Wagon Grey, but it looks too light/pale to me. The answer might be to put on the MR transfers (white) and then “weather” it to a darker colour. I’m not sure.
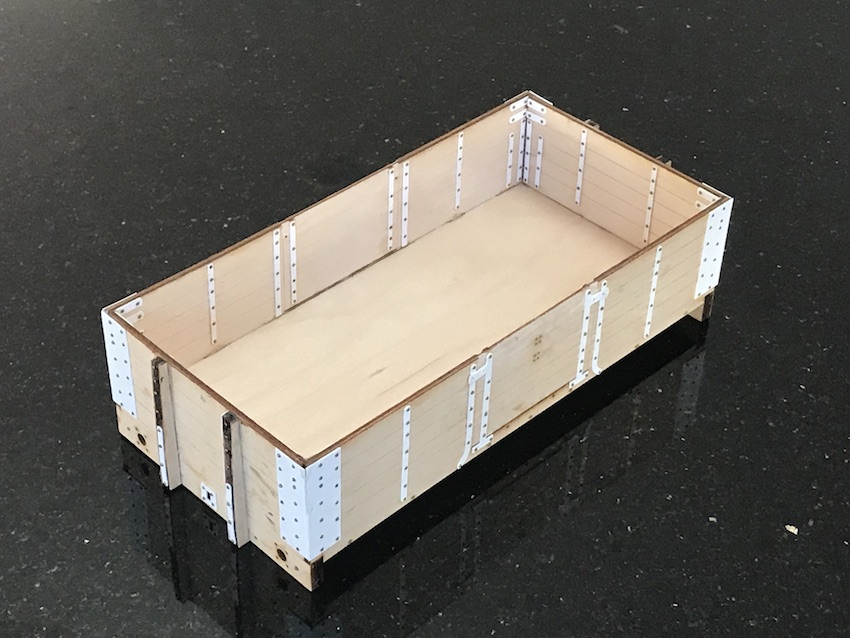
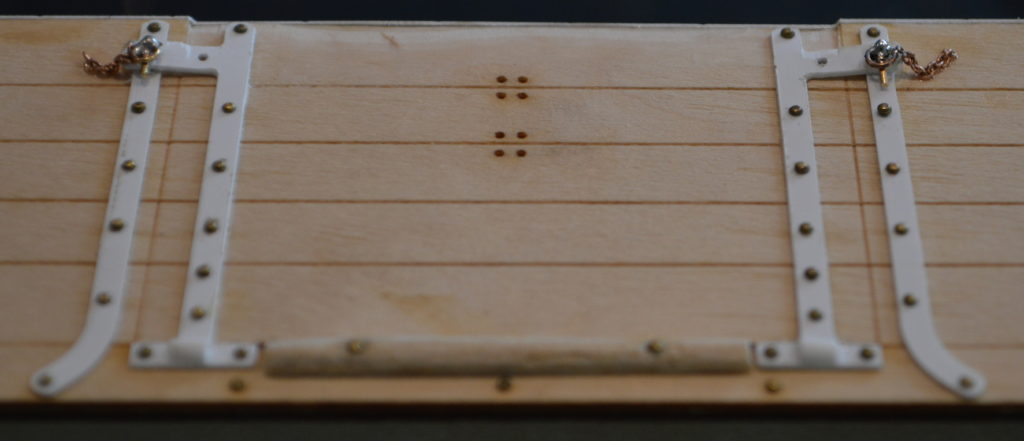
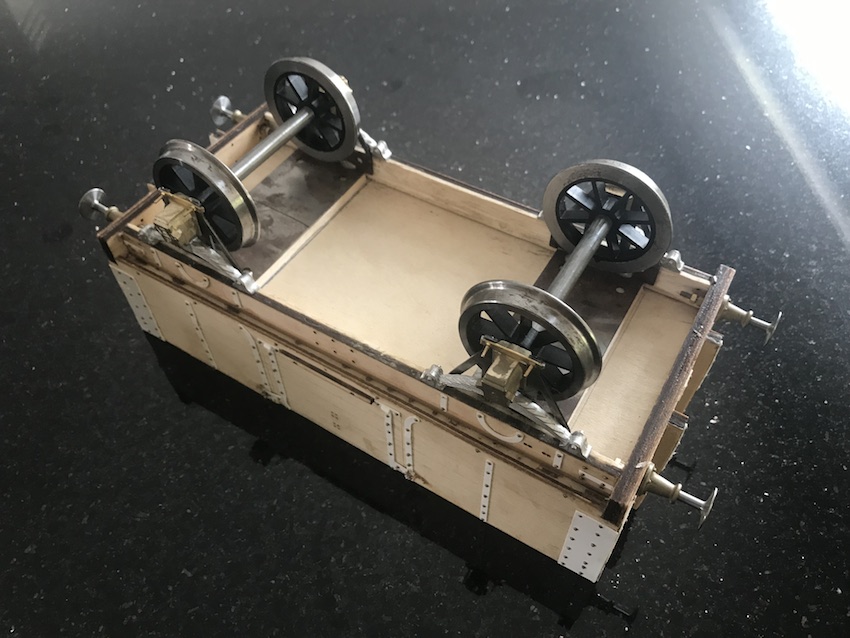
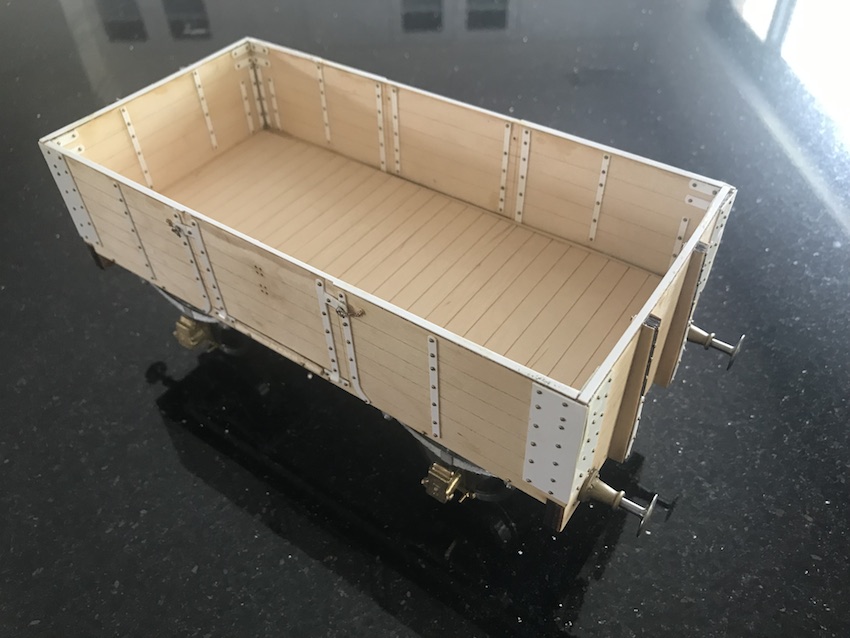
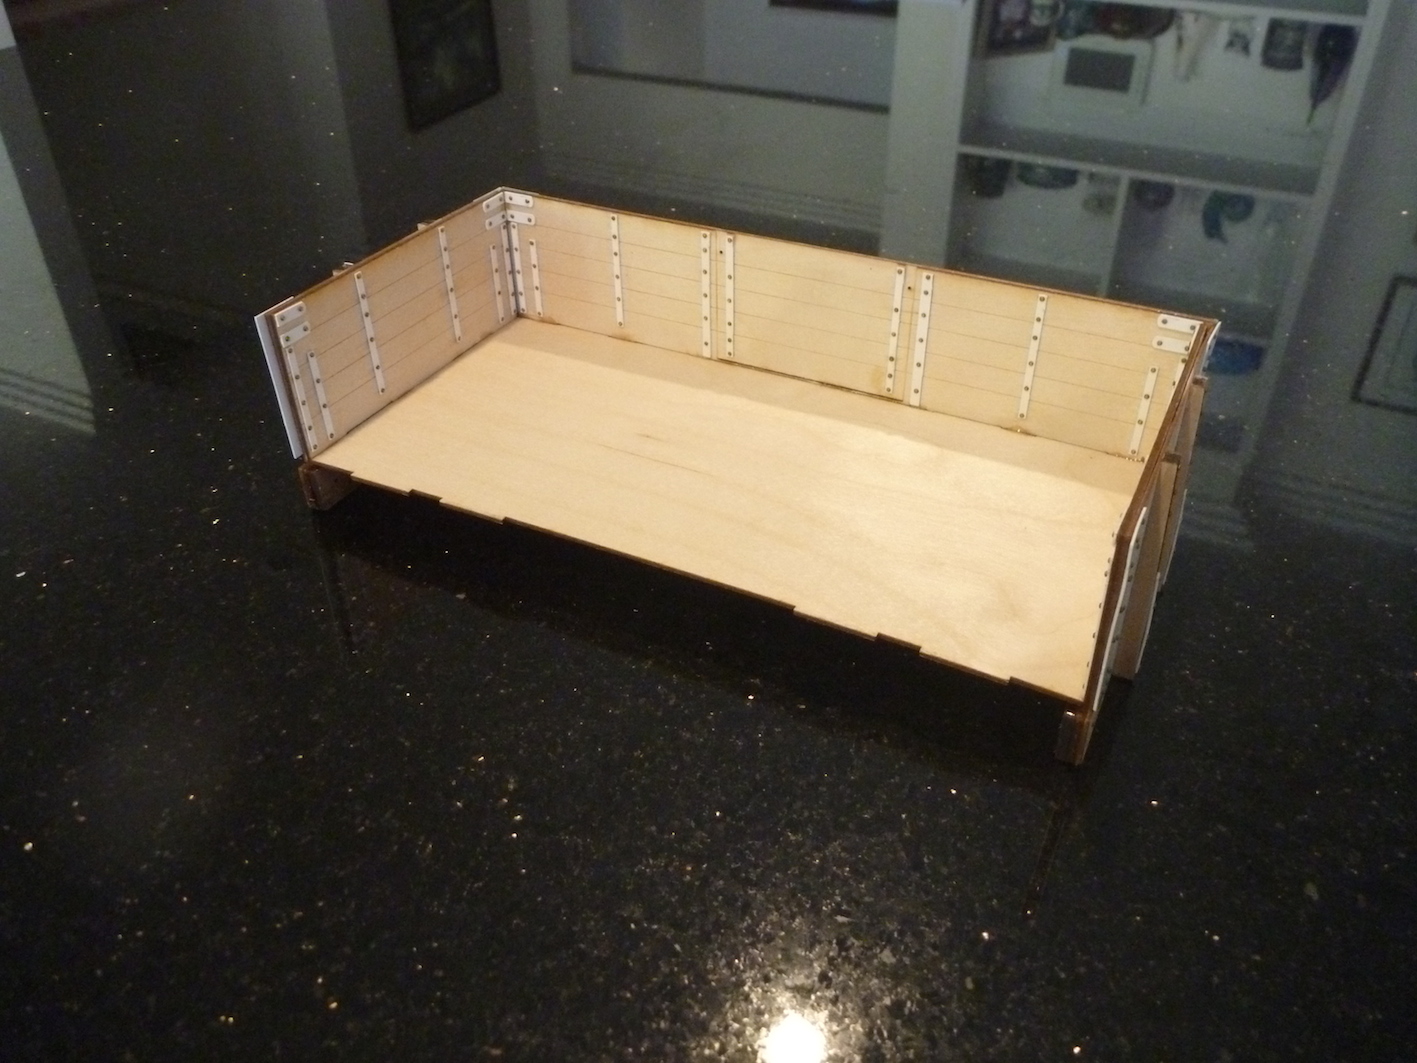
Here it is, without the wheels or buffer heads. The inside needs to be made a realistic wood finish also.
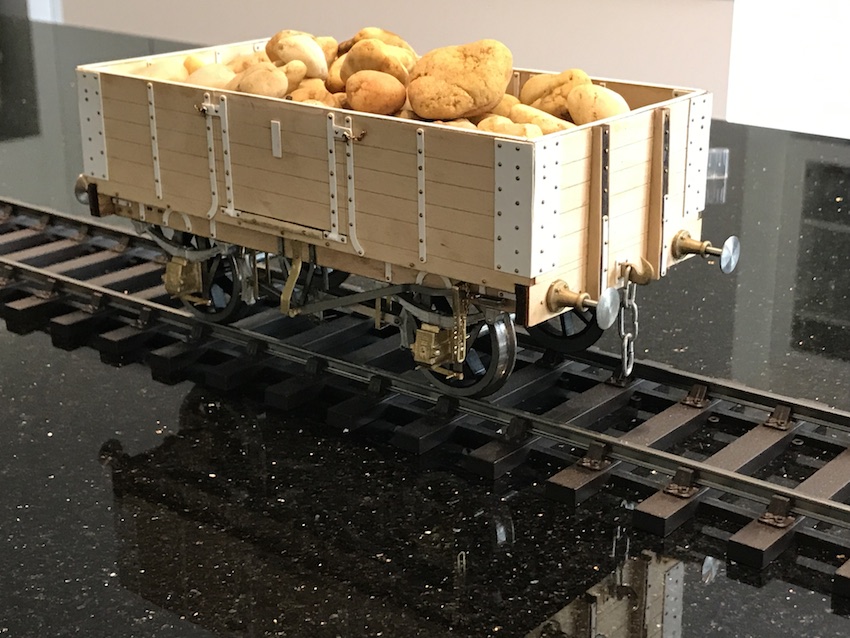
Meanwhile, I have started another wagon! This time it is a Williams models “Flexi Kit”. These are an “economical” type of model, which Mike Williams is a little hesitant to sell, actually – he thinks they are lacking the detail of other kits, and though less expensive are not (in his view) good value. There is no internal detail, and no floor inside the wagon. However for coal wagons (which this is a model of) filled with coal, these features would not be visible anyway. So if I make a model load (with real coal incidentally), the lack of internal detail will become irrelevant!
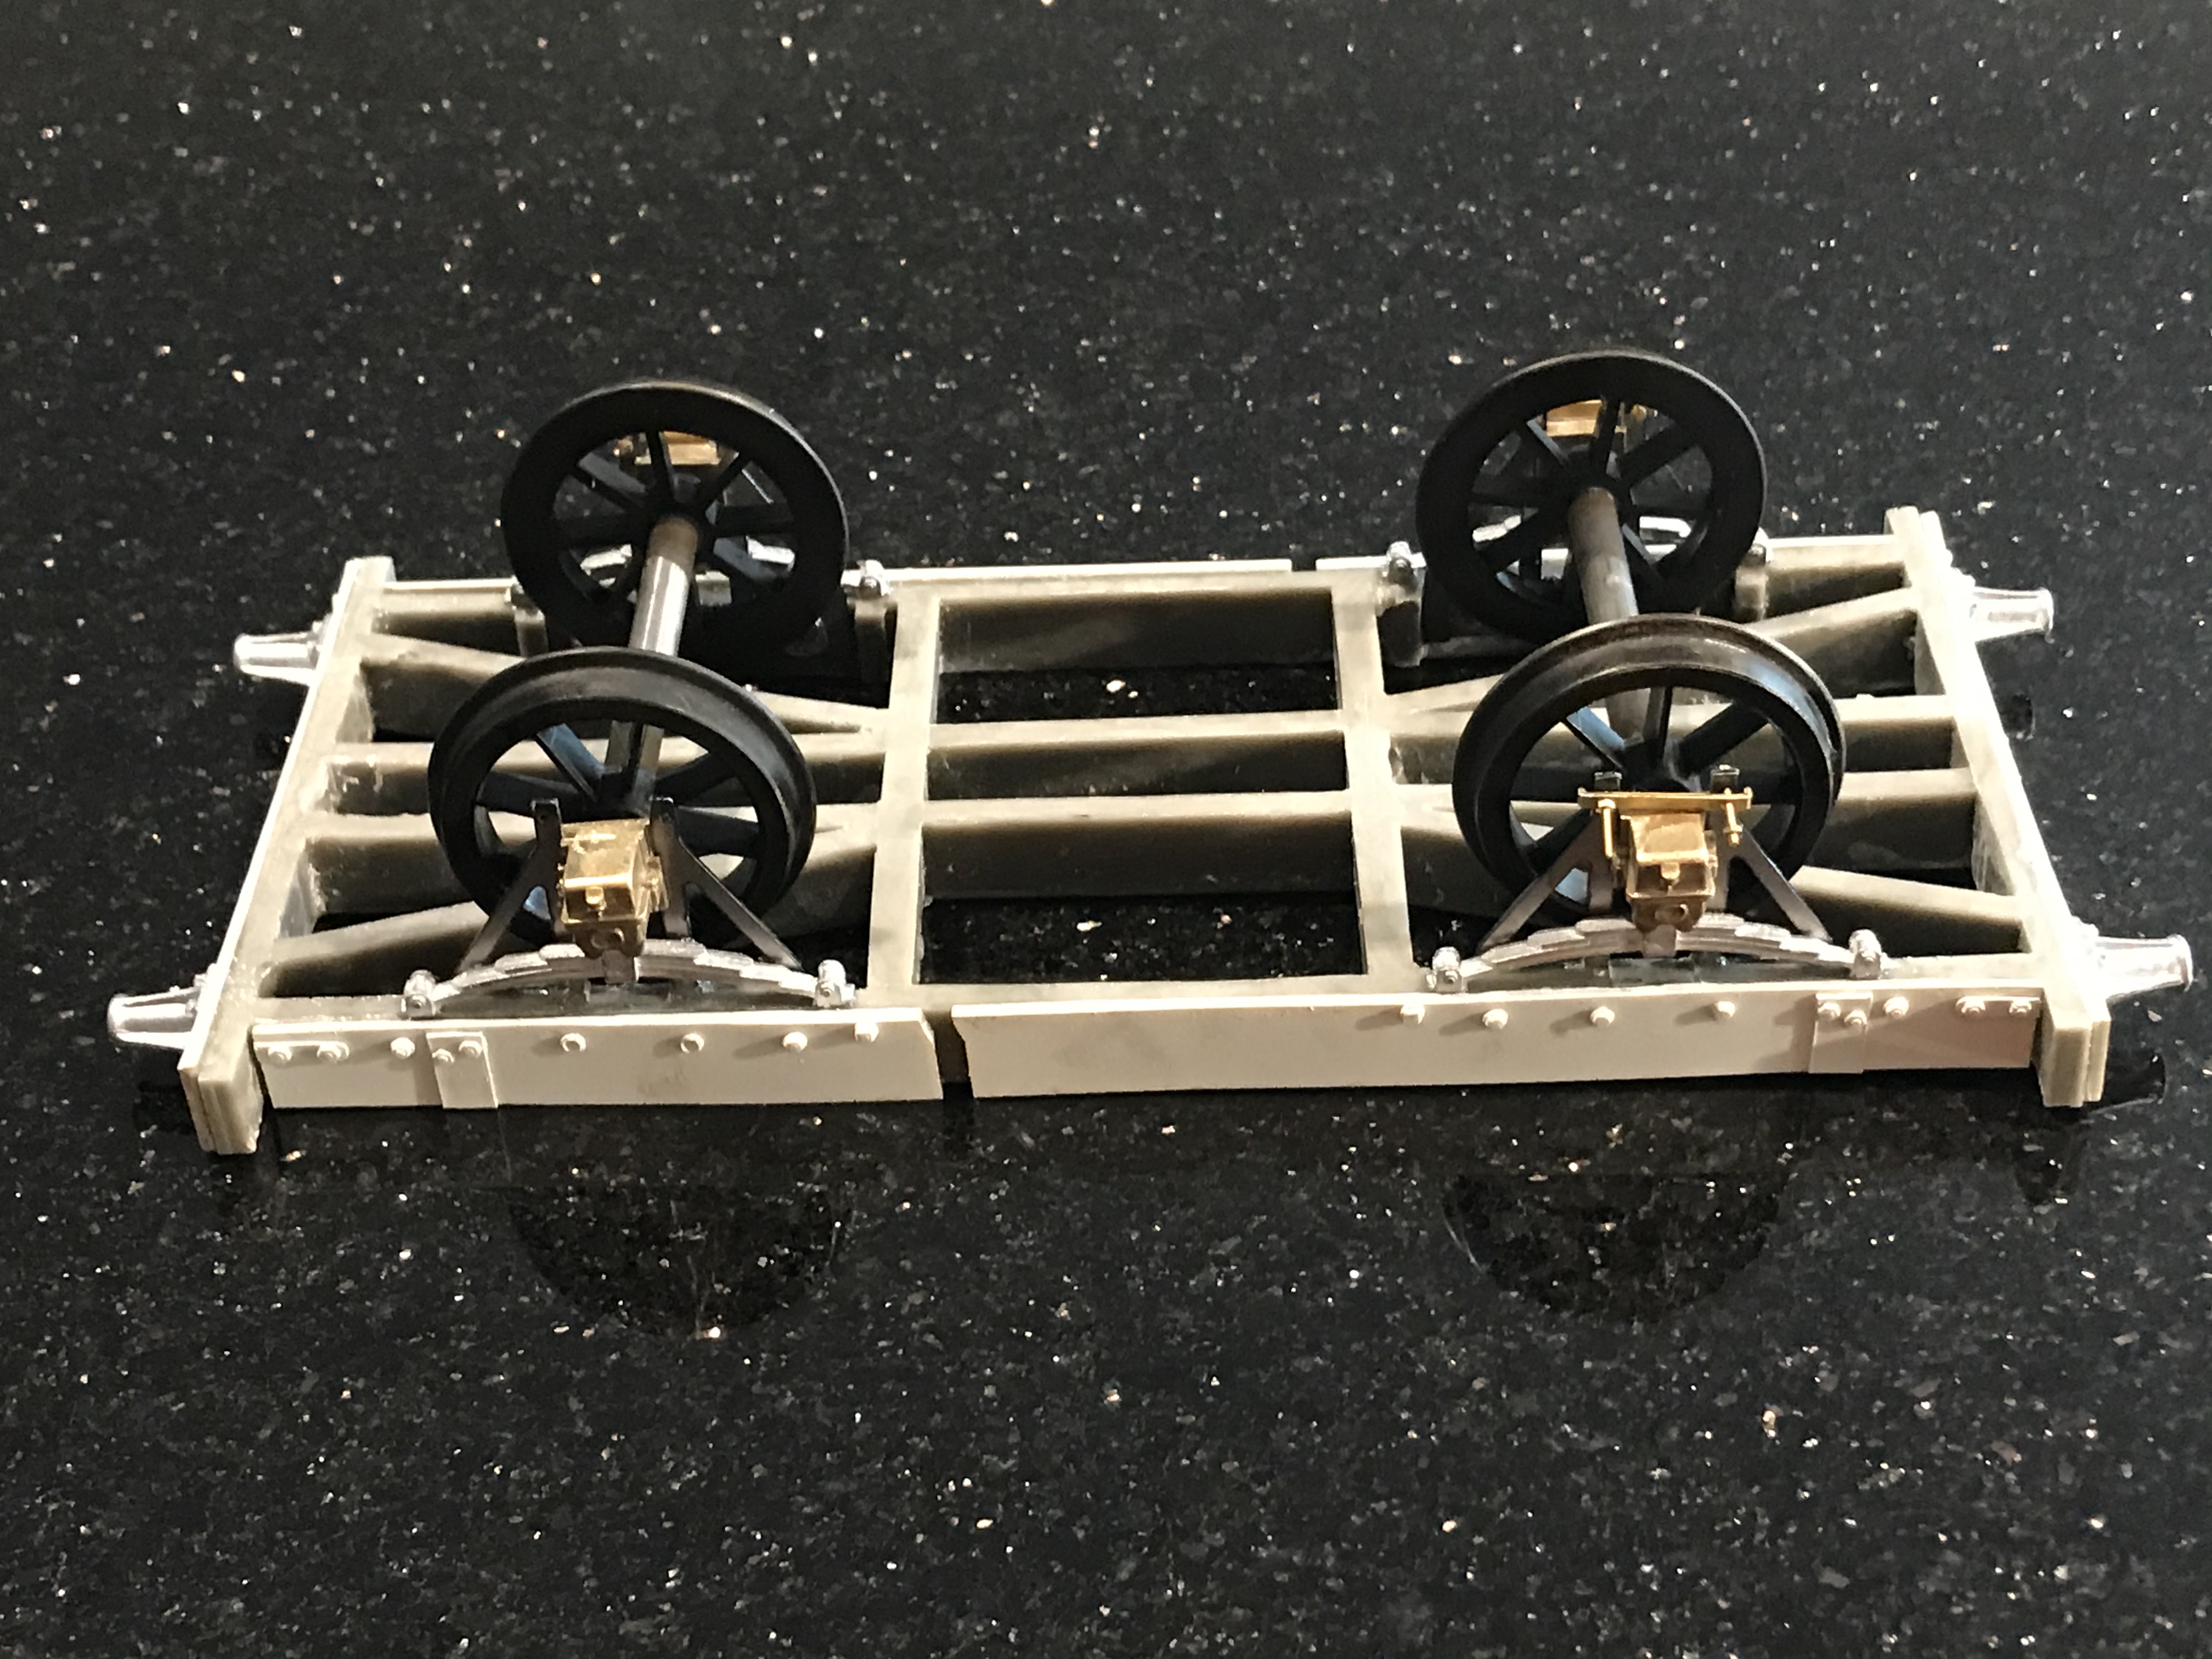 The way it is constructed is very different, as you can see. The first part is to put the “W-irons” (the bits holding the axleboxes) onto the underframe.
The underframe has NO detail, and this is added by glue-ing detail facings onto the frame – which you can see in the picture. I think the resin mouldings of the facings must have shrunk when moulded – they are too short by a couple of millimetres. Fortunately there are no details in the central portion, so I could simply put a cut into the facing and line up the detail (bolt-heads for the W-irons) and then fill in the central cut with Milliput filler, later.
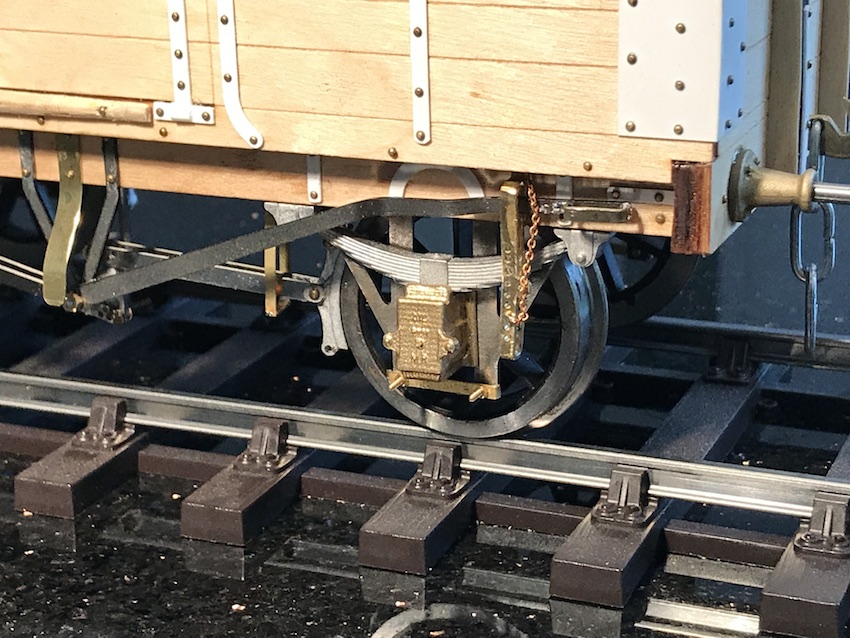
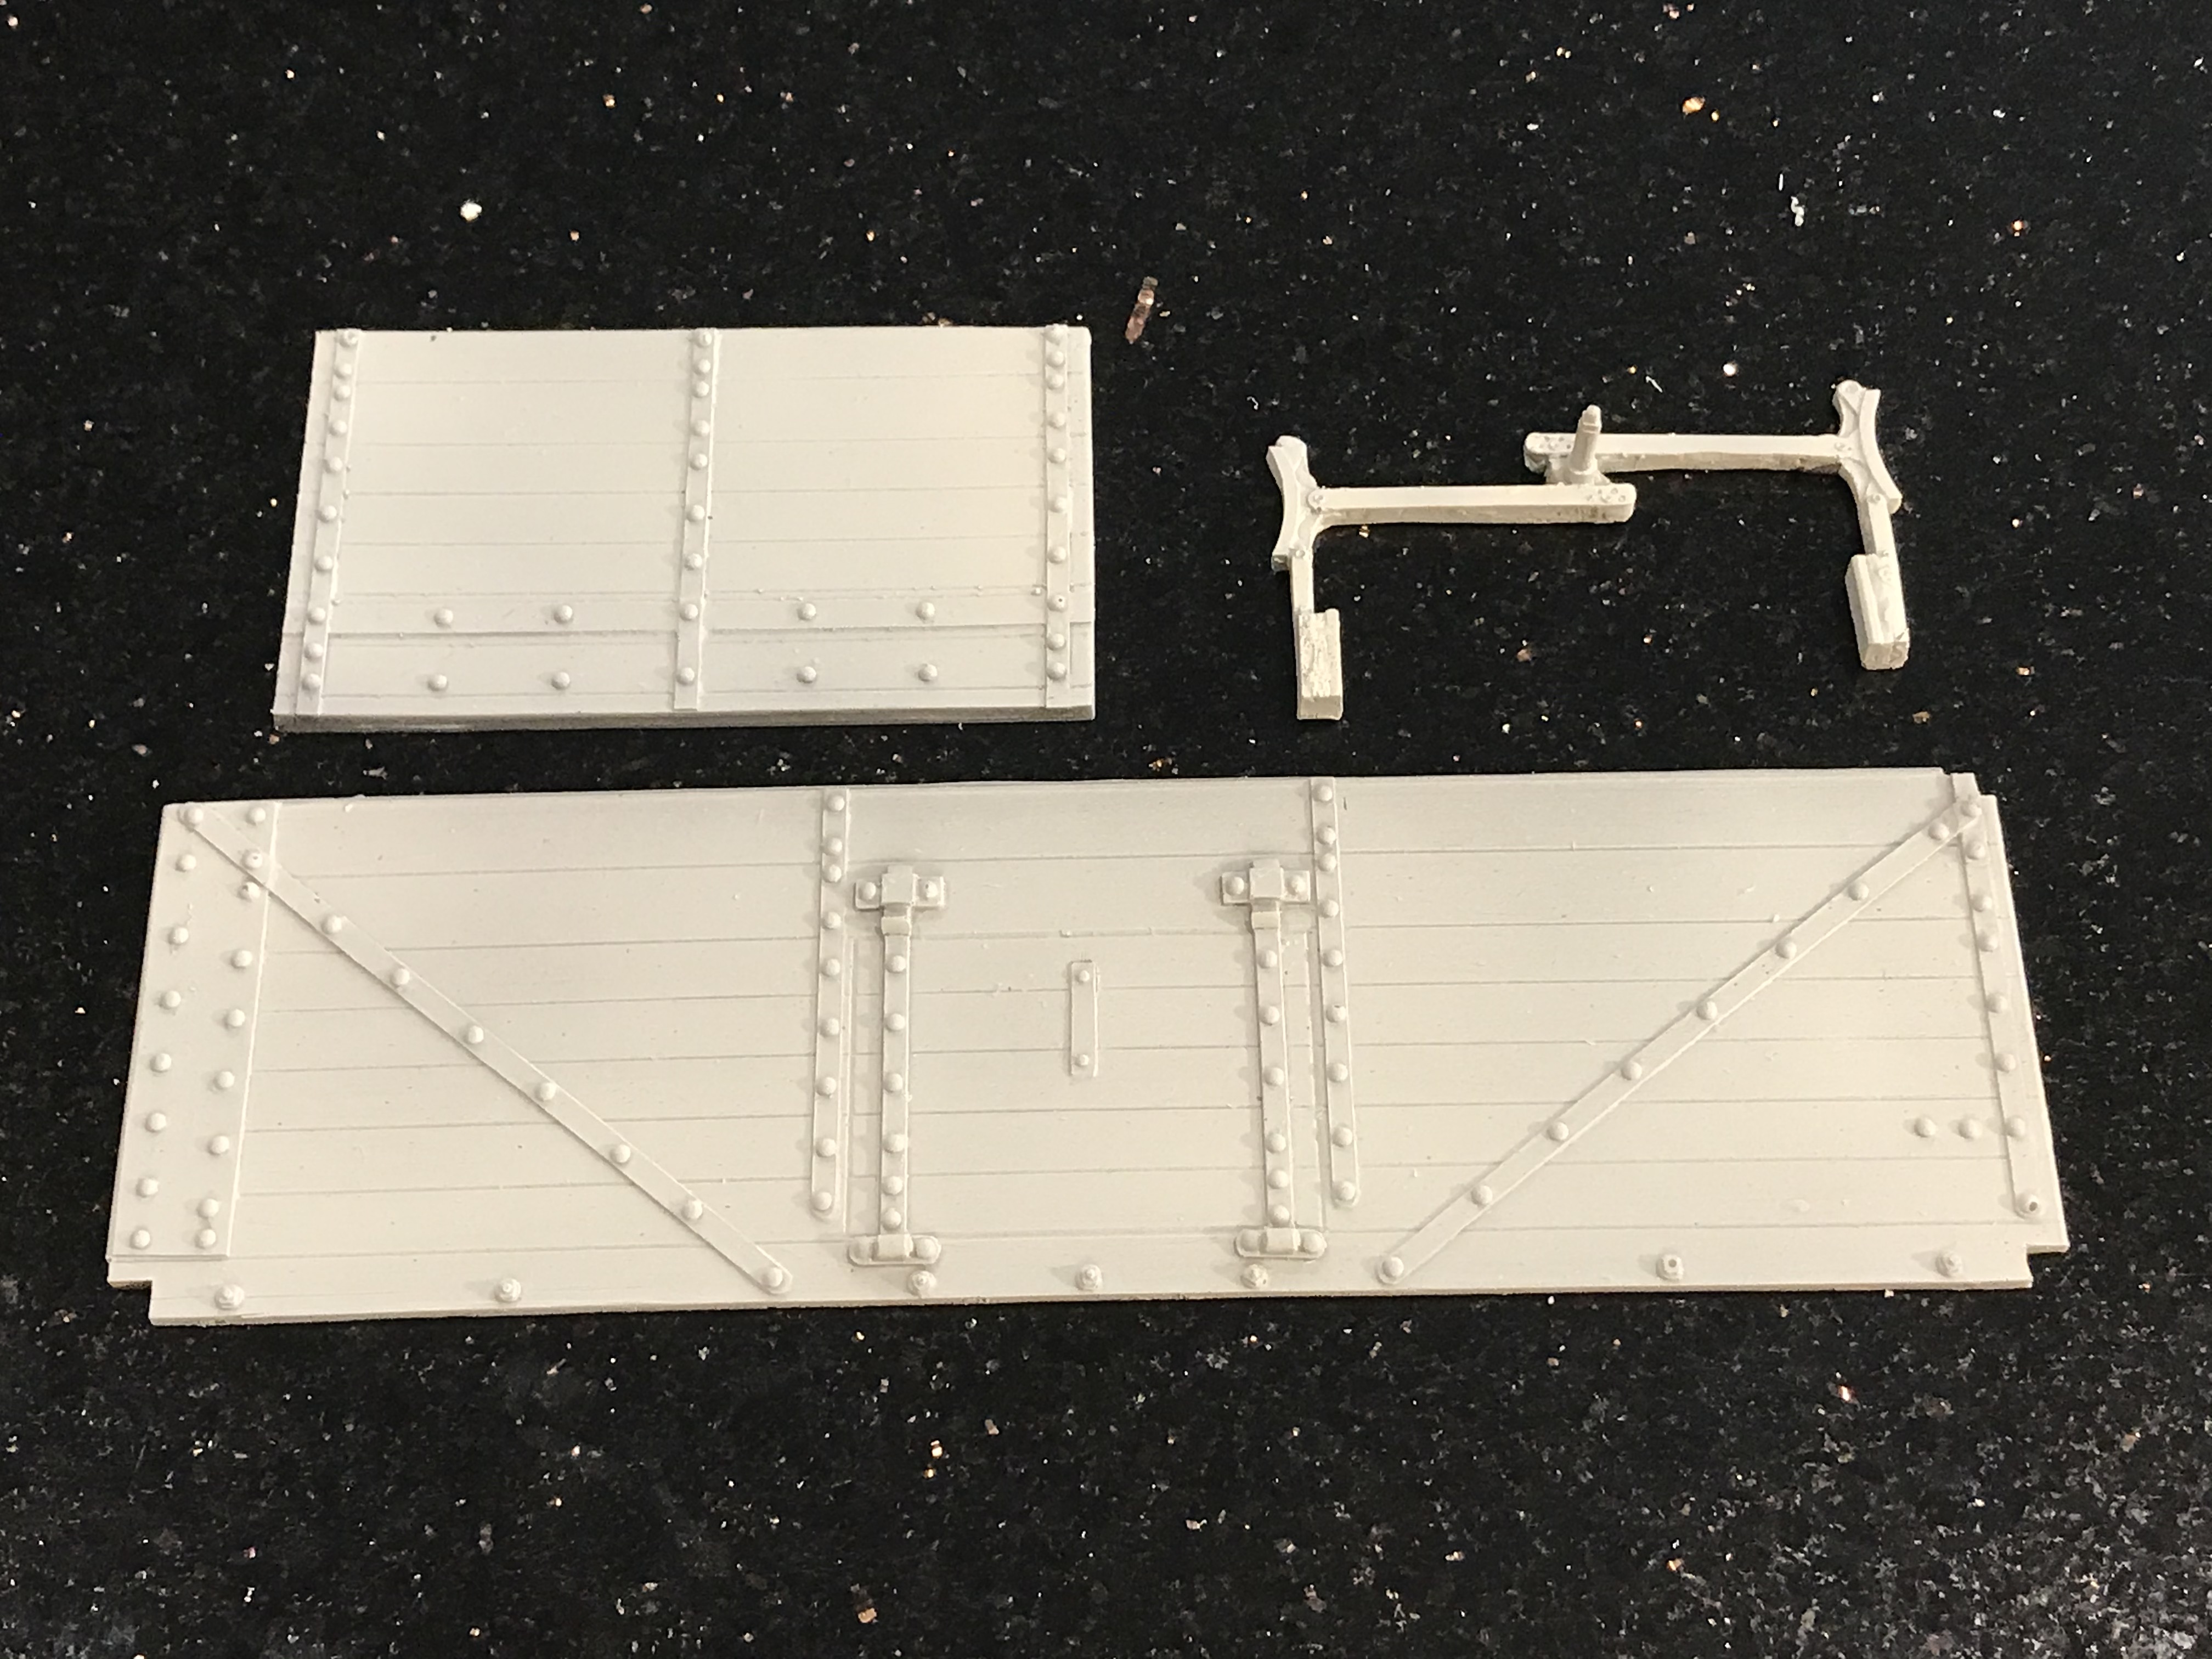 The brake gear is much less complex to put together – it is a single resin moulding, seen here in the top of the picture.
Mike is correct in that it looks crude when first seen. However with care I think the wagon can be made to look good.
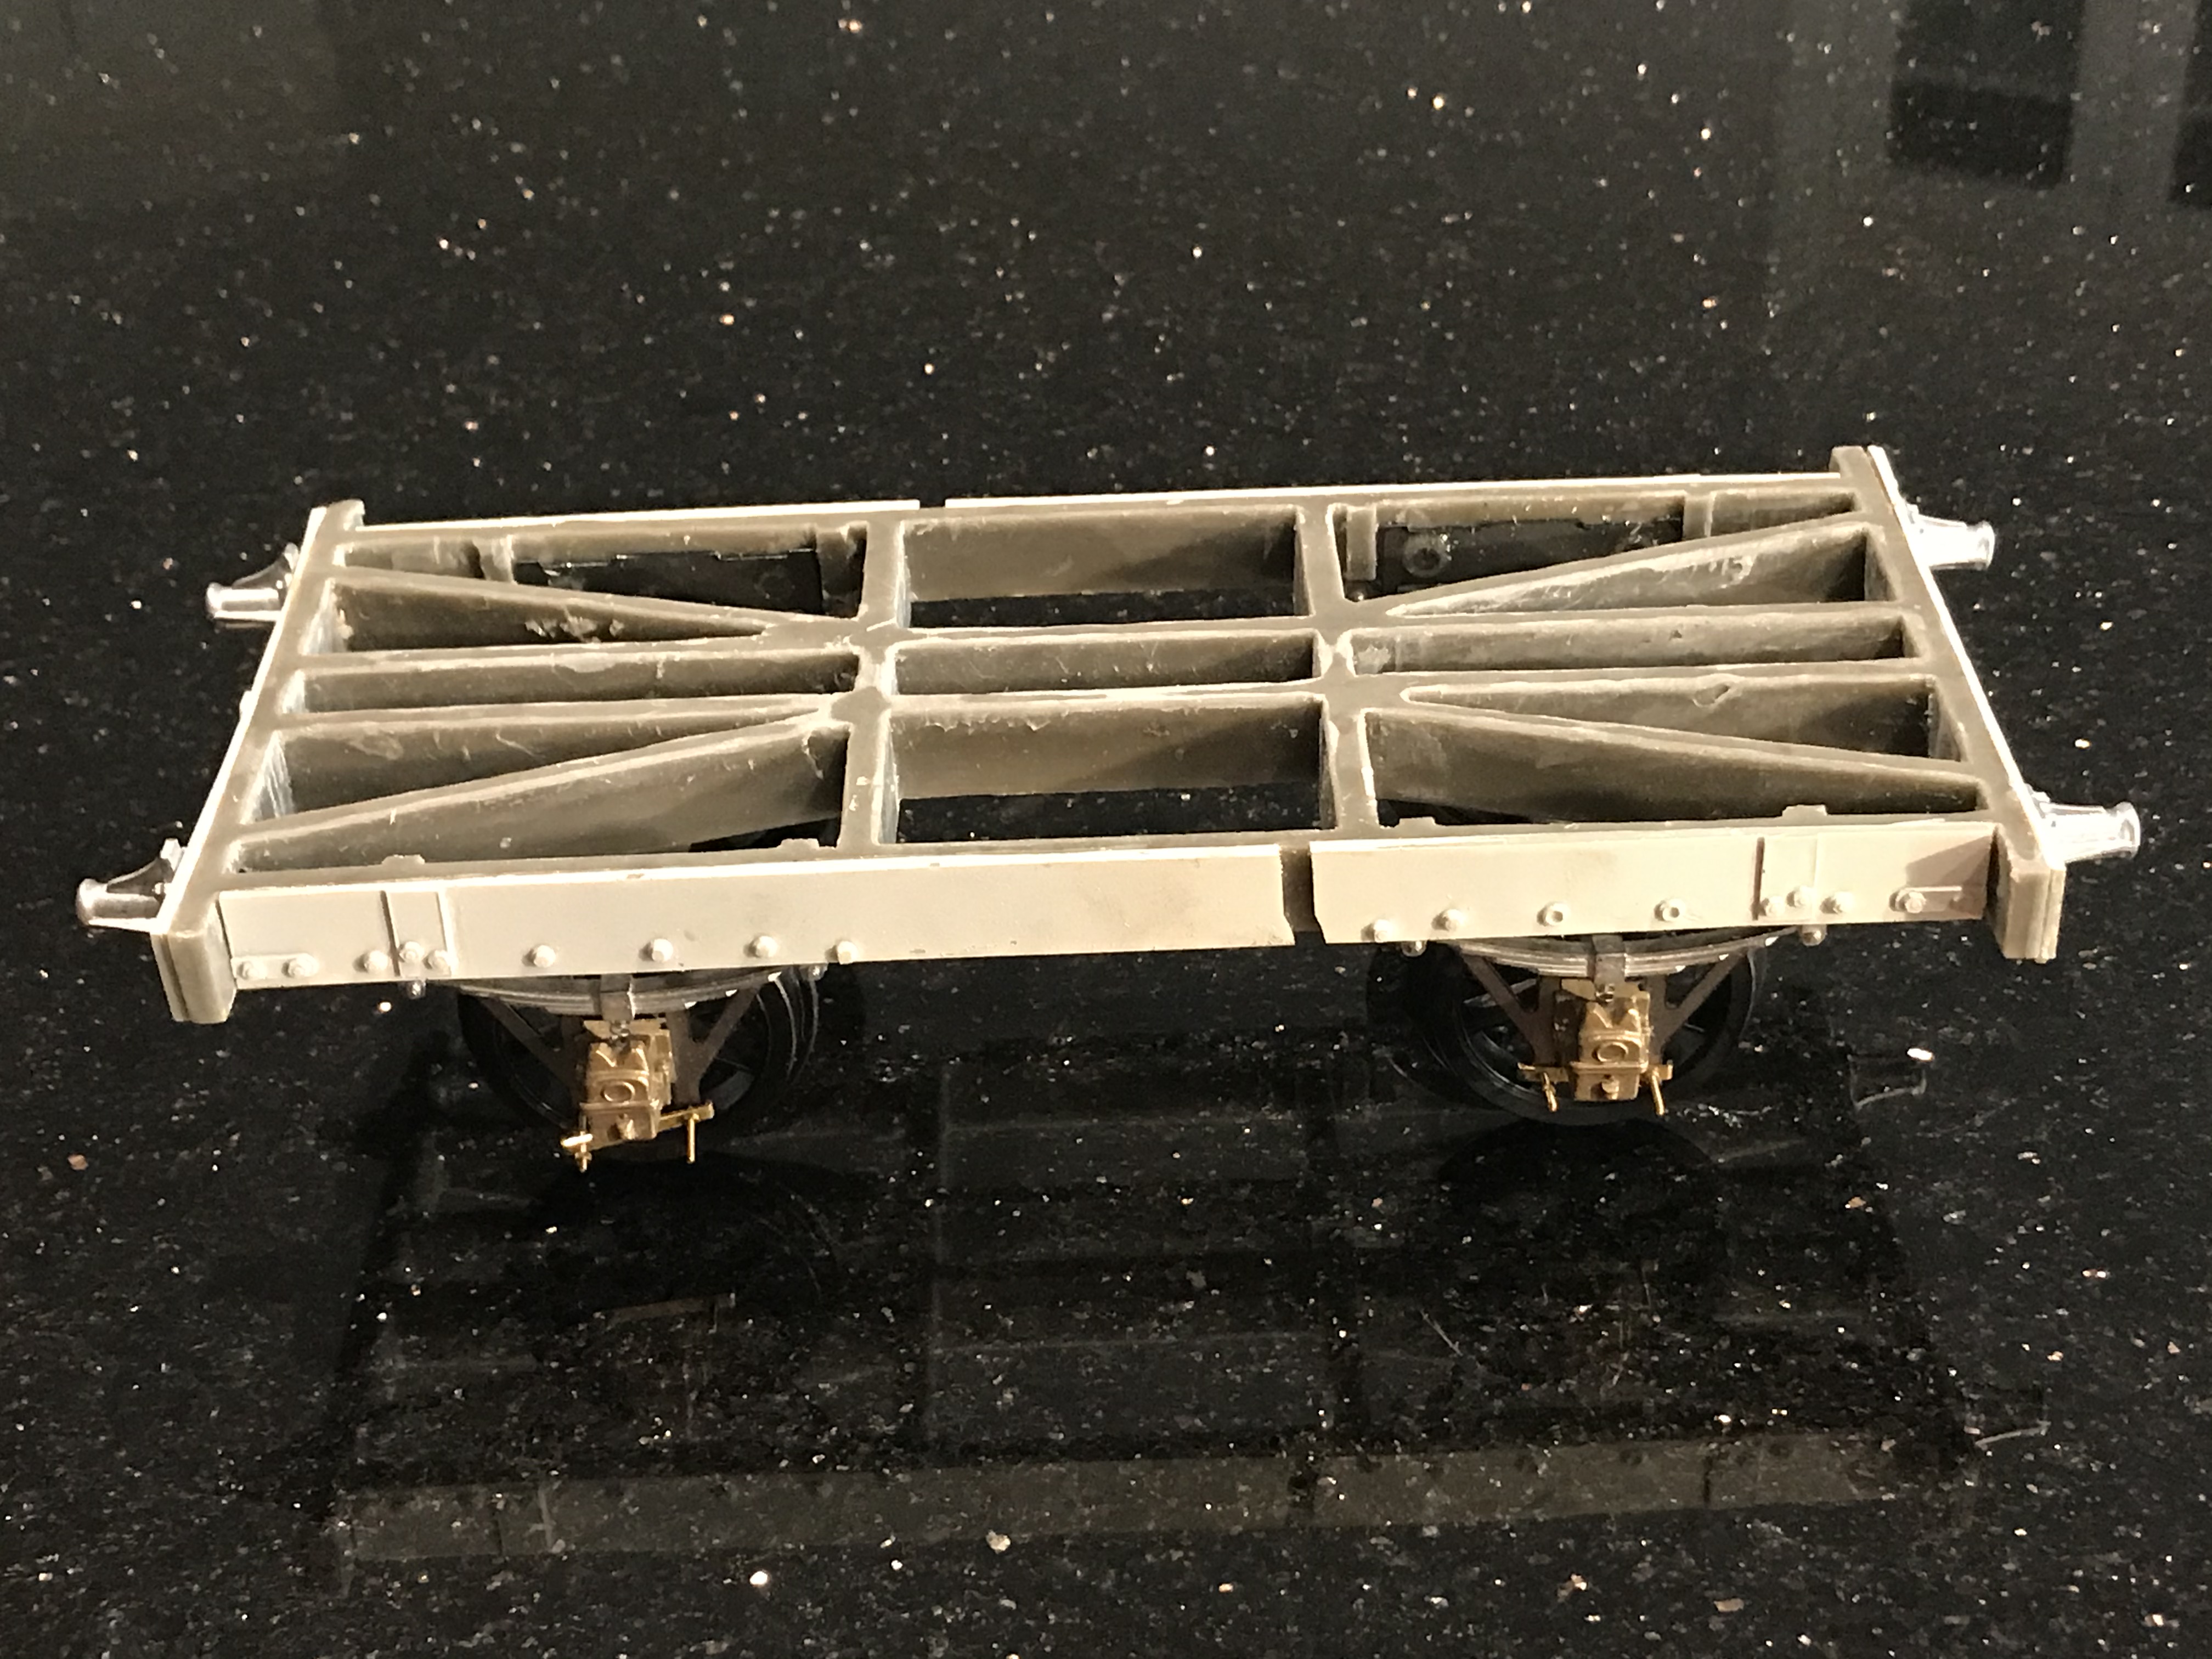
It’s interesting to start the wagon from the bottom and work up, whilst my previous wagons I have built the bodywork first and added the W-irons, wheels and brake-gear later. The details on the mouldings look OK, so with care I suspect a perfectly acceptable wagon will emerge.
We will see. Click on pics. to enlarge.


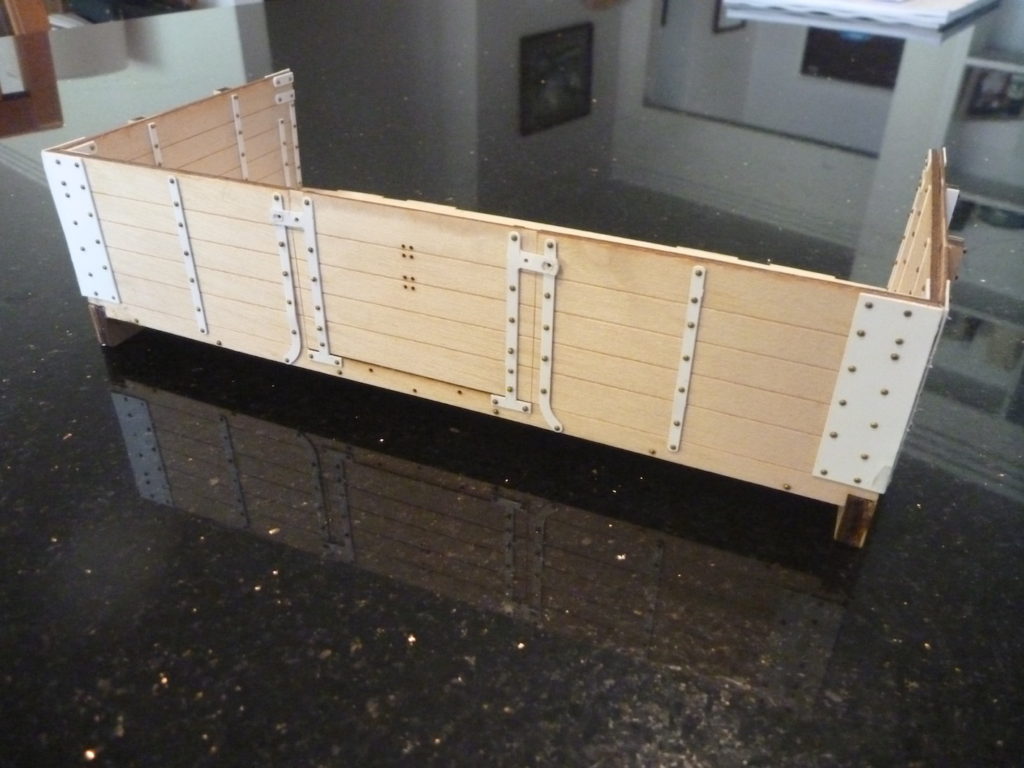
 After laminating the sides together (each side and each end has two flat parts to laminate), the time comes to start putting it all together.