Glenbrook House 11 – Granite

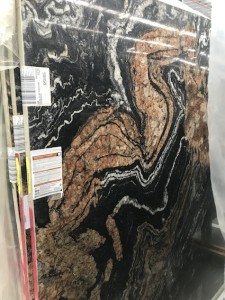
We had to go out this week to choose the grant for our kitchen bench tops, and also the granite floor which will greet visitors (and ourselves) as we come in through the front door.

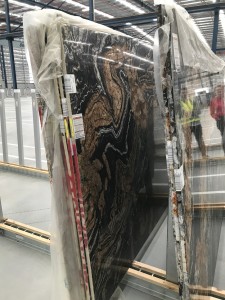
Granite 4 copyThis is the actual price of granite which will make up the floor.

It is called an “Orinoco” pattern of black granite and comes from somewhere in Brazil (so much for obtaining all our building materials locally – there are a few ship-miles in this!).

There will be a 1.8×1.8m slab of this granite on the floor just inside the front door.


Granite 2 copy


In this picture you can just see a reflection of  Sue, in the vast warehouse we had to visit to choose the precise bit (necessary as the stone is so variable).


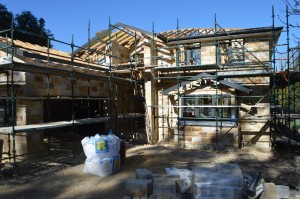
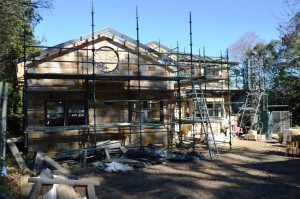
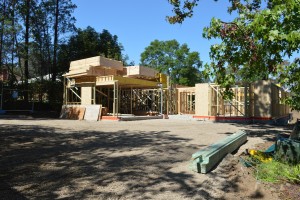
Small 47 Park Street 16th July 003This is what the house now looks like, not much different except the little roof above the bay window in the front bedroom is taking shape.


Glenbrook House 10 – the Entrance

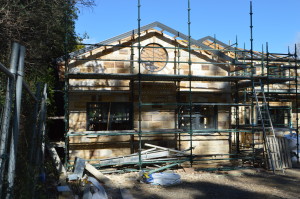
The house is coming along well.  I’m still Impressed with front circular window, but the front entrance is now becoming clearer and more prominent.

Small 47 Park Street 7th July 03

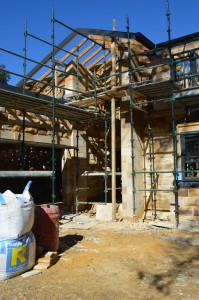
As the scaffolding comes down the entranceway becomes more visible.

Small 47 Park Street 2nd July 1

It is not going to be small, or easily missed!  I had always wanted to live in a sandstone house, and the designer and builder are “doing us proud”: the two-level from entrance will be an impressive feature of the building by the looks of it now.

One of the odd things, if you look, is that the “bargeboards” (the front panels just underneath the roof edge) and the guttering are being put in place even though the roof tiles haven’t yet arrived, let alone been put in place.

This weekend we have been having to decide about electricals: we have had to decide on the location of 40 different site for electrical sockets, and the locations of no less than 110 different lights!  We have also been having to decide upon the house alarm.  Whilst this has never been an issue in our current house, in Glenbrook we will have to have a state-of-the-art house alarm.  Fortunately one of our friends is an expert in this industry, so we are able to use his expertise to get an up-to-date system, wireless, linked to the ‘net, etc.

In reality, it all sounds horribly expensive to me, and I have little doubt that it will be.  Still, out “Grand Design” was never going to be a cheap or cut-price project.


Glenbrook House Number 9 – the rose window.

Whilst Sue and I were away in Europe, there was significant progress on our house in Glenbrook.

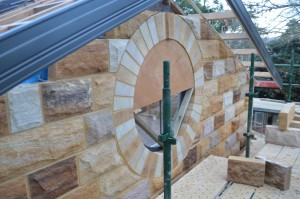
We returned to find that the round window above our garage – at the front of the utility room, had been largely finished, with the stonework around it done.

It looks magnificent.Small 47 Park Street 25th June 03

As the house progresses, it becomes ever-more impressive.  The round window at the front is going to be especially impressive, I believe.

I hadn’t realised that this was going to be done, so it was a very pleasant surprise.

Small 47 Park Street 19th June 08The stonemason has done a wonderful job.


Glenbrook House: the frames (No.8)

There have been times when I have wondered why we are doing this, but just now I can see all the reasons.  Sometimes it has seemed like an enormous indulgence, to buy a serviceable house, knock it down, and build another house of a very similar size.  Of course it is also a hugely expensive exercise, and some would regard it as a colossal waste of money.  Last weekend we all had a look around the building site, and no lingering doubts can remain: it is going to be a magnificent building, and worth every cent to us!

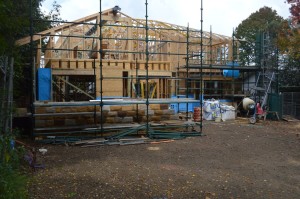
Small 47 Park Street May 14 View from the gate 24mmThis is the view from the front gate (or where the front gate was, to the old house, ours will be at the other end of the front boundary).

The outline of the house is now easier to see.


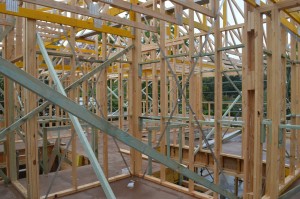
Small 47 Park Street May 005Nick, Andrew and I were able to climb up a builders’ ladder and walk about on the upper level (safe because the floors are there already), and all the framework makes it look like an enormous angular bird’s nest (the nest is angular, not the bird ….).


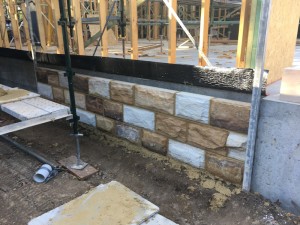
Small 47 Park Street May 8th Sandstone wallAs well as the frames, the stone-layer has been putting up some of the sandstone walls.

Here the quoins are visible – the corner pieces have flatter surfaces as you can see.


Here is the front yard.Small 47 Park Street May 14th Front Yard

The whole thing is much easier to visualise now, with a lovely front entrance coming into shape, the “utility room” over the garage, the large master bedroom and huge living area, the lovely bedrooms with their views over th road to the park.

It has become quite exciting now, a more concrete project (literally and metaphorically) developing in front of our eyes.  Suddenly it doesn’t seem such a mad idea after all.


Sandstone

As more sandstone arrives at the site of our new house, a few reflections on it in general.

IMG_0766


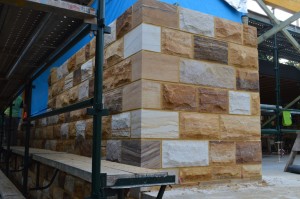
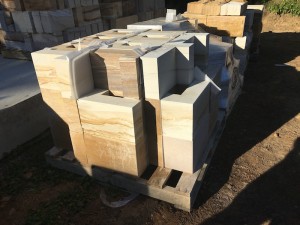
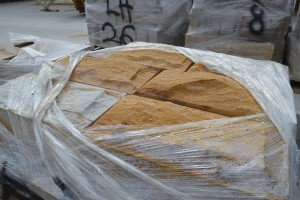
As you can see, the sandstone comes in multiple different colours, or perhaps just multiple shades of brown, from nearly white to very deep brown.

This was one of the choices we had to make at the quarry: any colour?  Dark? Light?  In the end we asked for anything except the really dark-coloured blocks.

IMG_0773


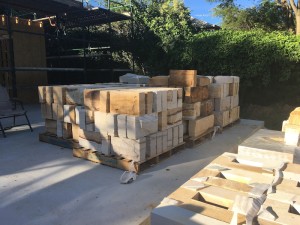
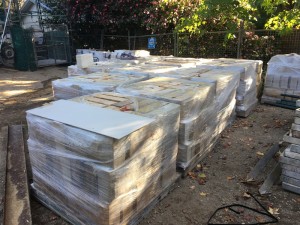
A lot more arrived today.


The decisions aren’t just about colour, though.  We also had to decide upon the face (“rock face”, or “Hydrosplit”) and whether we had “Quoins”, which are the corner pieces.  If you have these (as we will have) they are the corner pieces which stand out a little, alternating short and long sides as you go up or down the corners.

IMG_0772


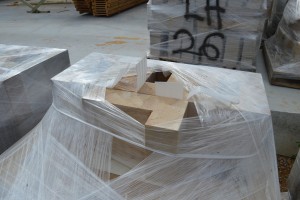
These are the quoins, waiting to be used.


The walls have just begun to go up, and Michael Edwards is worried about how much we like the sandstone.

IMG_0770


We are actually very happy with it.

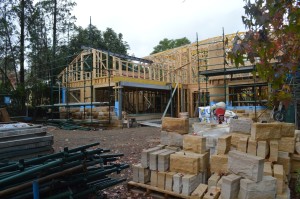
Here is the first view that we will get about what the house will look like when we finally move in.


Small 47 Park St Sandstone building starts 2


There is still an awful long way to go, though.

Glenbrook House update No.7

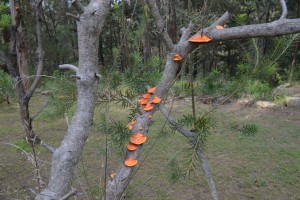
Small Fungus on the BottlebrushThe weather here has been lovely, although after the rain this rather beautiful fungus has grown on one of our bottlebrush trees.


Building seems finally to be getting under way properly.

Small initial frameworkThe frames for the downstairs area are going up, and some of the steel beams have been erected.

The frames for the upper storey have arrived also, and have been stored above the garage, as seen here!


Then earlier this week the sandstone has begun to arrive.  I must say that I hadn’t realised that buying sandstone would be so complicated: what colour do you want (well, sandstone coloured ….?); do you want “rock face” or “hydrasplit”; are you having quoins?   Quoins are the corner pieces, usually alternate directions long and short sides, standing out a little from the main stonework with smooth faces.  Hydrasplit means that five of the sides of each block are smoothed to help construction, but the sixth is left rough.  All six sides can be smoothed of course, but we felt building that way you might as well use concrete …. Rock face means that each edge of the stone is split back to give an even edge.

Small rockface sandstone


The main stonework is shown here, with the rock face visible, and the different colours that the bricks will be.  There are also some pinker parts, but I couldn’t find a good piece not covered in plastic to take a picture of.


Small sandstone quoins


Here are some of the quoins.


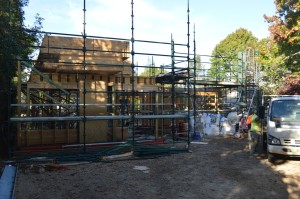
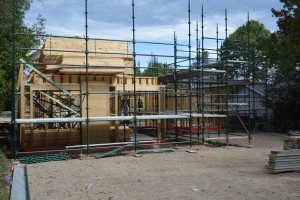
There is quite a lot of scaffolding around the house now, ready for the stones to be made into walls, I suppose.

Final house plans

Whilst we have been waiting for the concrete to harden (see the last entry), we have re-submitted the plans to the Blue Mountains City Council, with a “new” room above the garage.  This is very important to me: without it there was no “junk room” in the house – nowhere to put things that are only used occasionally (suitcases, skis, portable fans, etc.).  Also, there was no room which Sue could not see into on a daily basis: no room that might become a little messy without it distressing Sue.

When BMCC rejected our first design it had this utility room, but the council felt it made the house look too imposing for the village atmosphere in Glenbrook.  Perhaps.  Whatever the merit of this argument we had to remove the utility room to have the plans approved.

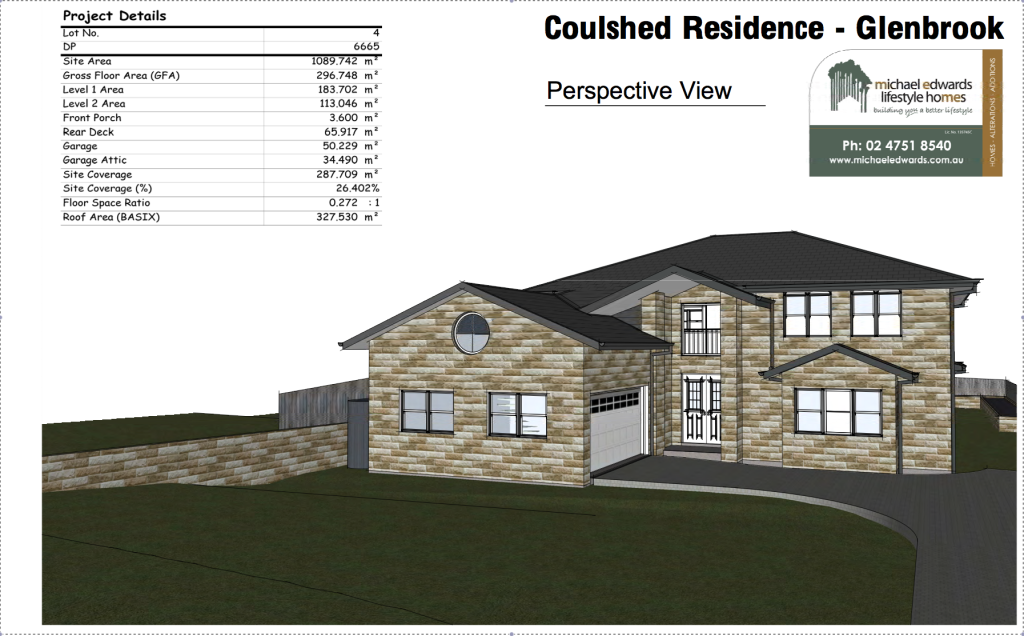
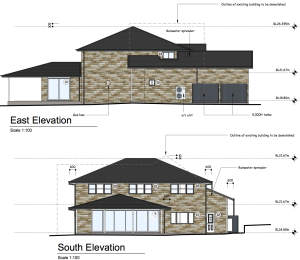
In response, our architect, Michael Weigmann, redrew the design to lower the roof of the garage by about a metre, cutting about a metre off the width of the utility room, with sloping ceilings down to 1.1m at the edges as well.  This went to BMCC as an “amendment”, and has been approved.  So this is what it will look like:

Park Street front perspective 11-2016

A year later, and not much different to the original design.  Actually, to be fair to the council, it does look better.

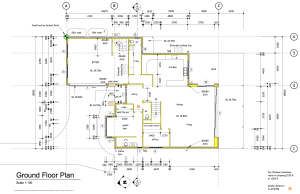
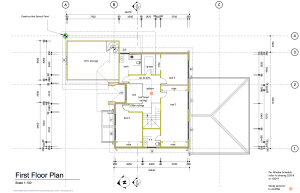
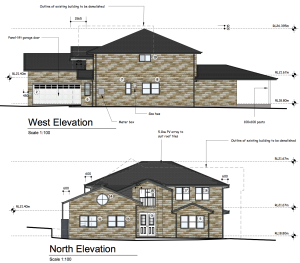
For completeness, here are the plans and architectural views.

Park Street ground floor plan 11-2016Park Street first floor plan 11-2016


As always, click to enlarge.

Park Street front and side view 11-2016Park Street rear and side view 11-2016


No, it’s not a model railway room.  There’s going to be a garden railway ….


Foundations

Whilst we were away in Japan and Hong Kong, the foundations were  laid for our house in Glenbrook.

These pictures were taken by our builder, Michael Edwards, because he knew we were recording the whole process, and he knew we were away – thank you!

The whole process is much more involved than I had thought.  It you look at previous posts, the site had to be levelled, and then Michael had to arrange for holes to be drilled down to the bedrock (I think) to construct concrete pillars stretching from the rock up to the level where the “slab” was to be laid.  The basic below-ground pipes had to be positioned before the concrete is poured, of course, but prior to seeing this construction, I had just thought a concrete slab would be poured over the ground as it stood.

Not so.  First Michael explained that we would be using things which I think he calls “waffle pods” (sounds like listening to politicians on your iPhone) within the concrete.  These are large polystyrene blocks, which I assume mean the concrete transmits less heat away from the house into the ground, and saves on the amount of concrete that has to be bought for the slab.  I’m not sure which is the main influence!

When we returned from holiday, I was surprised at how high off the ground the floor level of the building was going to be, and it was clear when I saw all the pictures, I had completely underestimated the work Michael had to do.
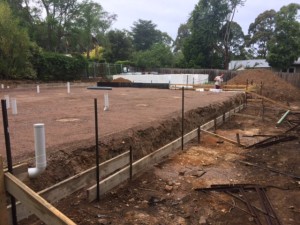
Foundations 1aFirst it would seem that the builders had to build up the ground a bit to achieve a horizontal base.  Exactly how this was done I am unsure, but the stuff on the ground doesn’t look like normal soil, and the base level is already well above ground level.

I estimate that before this process began there was at the most 30cm difference in height between one side of the site and the other.
Foundations 1b


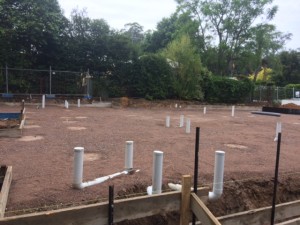
The plumbing it still poking well above ground level, though.

The concrete posts from the bedrock are still visible at this stage.


Next come the waffle pods.Foundations 2b
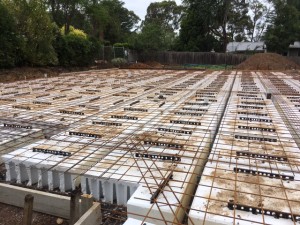
Their polystyrene nature can be seen.  I assume that the metalwork on top is both to reinforce the concrete, and to ensure a uniform depth on top of the pods.  Perhaps also to hold them down under the concrete as it is poured?

I assume that the pods have to be positioned so that the gaps between them allow direct contact between the slab concrete and the uprights from the bedrock.
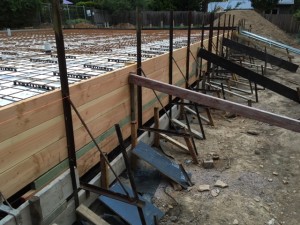
Foundations 3Either as part of laying the waffle pods or afterwards, a temporary wall has to be built to restrict the concrete as it flows into the slab, which is clearly going to be about 1/2 metre above the level of the ground seen in the first two pictures above.

If you look carefully it is possible to see the tops of the plumbing pipes just visible above the waffle pods.
Foundations 4b

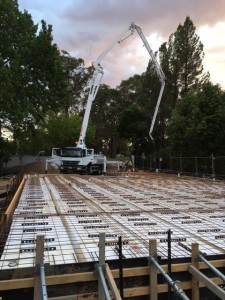
Fnally, pouring the concrete!

I wish I had been there to see it, as it involved one of those trucks which pumps concrete through a long overhead pipe to wherever it is needed on the site.


Foundations 5


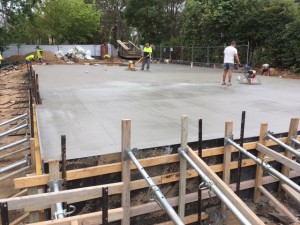
Finally it would appear that the concrete has to be polished in some way – probably just taking the worst irregularities out.


Small 47 Park St concrete slab 4 24mm

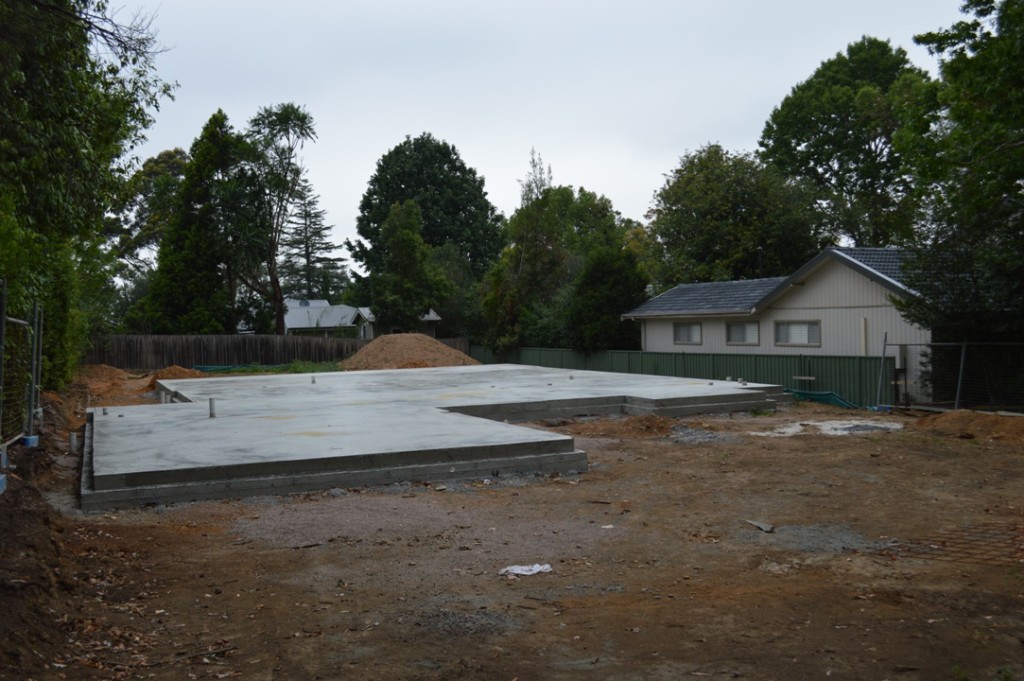
This is the final result as seen before.  Note the plumbing sticking through (but not by much!), and the height of the slab surface above ground level.

After that, nothing much happened for a while, because the concrete has to set, or “cure” or some such process.
Glenbrook House progress (1)

Just a brief update in the ‘blog about the rebuilding.

small-47-park-st-demolished-2

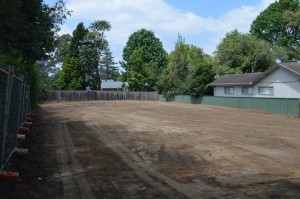
Here is the site as it now stands …

The above was taken from approximately the same position as the picture of the old house.

small-47-park-st-demolished-4


Here is a view from the opposite corner of the block.

A bit different ……..

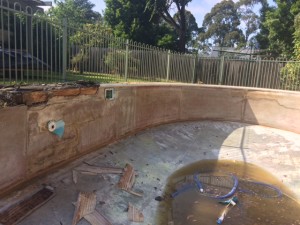
Also, just in passing, the dreaded asbestos was in the old pool!

pool-asbestos-2pool-asbestos-1


That was an extra $7,000 to clear it up and dispose of it safely!

pool-asbestos-3