
It may not be to everyone’s taste or interest, but my ‘blog about building this kit has entertained me and John, at least! It is very much the same as some entries which I have made on the Western Thunder website <http://box5457.temp.domains/~coulshed/australian-family-events/>, but that one is for seriously train-autistic people (joke ……..)
 Even at this stage there are mistakes to be made, and lessons to learn, perhaps.
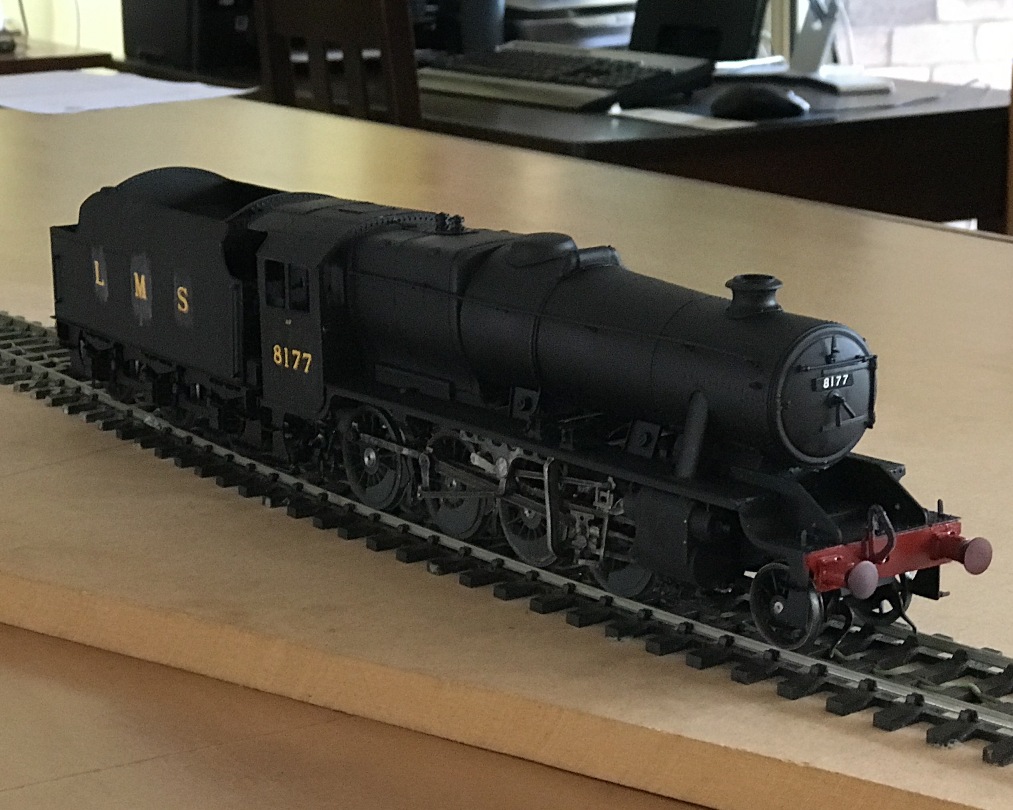
For those who see these things there are several problems with the locomotive as seen here.
Most obvious is the water-based varnish covering the letters and numbers. Perhaps less obvious is the lack of window-glass. Least obvious (perhaps) is the fact that the central two pairs of driving wheels in the second picture are not exactly on the rails ….
In order.
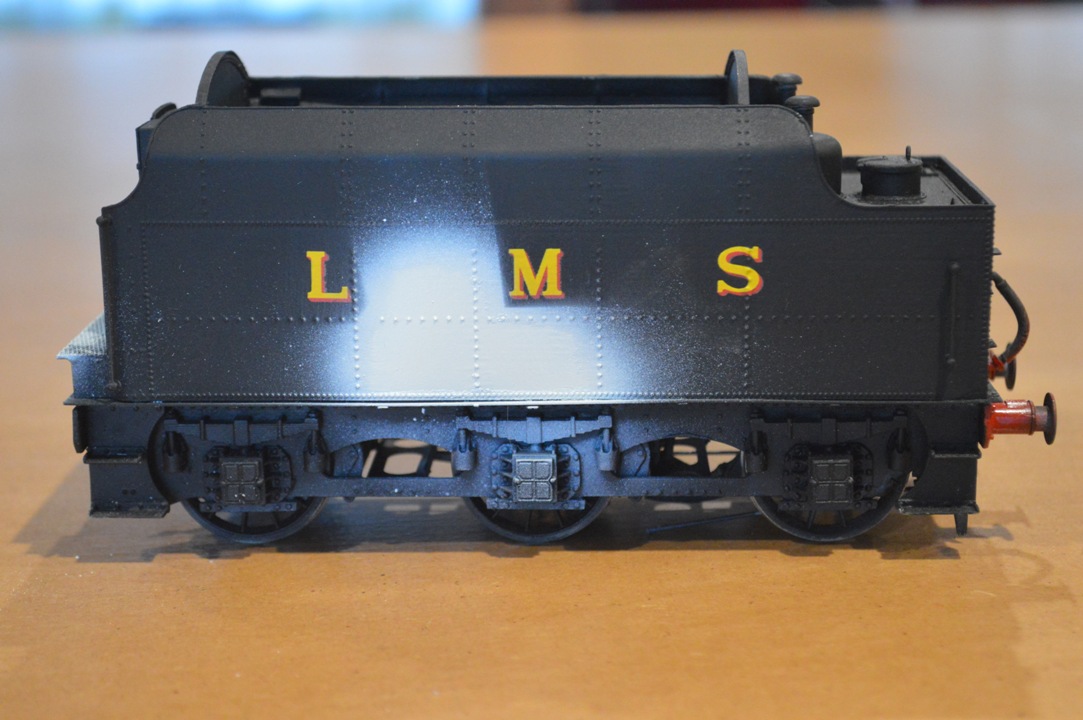
I have had trouble with solvent-based varnish destroying transfers in the past, so once my transfers were in place I fixed them with water-based matt varnish, with the results shown in the pictures. This in itself I did not see as too much of a problem, because I thought that once an airbrush-applied coat was put on, the streaking would vanish.
My mistake, though, was to use a short-cut and (thinking that the varnish already there would protect the transfers) I used a “Testors” aerosol “Dullcote” varnish on the tender sides. Whilst the transfers survived, it produced bubbles and wrinkles in some of the plain paintwork!
 Disaster. They were large enough patches that, even allowing for my intention to produce a weathered appearance, I couldn’t leave them as they were. I didn’t want to have to do the whole sides all over again, so rubbed off the sections of affected paintwork with a glass fibre brush, back to bare metal, then resprayed with primer, masking the letterwork.
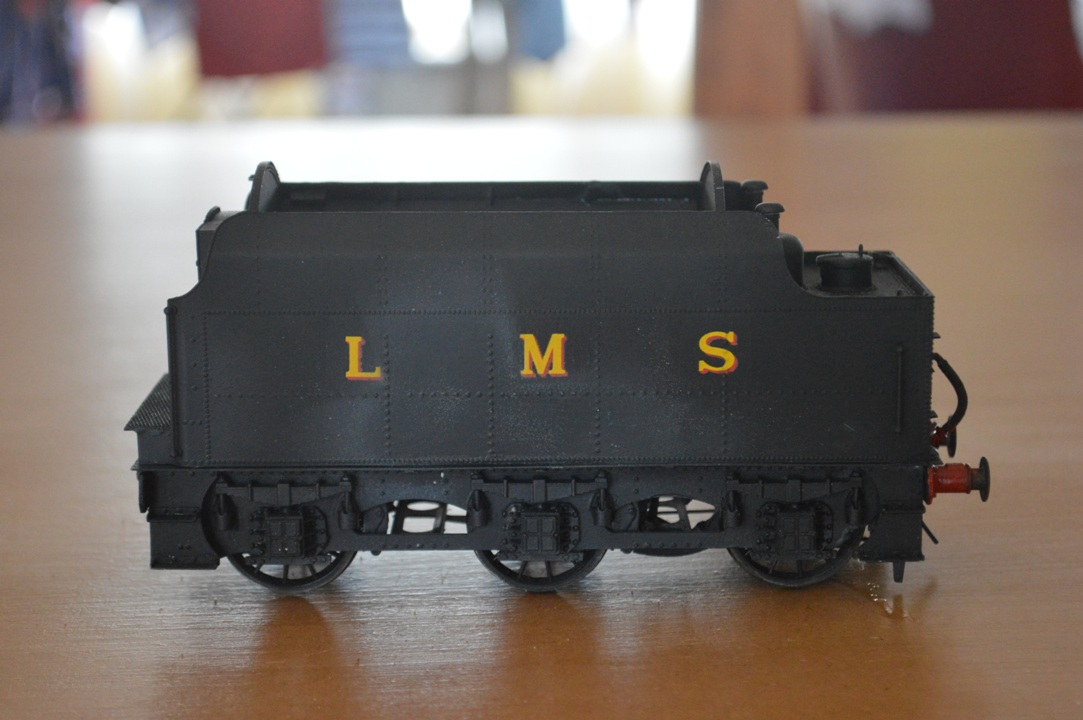 Then I resprayed with matt black.
It isn’t perfect by any means, but after weathering I don’t think the differences will be visible.
Next the windows.
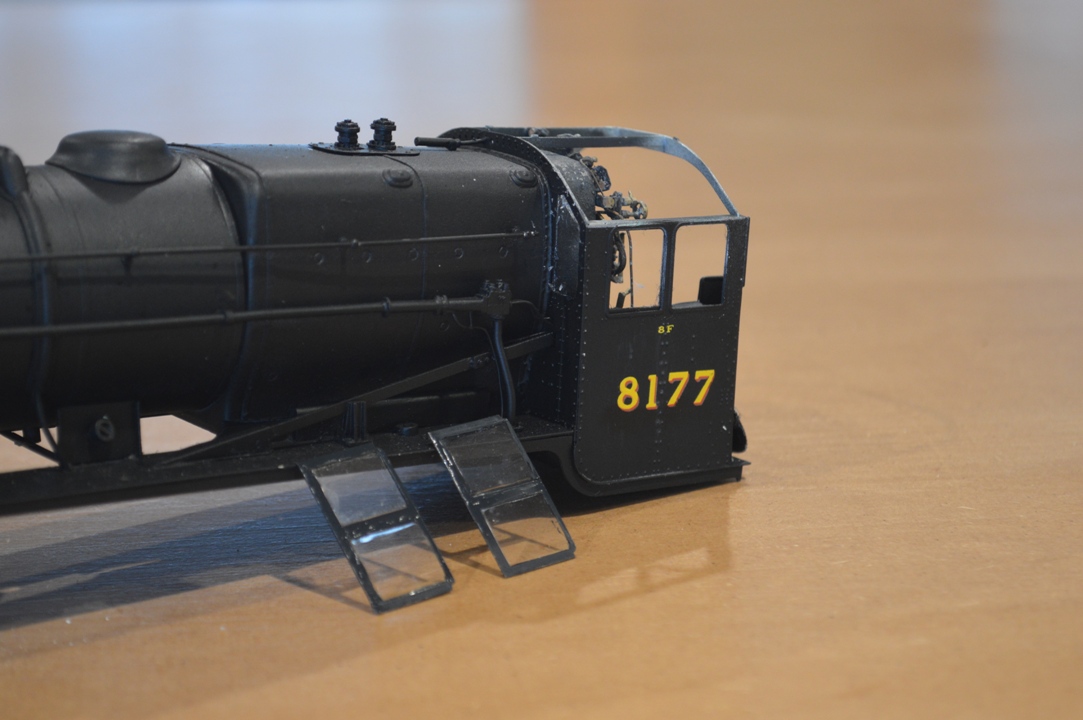 Initially I wanted to use microscope coverslips to make real glass windows, and even bought a tungsten scriber to cut the glass. However I soon realised that the coverslips were incredibly fragile, and I thought that in my hands would soon be broken in place on the loco., when replacement would be very difficult. Also I realised that there was no way to produce the front-facing windows on the cab from glass, anyway. Whatever method I used, I realised that the front windows were going to be impossible to position without taking the cab roof off. So rip it off I had to do (well, carefully unsolder and lift it off ….).
Using plastic “glass” was OK until I was unwise/uneducated enough to use cyanoacrylate to glue the side window frames in place. Araldite had been fine to secure the plastic sheet to the frames, but cyanoacrylate has made some of the glass go “misty”. Well, I suppose there may have been quite a bit of steam in the cab at times ….
Finally the problem with the wheels.
Once again, this is probably something a more experience model-builder would have avoided, but bear in mind that this is the first tender engine kit that I have ever made – three tank engines and a Garratt before this.
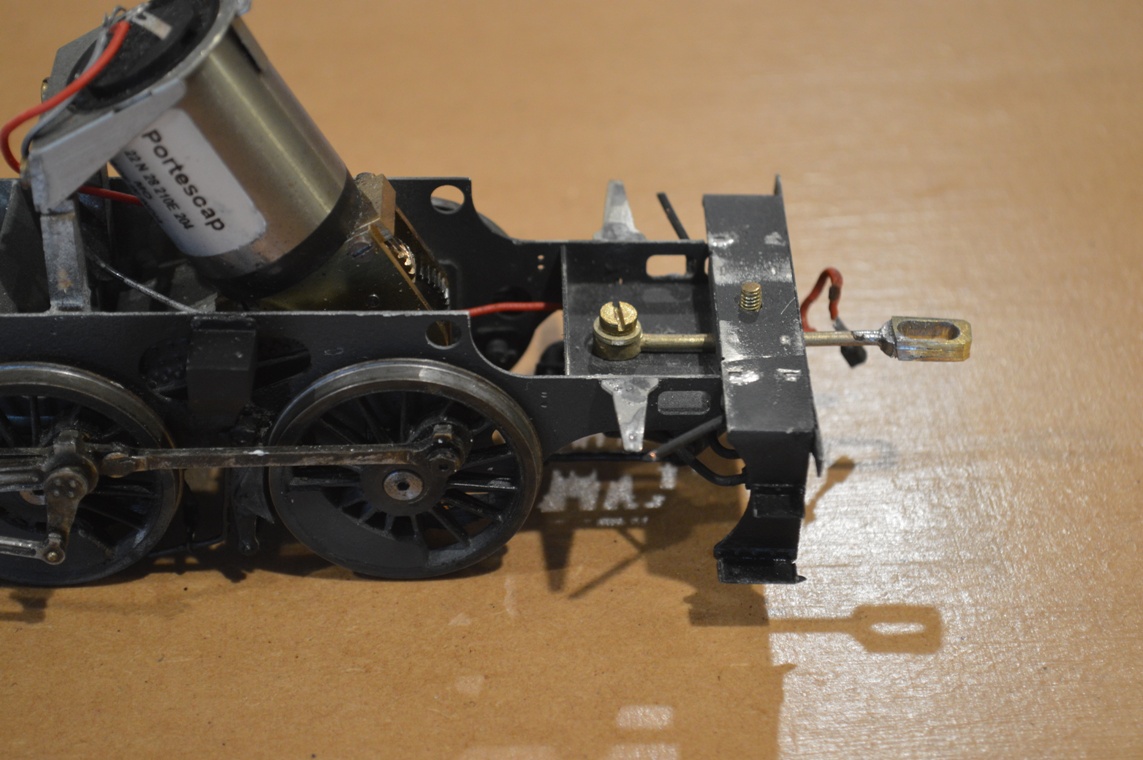
This illustrates the problem, and my solution (so far – I haven’t fully tested it yet!
The MOK kit comes with a drawbar which has a disc at one end and an elongated disc at the other (running-track shaped). Naively, I went for the close-coupled length.
It looks good, and would work well on straight track, but on curves the tender will not articulate enough with the locomotive, and one or other comes off the track. The problem was that I had cut off the extra length of the elongated end of the drawbar. So I have had to reconstruct it from flat brass strip and solder it onto the drawbar, as shown. With a slot at the tender end, I’m hoping that the tender can look realistically close to the engine itself when pushed together, but will move apart enough to go around 2m radius curves when in forward motion. We will see eventually if this works!
Incidentally, those who have followed this thread may notice something has changed in the pictures. Nick and Andrew were worried that me using their pool table for pictures might end up in damage to the green baize, and so we have now constructed a wooden top for the table! We had time for this because of our recent weather – Australia really is a different world of weather, or is it global warming? It is still warm, but we’ve had over 150mm of rain in the 5 days, and so plenty of time for making things like table-covers – and model locomotives, of course!