Glenbrook House 15 – Internal fittings start

I haven’t put much material up about our house recently.  Quite a lot has happened, inside only.

Small 47 Park Street 14th October 05
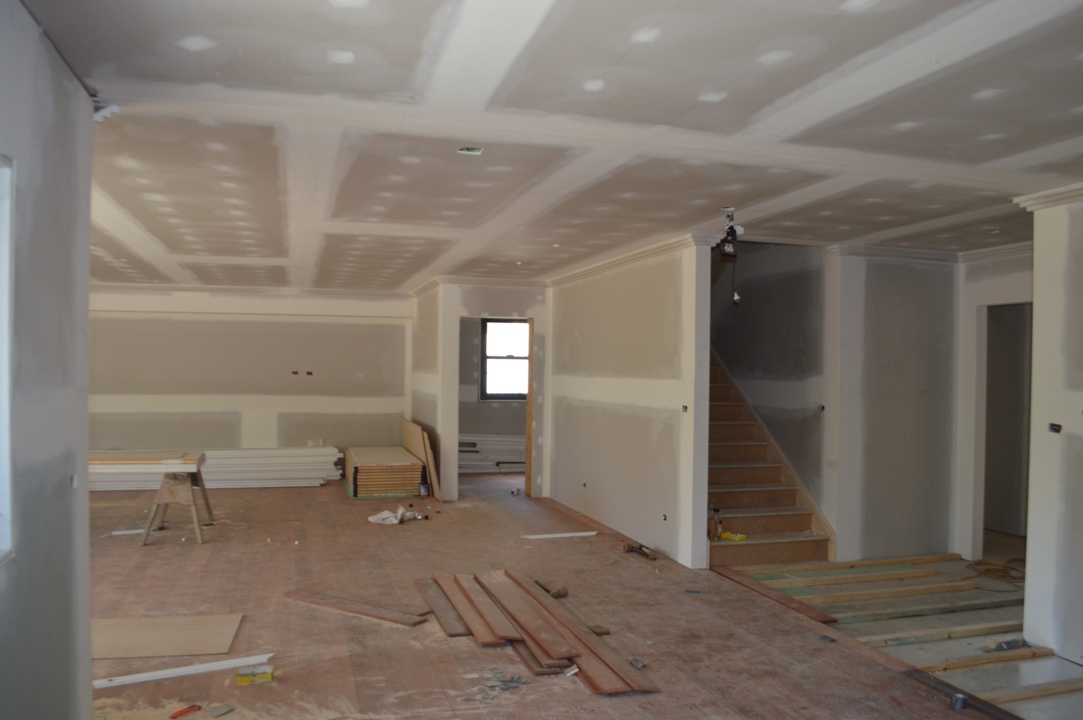
This is a view of the floor being laid in the main living area.  As you can see, there are battens put on the concrete, with the “ironbark” strips laid over the battens (with some insulation between the ironbark and the concrete).

Why is it called “ironbark”?

Well, when we were choosing wood for the floors in our current house, we said to Michael Edwards, our builder, that it was likely that sooner of later our two boys (then 8 and 10) would roller-skate across the room, and we wanted the floor not to scratch too easily ….

Small 47 Park Street 21st October 06To be fair, I don’t think Nick and Andrew ever did test its resilience that way, but ironbark proved to be extremely hard-wearing and very good looking floor material.  So there was no question what we wanted in the new house.  It was one of the few very easy decisions.

Small 47 Park Street 21st October 07


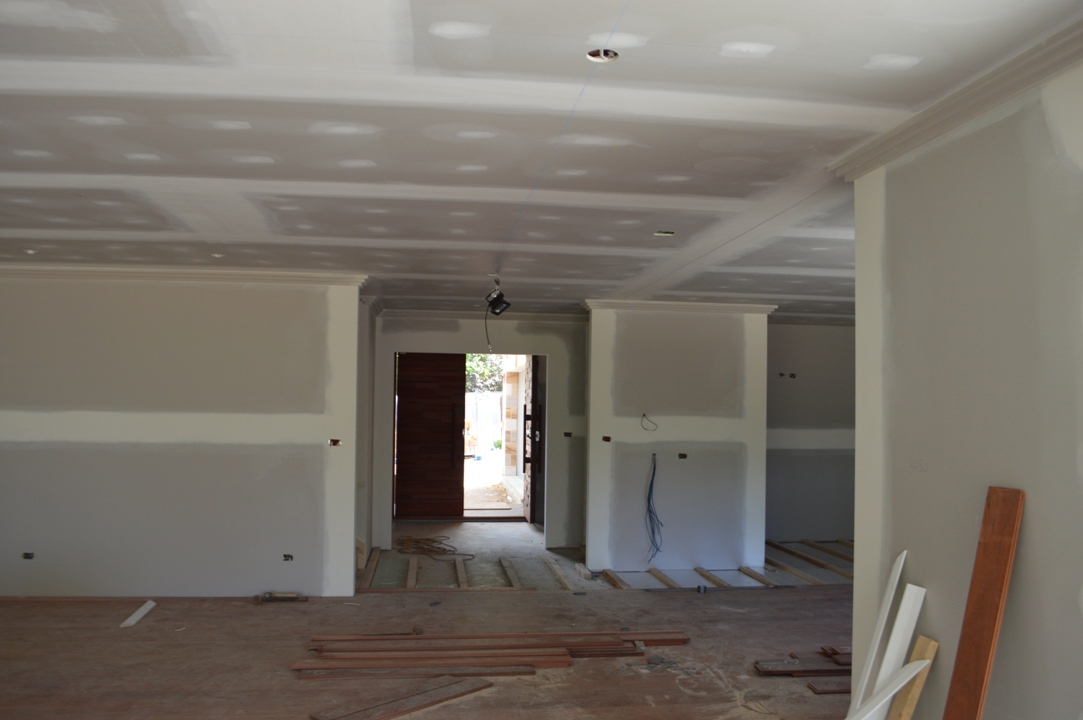
This view looks back towards the front door.

The space where the kitchen will be is off to the right.


Small 47 Park Street 12 November 01


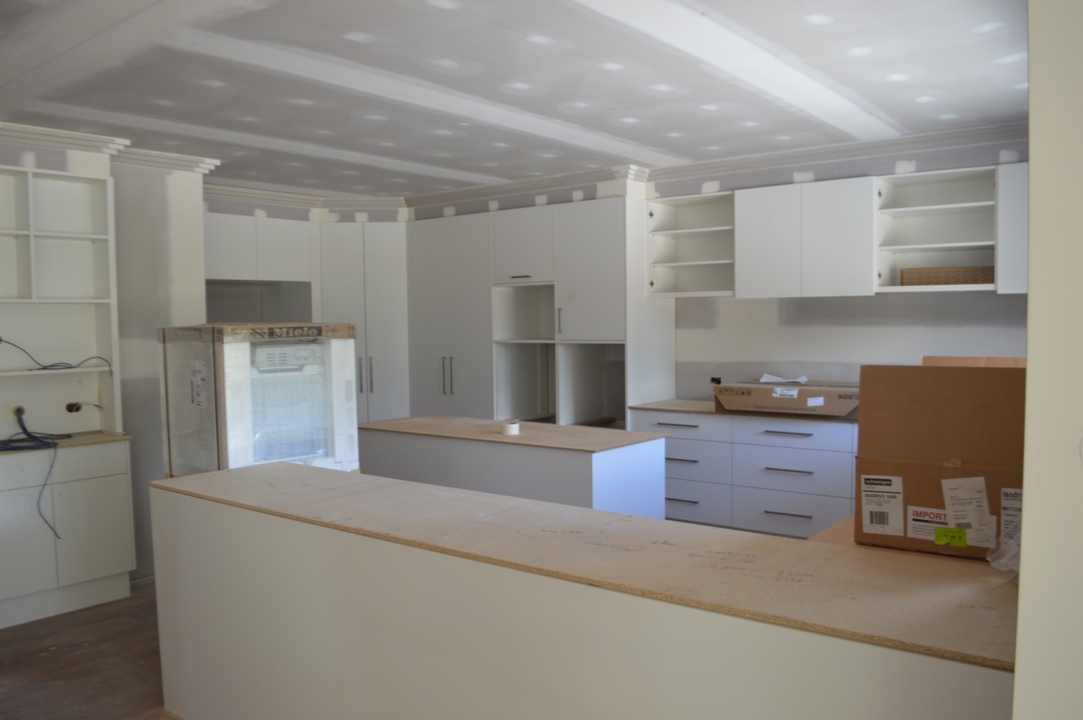
Those views were taken a couple of weeks ago.  Now the fittings are beginning to go in, and what was the “space where the kitchen will be” is being filled in, and the kitchen beginning to take shape.

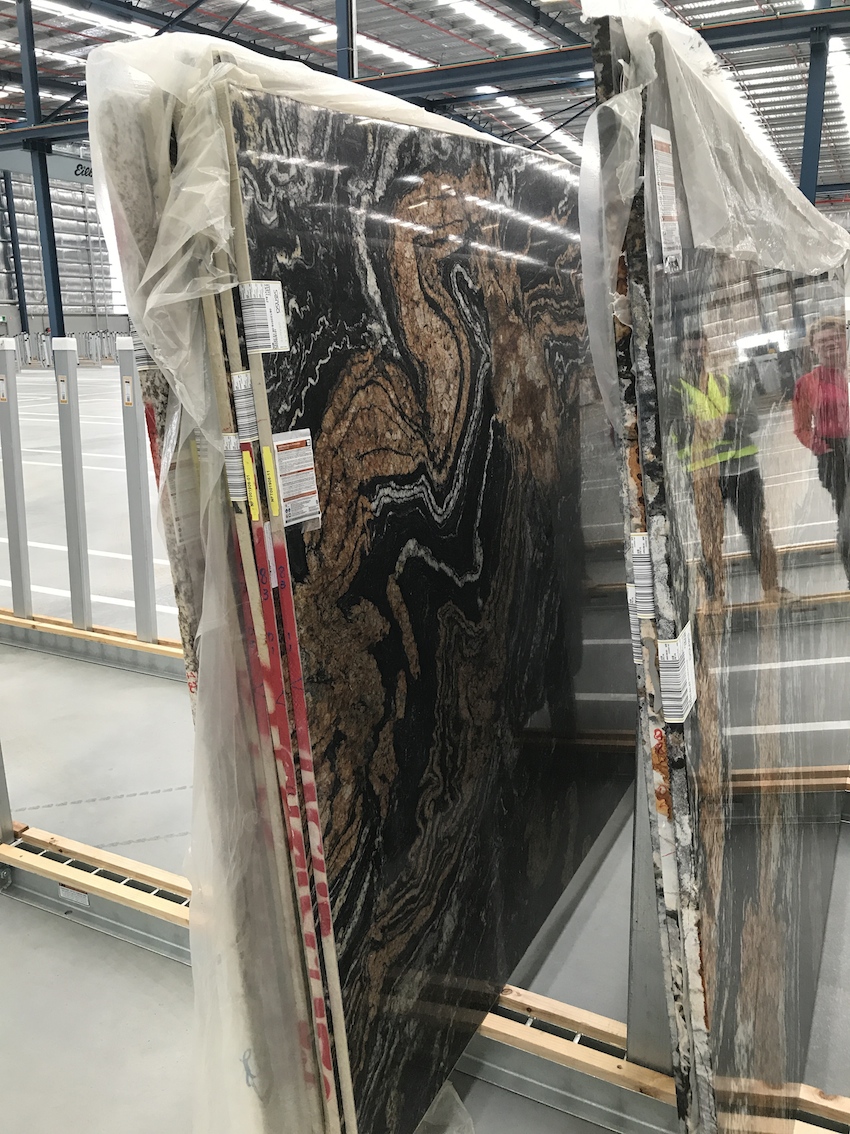
In the foreground is the bench which separates the kitchen from the living/dining room.  All the horizontal flat surfaces will have “galaxy” black granite on them, and on the far side the induction cooktop is waiting in its box to be put in place.Small 47 Park Street 12 November 12


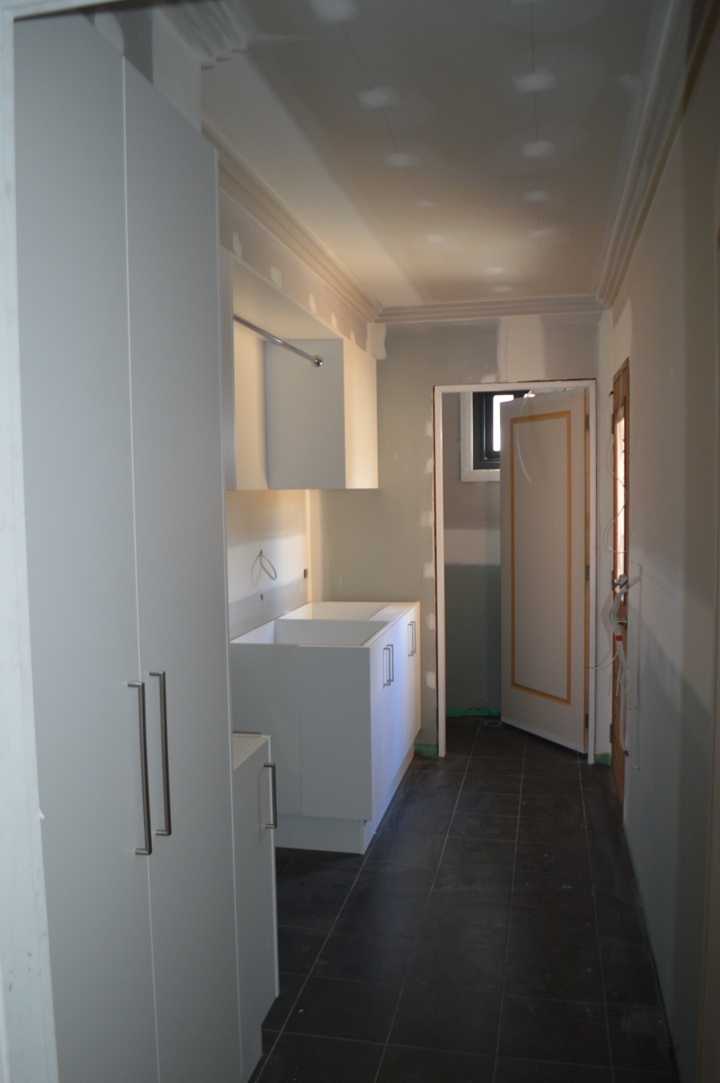
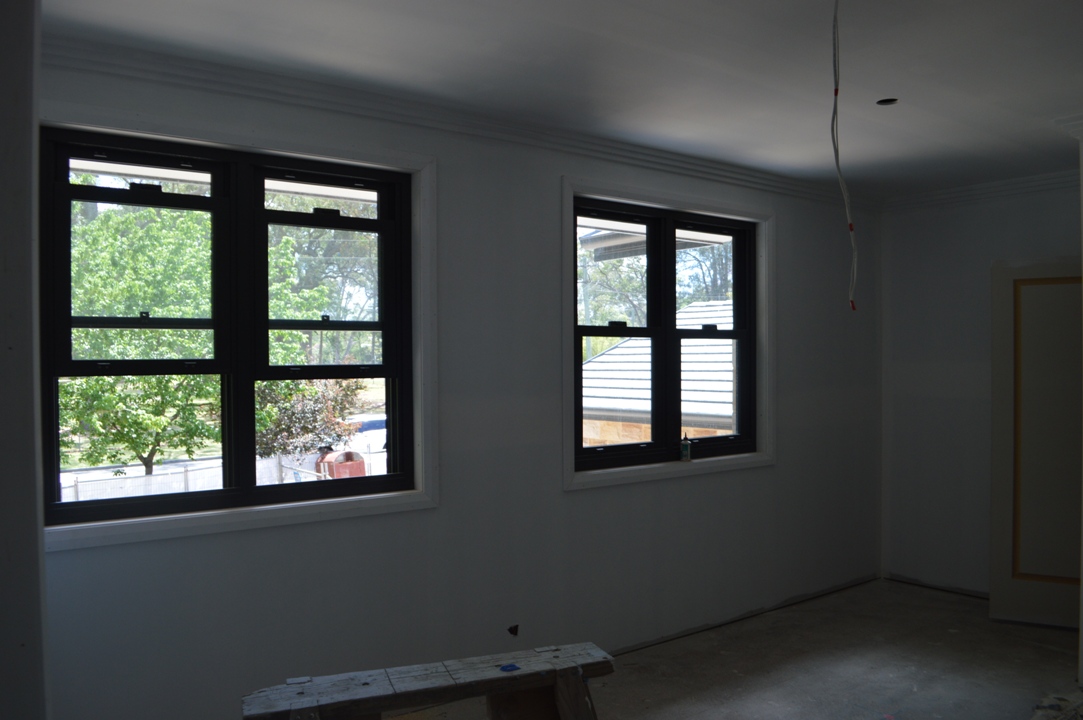
This is a view of the laundry, with the side door at the far end on the right.


Small 47 Park Street 12 November 11

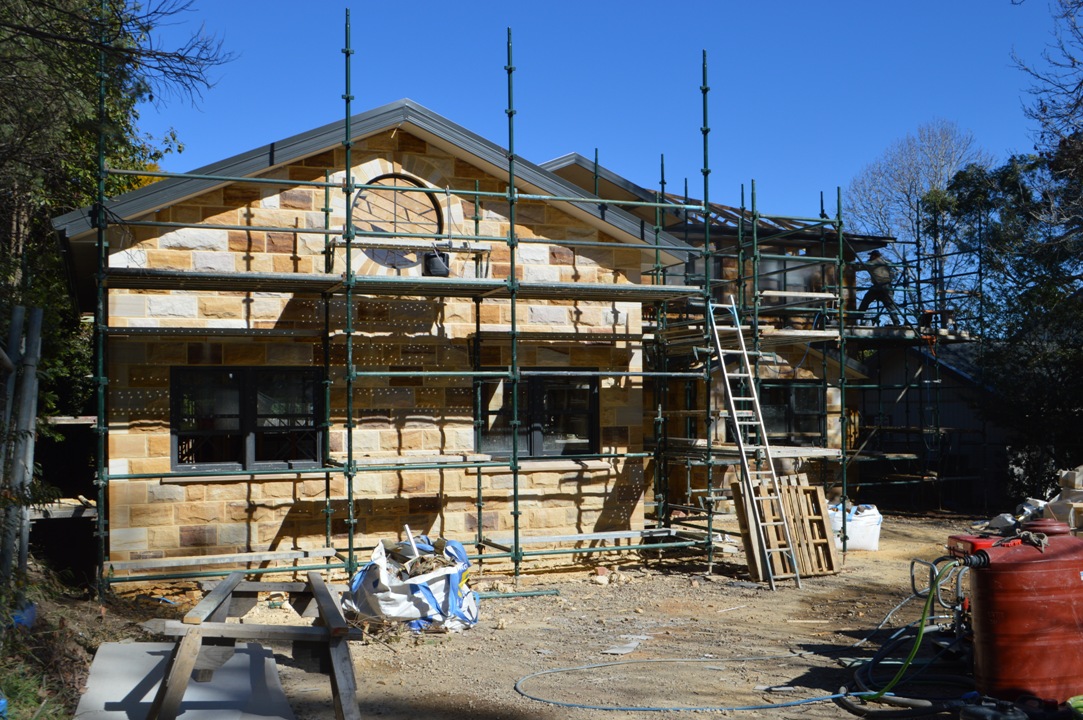
This is a view from the front bedroom out over the roof of the front wing (where the garage is).

It looks over towards Glenbrook Park.


Small 47 Park Street 12 November 13
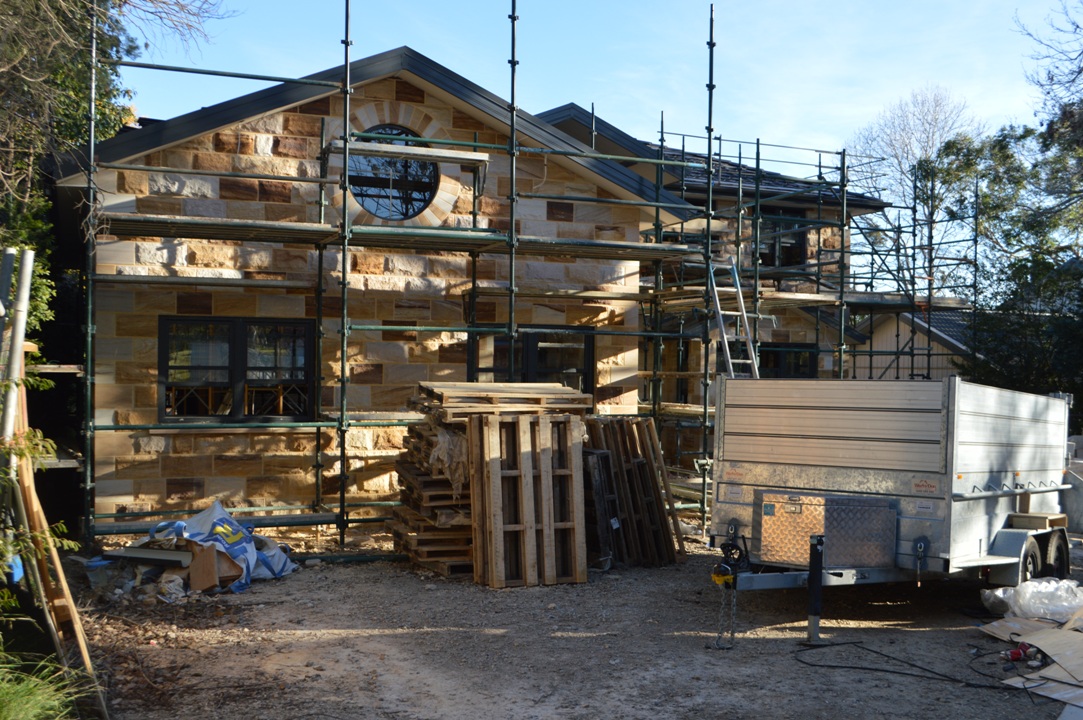
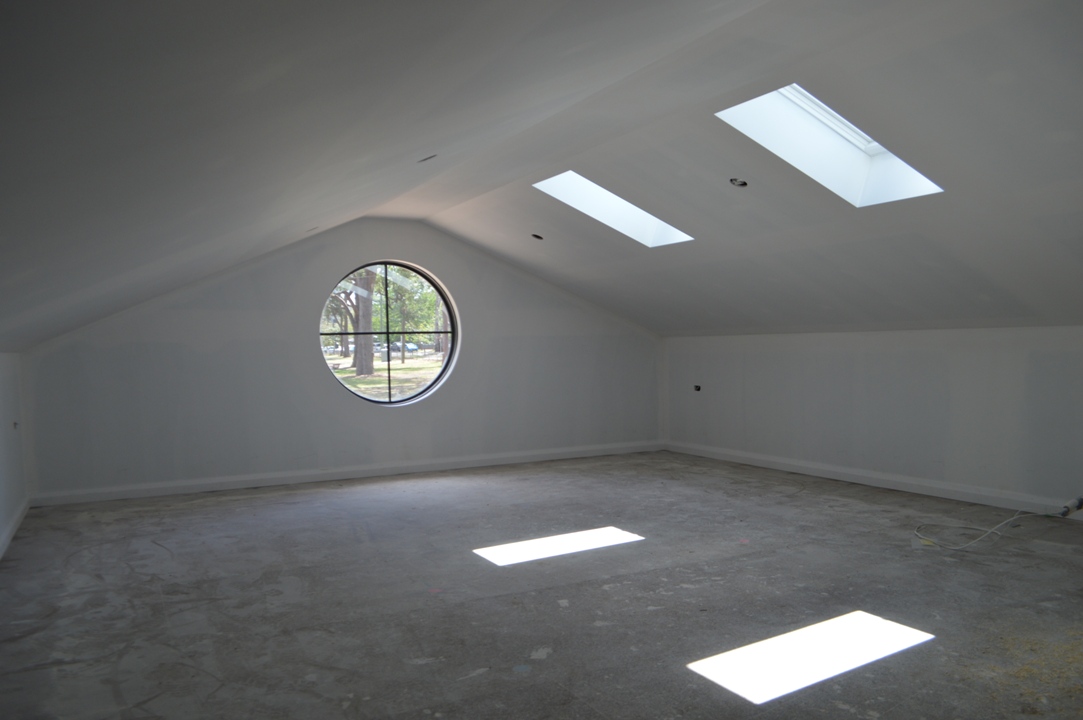
Finally, the utility room above the garage.  I am really pleased with this room.  The round window at the front, the two skylights, the whole ambience seems just right.


Glenbrook House 13 – the trees are gone!

Whilst I was away in Europe quite a lot happened around and in our new house.

I say around our house, because the neighbours wanted to get rid of some of their trees, and Michael Edwards, our builder, also wanted to chop them down to allow better acess.

Small 47 Park Street 3rd September 003


So, they are gone.


This leaves a much better view of the house, but in some respects this is too much.  It looks monstrous!

Small 47 Park Street 3rd September 015


Seen from afar, the house looks a really huge building, and brings home to us just what an undertaking this was.


Small 47 Park Street 3rd September 001


This is comparable to views that I have previously  posted, and doesn’t it look bare?  We will be planting plenty of new trees, though, which will look considerably better.

Glenbrook House 11 – Granite

We had to go out this week to choose the grant for our kitchen bench tops, and also the granite floor which will greet visitors (and ourselves) as we come in through the front door.

Granite 4 copyThis is the actual price of granite which will make up the floor.

It is called an “Orinoco” pattern of black granite and comes from somewhere in Brazil (so much for obtaining all our building materials locally – there are a few ship-miles in this!).

There will be a 1.8×1.8m slab of this granite on the floor just inside the front door.


Granite 2 copy


In this picture you can just see a reflection of  Sue, in the vast warehouse we had to visit to choose the precise bit (necessary as the stone is so variable).


Small 47 Park Street 16th July 003This is what the house now looks like, not much different except the little roof above the bay window in the front bedroom is taking shape.


Glenbrook House 10 – the Entrance

The house is coming along well.  I’m still Impressed with front circular window, but the front entrance is now becoming clearer and more prominent.

Small 47 Park Street 7th July 03

As the scaffolding comes down the entranceway becomes more visible.

Small 47 Park Street 2nd July 1

It is not going to be small, or easily missed!  I had always wanted to live in a sandstone house, and the designer and builder are “doing us proud”: the two-level from entrance will be an impressive feature of the building by the looks of it now.

One of the odd things, if you look, is that the “bargeboards” (the front panels just underneath the roof edge) and the guttering are being put in place even though the roof tiles haven’t yet arrived, let alone been put in place.

This weekend we have been having to decide about electricals: we have had to decide on the location of 40 different site for electrical sockets, and the locations of no less than 110 different lights!  We have also been having to decide upon the house alarm.  Whilst this has never been an issue in our current house, in Glenbrook we will have to have a state-of-the-art house alarm.  Fortunately one of our friends is an expert in this industry, so we are able to use his expertise to get an up-to-date system, wireless, linked to the ‘net, etc.

In reality, it all sounds horribly expensive to me, and I have little doubt that it will be.  Still, out “Grand Design” was never going to be a cheap or cut-price project.


Glenbrook House Number 9 – the rose window.

Whilst Sue and I were away in Europe, there was significant progress on our house in Glenbrook.

We returned to find that the round window above our garage – at the front of the utility room, had been largely finished, with the stonework around it done.

It looks magnificent.Small 47 Park Street 25th June 03

As the house progresses, it becomes ever-more impressive.  The round window at the front is going to be especially impressive, I believe.

I hadn’t realised that this was going to be done, so it was a very pleasant surprise.

Small 47 Park Street 19th June 08The stonemason has done a wonderful job.


Foundations

Whilst we were away in Japan and Hong Kong, the foundations were  laid for our house in Glenbrook.

These pictures were taken by our builder, Michael Edwards, because he knew we were recording the whole process, and he knew we were away – thank you!

The whole process is much more involved than I had thought.  It you look at previous posts, the site had to be levelled, and then Michael had to arrange for holes to be drilled down to the bedrock (I think) to construct concrete pillars stretching from the rock up to the level where the “slab” was to be laid.  The basic below-ground pipes had to be positioned before the concrete is poured, of course, but prior to seeing this construction, I had just thought a concrete slab would be poured over the ground as it stood.

Not so.  First Michael explained that we would be using things which I think he calls “waffle pods” (sounds like listening to politicians on your iPhone) within the concrete.  These are large polystyrene blocks, which I assume mean the concrete transmits less heat away from the house into the ground, and saves on the amount of concrete that has to be bought for the slab.  I’m not sure which is the main influence!

When we returned from holiday, I was surprised at how high off the ground the floor level of the building was going to be, and it was clear when I saw all the pictures, I had completely underestimated the work Michael had to do.

Foundations 1aFirst it would seem that the builders had to build up the ground a bit to achieve a horizontal base.  Exactly how this was done I am unsure, but the stuff on the ground doesn’t look like normal soil, and the base level is already well above ground level.

I estimate that before this process began there was at the most 30cm difference in height between one side of the site and the other.

Foundations 1b


The plumbing it still poking well above ground level, though.

The concrete posts from the bedrock are still visible at this stage.


Next come the waffle pods.Foundations 2b

Their polystyrene nature can be seen.  I assume that the metalwork on top is both to reinforce the concrete, and to ensure a uniform depth on top of the pods.  Perhaps also to hold them down under the concrete as it is poured?

I assume that the pods have to be positioned so that the gaps between them allow direct contact between the slab concrete and the uprights from the bedrock.

Foundations 3Either as part of laying the waffle pods or afterwards, a temporary wall has to be built to restrict the concrete as it flows into the slab, which is clearly going to be about 1/2 metre above the level of the ground seen in the first two pictures above.

If you look carefully it is possible to see the tops of the plumbing pipes just visible above the waffle pods.

Foundations 4b

Fnally, pouring the concrete!

I wish I had been there to see it, as it involved one of those trucks which pumps concrete through a long overhead pipe to wherever it is needed on the site.


Foundations 5


Finally it would appear that the concrete has to be polished in some way – probably just taking the worst irregularities out.


Small 47 Park St concrete slab 4 24mm

This is the final result as seen before.  Note the plumbing sticking through (but not by much!), and the height of the slab surface above ground level.

After that, nothing much happened for a while, because the concrete has to set, or “cure” or some such process.

Glenbrook House progress (1)

Just a brief update in the ‘blog about the rebuilding.

small-47-park-st-demolished-2

Here is the site as it now stands …

The above was taken from approximately the same position as the picture of the old house.

small-47-park-st-demolished-4


Here is a view from the opposite corner of the block.

A bit different ……..

Also, just in passing, the dreaded asbestos was in the old pool!

pool-asbestos-2pool-asbestos-1


That was an extra $7,000 to clear it up and dispose of it safely!

pool-asbestos-3


Design for the new house in Glenbrook

Our dream house?  Not quite.  The council are interfering, apart from anything else.

house-design-1

This is the appearance as we want it to be:


However the council are concerned about the two-level garage part of the building, and so that may have to be reduced in height.  I hope not, as that might mean we will lose the storage room above the garage – which is the only potential junk room, not immediately visible to Sue, in the house.  All homes need a room to put things in “which might be useful” in the future.

These are the square-on aspects:

house-design-4house-design-5


The block of land was attractive when we bought it because it is also flat, and is about 50m by 20m, so there is plenty of room.  The house will be as environmentally-friendly as we can make it.  Double-glazed, sealed to make it thermally efficient, rainwater-collecting into tanks and solar panels on the roof (ones can now be obtained to look just like roof tiles).  It will be made in local sandstone, and we will try to use materials from as local a source as we can.

One of the good parts of having a flat block of land could be the garden railway.  Would it be Gauge 1 (45mm track width) or Gauge 3 (63mm track width)?

Click on the images to enlarge (if you are interested ….), these are the ground and first-floor plans:

screen-shot-2016-12-04-at-12-53-26-pmhouse-design-3Ground floor: large living area, garage swung around so as not to dominate the facade of the house, downstairs bedroom, large deck outside a large sliding glass door.

Front entrance with view up to the second level.


Upper floor: three bedrooms.  Room above the garage for suitcases, tools, etc.


Roof over the garage with “Velux” windows over the train hobby storage room.