Old ‘blog entries – building the Industrial Garratt locomotive (2011 entries)

Actually, this is a tale which goes back to before the coulshed.com website existed, and then the website changed (at the beginning of 2012), so I am reconstructing the entries from before January 2012, in order.

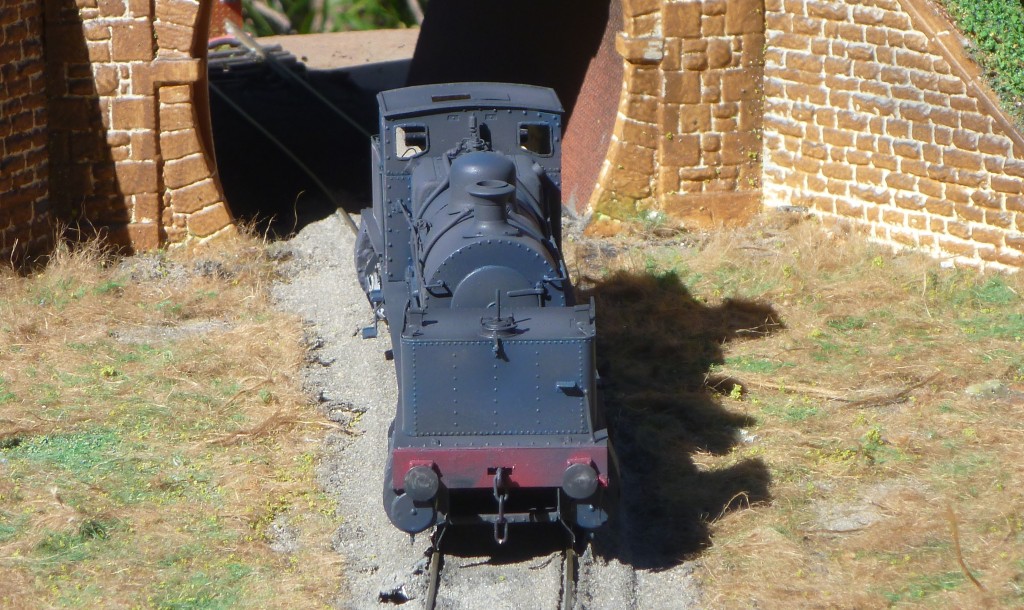
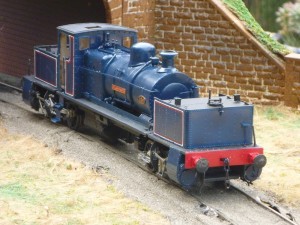
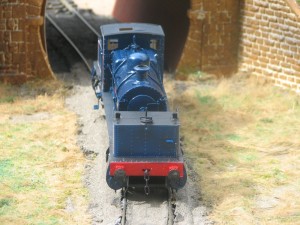
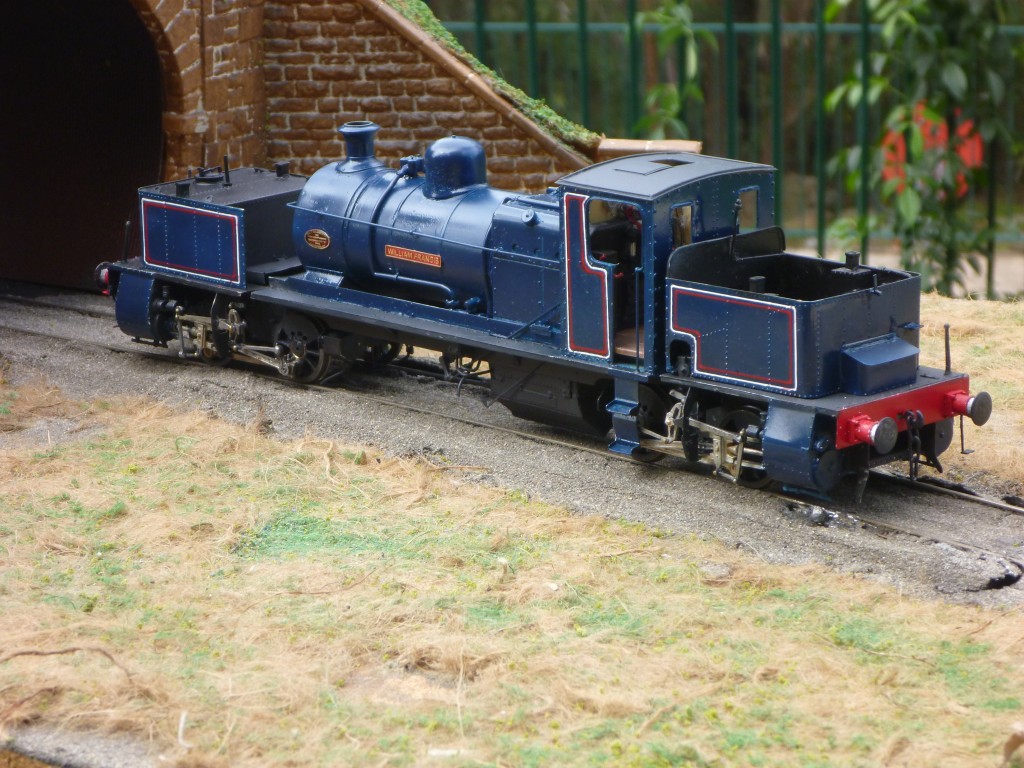
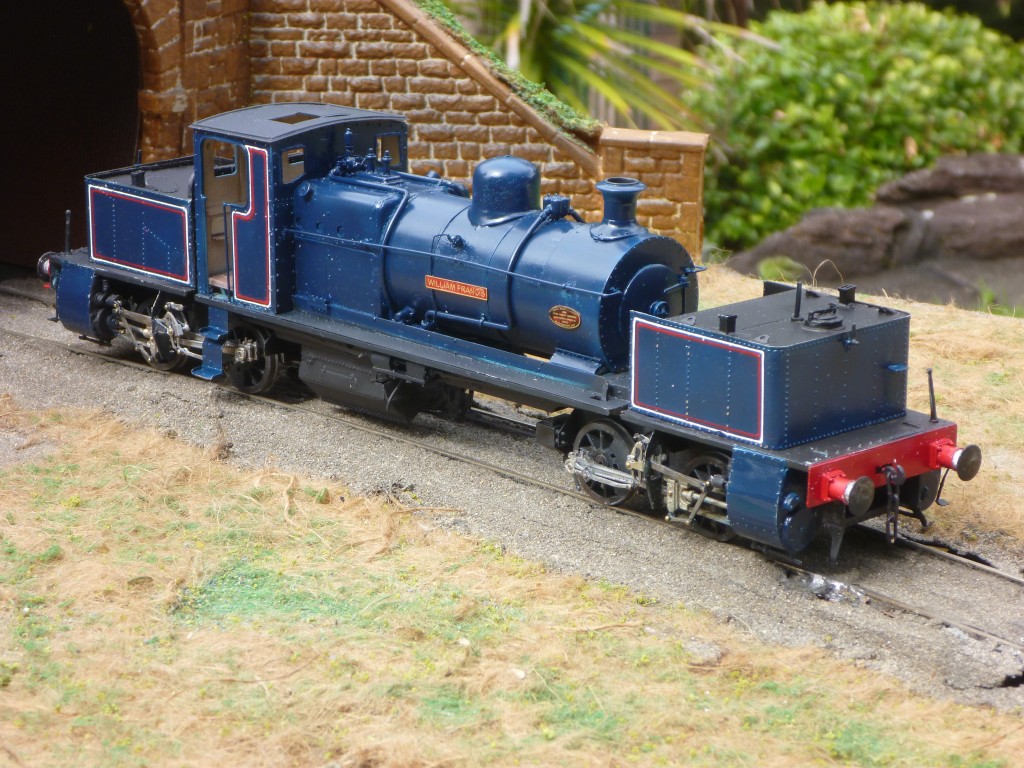
Painted and airbrush weathered from above

Click on any picture to enlarge it !

The start of making my model industrial 0-4-0+0-4-0 Beyer-Garratt in Scale Seven goes back to the middle of 2010.  The kit was a decade in my cupboards waiting for me to summon the courage to tackle four sets of valve gear, never having constructed a model with valve gear before!  The kit was a very basic one, designed for Finescale, “0-gauge”, and I decided to make it with near true scale-width frames, as well as the rest of S7 standards.

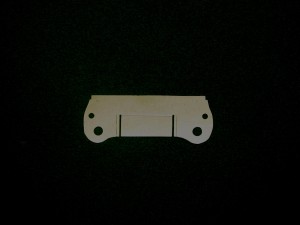
This meant that my first difficulty was to adapt the spacers for the driving-unit frames.  The kit had “fold-up” frames, held also at the desired width by the buffer-beams and spacers on the inside end of the driving units.

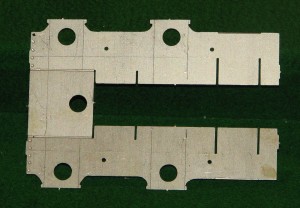
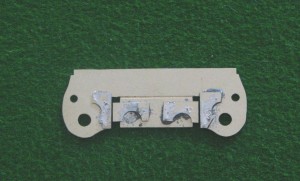
Frames with scoring BandWI was also planning to fit suspension to every axle, so slots to accept the suspension unit had to be cut in the frames themselves.  

This picture shows the flat fold-up frames with the scored markings to cut out the wide slots for the suspension units.  The actual frames are seen above and below a horizontal plate, with the original axle holes about to be cut out.


Cylinder end plate with extra cuts

The buffer-beams and other spacers had to have new slots cut into them at the new width (29mm).


Cylinder end spacers adapted cropped


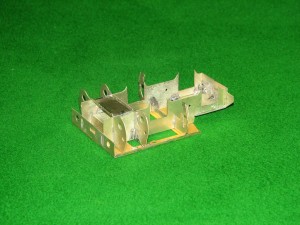
In the end the slots were just widened and scrap brass added to set the width of the frames, as shown.


Frames upside down to show the slots for the suspension units

Frames upside down to show the slots for the suspension units


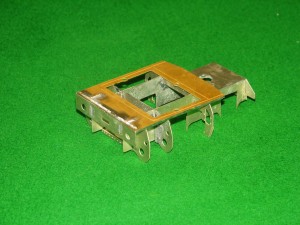
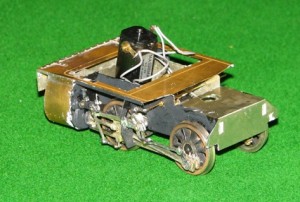
This was all very worrying, as it appeared to be a very destructive approach to kit-building!  Fortunately all the calculations appeared to be working when I assembled the frames, as shown.


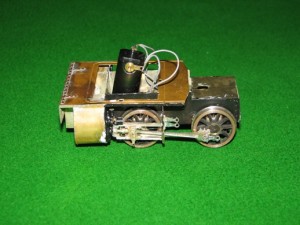
Front driving unit, from the front.

Front driving unit, from the front.


If you look carefully it is possible to see where the buffer-beam slots have been widened for the scale-width frames.


There then ensued a long struggle with the suspension units, the wheels, the “plunger” pick-ups and the coupling rods, just to get the units to move under their own power.

So many times I wondered if it was beyond me ….

This takes us up to the start of 2011, and the start of our website.  The valve gear was yet to be done.

April 2011
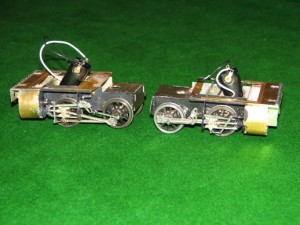
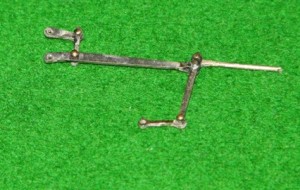
Connecting rod state 2 smallI should be able to put together some more of my model Garratt locomotive – an 040+040 industrial steam engine.  Here’s a picture of the front end driving unit as so far built.  The trouble building this to exact scale dimensions (Scale Seven) is a story in itself ….Valve gear rods smallLooking after (ie staying in the house at the same time) as the two boys has some advantages: I took some time to construct some more of my Garratt.

Here’s my first ever construction of outside valve gear for a model steam engine – and it moves !  Valve gear in place from the rear smallWhat makes it difficult is to make the joints all move.  On the assembly shown below there are five joints made with brass pins soldered to etched brass valve gear “rods”.  the pins are about 0.8mm diameter, 5mm long, and clearly the solder only has to fix the pin to one rod, and not the other.  There are about ten joints like this for each set of valve gear – and there are four sets.
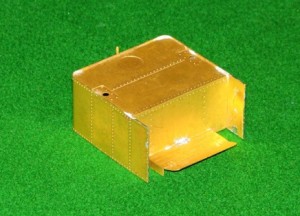
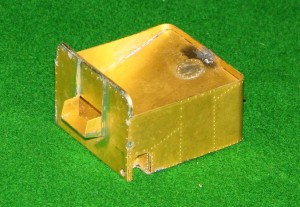
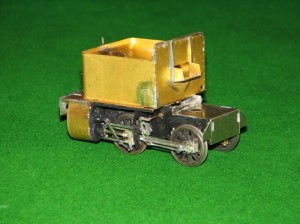
I’m very proud to have successfully complete one!Front tank from rear smallBunker from front small


June 2011

As you can see, both sets of driving wheels are now complete with coupling and connecting rods, plus valve gear.
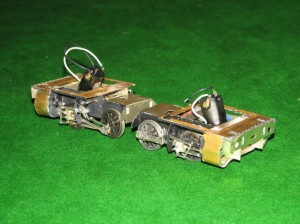
Valve gear completed 4 s Valve_gear_completed_3_s
If only I could put moving pictures on the website, I could proudly demonstrate how it all moves and proceeds along the track!
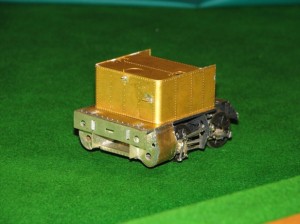


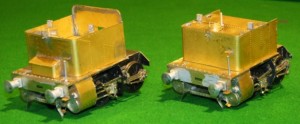
Front_driving_unit_partially_complete_1_sI have now fitted the bunker and the water tank onto the diving wheel assemblies of my model Garratt locomotive ….

Rear driving unit partially complete 3 s


October 2011

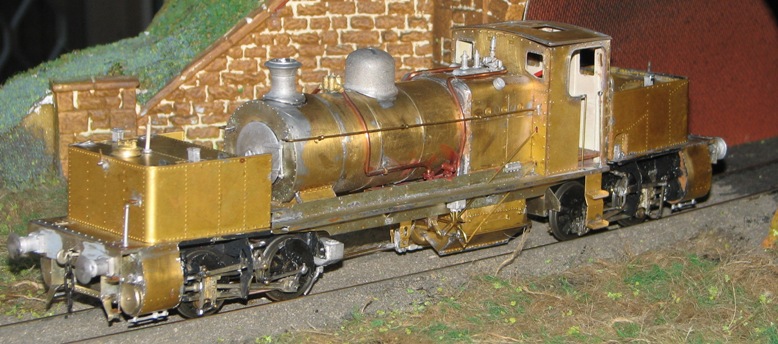
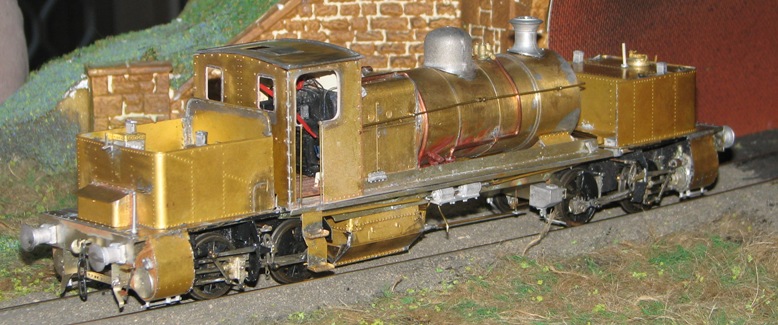
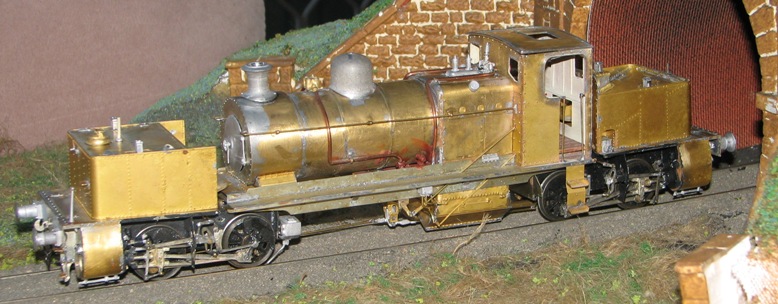
Smallpic_Both_drive_units_nearly_finishedMy model of the industrial Garratt “William Francis” is coming along quite well, now.

The first picture is of the two end units, with the rear one containing the coal bunker on the left and the front unit with a water tank on the right.
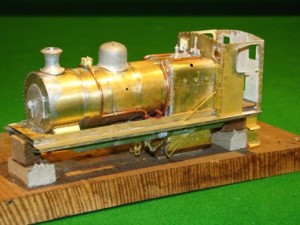
Smallpic Central unit nearly finishedThis is the central unit, with the boiler and cab.
It’s a very complicated model, and the kit (originally bought by me over a decade ago), is far from perfect or comprehensive.  It’s really just a starting point for building a model of this industrial locomotive – adding detail is very much needed.  However that is the part which I enjoy most, so that is certainly OK by me.

November 2011

My Garratt.  It’s an 0-4-0+0-4-0 locomotive.  The prototype ran in an industrial complex centred around a large coal mine in Warwickshire.  It’s taken me a year to get this far, being quite a complex project.  Here you are, though.  Just three minor details to go (nameplates and a clack valve on the right hand side of the boiler).

Almost finished 3 small

Almost finished 2 small

Almost finished 6 small

Then it will be on to the painting …

December 2011

So what have I been doing?
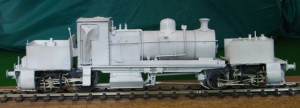
Primer Right lateral smallWell, the Garratt has progressed.  The construction is now finished, and I’ve put the primer on it.  It now looks a little like the prototype did when it emerged from the Beyer-Peacock work in Manchester and had its picture taken in “works grey”:

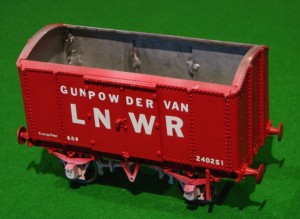
Also, I have decided that I should but no more model kits until I have built the one that I already have!  A radical approach I know, and judging by the article that I read, many other people have multitudes of kits lying arond the house waiting to be started.  The first benefit of this policy is that I have started to make the model of an LNWR gunpowder van.  I’m not sure that the LNWR ever actually had such wagons.  I have never been able to find a photograph of one like this kit is supposed to represent, and the instruction sheet which comes with the model is vague, inaccurate in parts, and covers several different models.  The attraction of the model is that the LNWR is reputed to have painted these gunpowder vans vermillion, so I could legitimately have a bright red wagon on my railway!  There is some doubt that this colour is true: the claim about the colour may be based upon a crude tinplate model made by Bassett-Lowke in the nineteen-fifties!  Nevertheless I shall build one.

Gunpowder van small


Here it is (as far as I have reached!):


For more entries, follow the links at the top or bottom of the pages, to go to “older posts”.

Video files from Melbourne

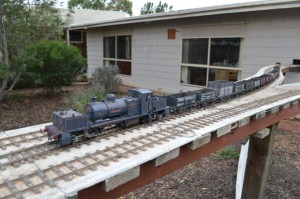
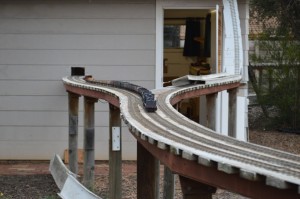
It has taken me some time to get these loaded, but here are a few video files of Richard Davidson’s circuit of track at his home outside Melbourne (a place called Melton).  This outdoor circuit is huge!  Richard tells me it is 60 yards around the loop, which is about a scale 2½ kilometers!

My industrial Garratt ran well, and so I want to celebrate this fact!

There are small files and larger ones, depending on how broad your broadband is

(is it a Gillard-government one, or an Abbott govt. one?).

WF outdoors 1 small  <-Small   Large -> WF outdoors 1

We loaded up the Garratt with 27 wagons: WF at RDs house

WF outdoors 2 small  <-Small   Large -> WF outdoors 2

I don’t think that the real one could have hauled this many!

WF outdoors 3 small <-Small   Large -> WF outdoors 3

In the last video it is possible to see Richard’s superb model of a North British 0-4-2 locomotive going in the opposite direction around his double loop of track.

Scale Seven in Melbourne

I spent a pleasant day in Melton, near Melbourne.  It was a day-trip (!) from Sydney to see fellow-ScaleSeven enthusiasts Richard Davidson and John Ritter.  The original idea had been to go to the VicG0G meeting, but somehow we never actually made it there.

Small WF outdoorsThis was mainly because Richard has a wonderful outdoor circuit, upon which we could run our trains.


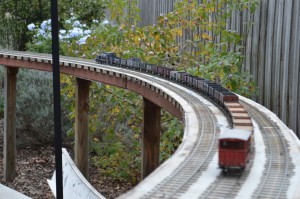
S7 in Melbourne u - WF on the curved trackRichard has a large shed in the back garden, out of which the railway comes.  It then goes around a circuit of more than 50m of track and back into the other side of the same shed.


S7 in Melbourne s - WF from aboveAs you can see, I took my industrial Garratt (William Francis) down to Melbourne with me.  I’m pleased to say that WF ran very well during the day.


Small WF with 27 wagonsThe Garratt could haul a load of 27 wagons, which is the most it has ever pulled.  I do not have that many trucks myself, and in any case Richard’s wagons are better -built that my own, and offer less rolling-resistance, I suspect.

It drew 450mA current with or without a load of wagons, which is good even though it means there is probably too much friction in the locomotive running gear itself.  It ran so well that we left it running round and round for hours, which probably loosened up the running gear nicely.

Small Richards Caledonian engineRichard has some lovely locomotives as well as his magnificent collection of private owner wagons.

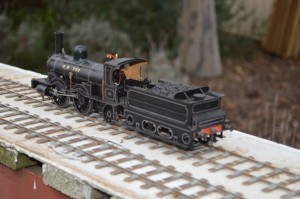
This one is Caledonian Railway 0-4-2 No 705, designed by George Brittain and built by Dubs in 1881.

As usual, click on pictures to enlarge.

In Richards words: it is scratchbuilt except for the gears (plastic, two start worm, 11:1 ratio ex motor car window winder).  The motor is ex computer, from Proops at $2.50, draws 12 mA light, 30 mA with gearbox and about 100-200 mA on a train. The wheels were fretted out of brass and insulated with a strip of thin perspex between the centre and the tyre.

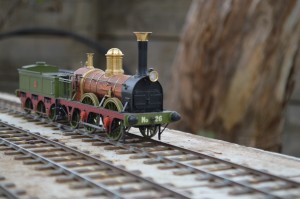
Small Richards wooden-clad engine The second one is North British Railway 0-4-2 No 26, a mixed traffic engine built in 1845 by R & W Hawthorn of Leith. The original was fitted with a patent valve gear in which reversing and cut-off were controlled by separate levers. The valve was in two parts that slid over each other and the valve rod was hollow, with the cut-off rod inside it.

Again, Richards words: I built the engine with a crank axle but have got no further with the valve gear. The motor is a Mashima 1824 in the firebox, driving through a cut-away (27:1) North West Short Lines idler gearbox. The final drive gear is on the axle between the eccentrics and the idler gear is meshed with the worm in what is left of the gearbox. The mesh between the drive gear and the idler can be adjusted. The engine is also scratchbuilt except for the motor and gears. The livery is guesswork..

Small  WF at track level

Video files

I have spend this weekend doing gardening and playing with the computers.  I’d like to think of it as working with the computers, but it isn’t really: I have been working out how to put video files on the website.

Actually putting the files on the website isn’t at all difficult.  The one I put on “Australian Family pictures from the 2000s” (of Nick debating in Youth Parliament) was easy, partly because someone had already put it on YouTube.

I have been doing movie “clips” of my Scale Seven model locomotive, and it’s difficult to get the format, resolution, frames-per-second settings right to load onto the ‘net.  The first two are relatively small files:

William Francis 1 small

William Francis 2 small

The picture quality is poor, I think.  Beware, though, the two below (my first attempts) are very large files and “froze” my Windows PC when I tried to open them.  Given time, patience, and a Mac, and they open nicely though, with much better detail in the pictures.  The problem relates to file size, I think.  LATER: sadly I have also discovered that as they are mp4 files (chosen because they are the most compact format), Microsoft doesn’t like them.  Using the VLC player or  the Real Player may help, also.  *&%$#@ Microsoft ….

William Francis 1

The second one is a little smaller ….

William Francis 2

..

March 2012 Entries

Monday, Mar 26, 2012

Finished from front at rail level

High Res. – click to enlarge

Garratt at work


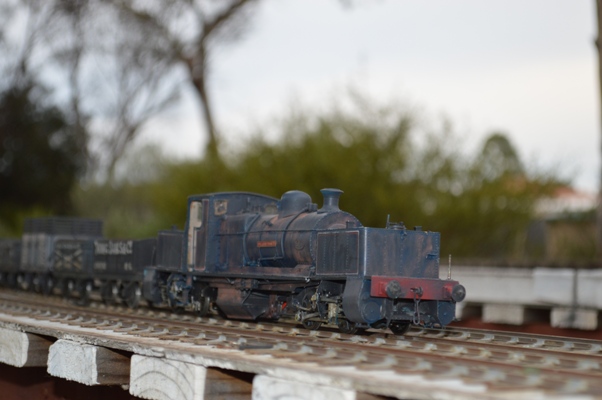
Finished from front right 1000pxMy Garratt is working.

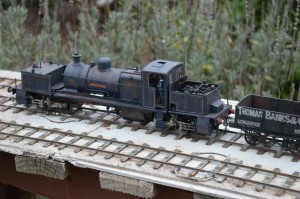
You can tell from its rusty and dirty appearance.


Finished from front left

High Res. – click to enlarge

It has even got its own driver now.


Sunday, Mar 18, 2012

The Garratt, again

My 0-4-0+0+4-0 Garratt  is nearly finished: look!

Factory finish front right oblique 1000px

Factory finish – it looks beautiful, if not realistic!

Factory finish from front above 1000pxIt doesn’t have the cab roof in place, or a crew inside, but other than that it’s looking good ….

The “bow” pen arrived this week, (specially imported from Haff pens in Germany!) so I could at last do the lining – red and white lines, which “bring out” the shapes of the bunker and water tank, and certainly improves the overall appearance.  Two pictures at High Resolution (Click on the picture to enlarge it):

Factory finish left rear
Factory finish front right 2

However I will now be going to “weather” the locomotive.  I haven’t yet seen a picture of the actual loco. that didn’t show it seriously dirty and covered in coal dust, etc.  I’m going for realism (and it covers some of the mistakes that I have made!).All to be published in the Scale Seven magazine ….


Saturday, Mar 03, 2012

Cricket, etc

It has been amazingly wet here recently.

I’m sitting at home whilst I should be watching our Ninth Grade side in their Grand Final: the ground was almost flooded.  We have had so much rain that the Nepean river is flooded.  Nick and Andrew’s school was closed on Friday and will probably be closed on Monday.  The school itself doesn’t get flooded, but access roads have standing water, and teachers or pupils living on the far side of the Nepean/Hawkesbury River simply cannot get to school.

Nick was due to be in two Grand Finals today, and neither will take place.  It’s unlikely that even tomorrow conditions will be good enough to play.

The semi-finals were both great to watch.  From a parents point of view the Under 16 Div1 final was perfect.  Facing 138 to win, on a sodden field where runs were very hard to get, the opening pair made about 85 off 45 overs (out of 60).  Then two wickets fell in quick succession, and the task was just looking as though it might prove to be quite tricky.

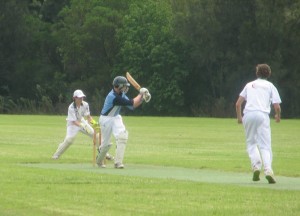
Nick leg glances OGrady for three 1000pxNick goes in at Number 4, and announces his arrival by hitting their best bowler for three (no stroke had earned more than two runs in the first 45 overs!), and immediately increased the run-rate to about 5 per over.  He hit the winning runs with plenty of overs to spare.  Just the innings that his side needed, and wonderful to watch as he systematically demolished the opposition attack.  The ninth Grade Semi-Final was exciting and very different.  Played on a sodden pitch with long grass, scores were low.  GBCC Ninth Grade were all out for 127 off 77 overs.  At the end of the first day they had the opposition at 4/15 off ten overs.  By a few overs into the second day, two more wickets had fallen, but after that no more for too long ….

At 6/115 we looked  lost.

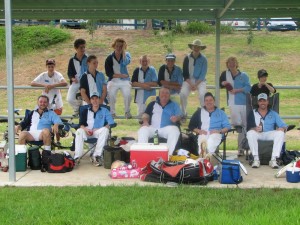
Ninth Grade Blue Victorious 1000pxHowever Big Willie (centre of the front row in the picture) never gave up, rallied the troops, and they were all out for 122.

This was not a match for the Coulsheds to “write home” about (” ‘blog proudly”?).  David was on the sidelines, and Nick scored a duck and bowled only one over because of his very sore shoulder.  However it was a great match to watch.

We might reach the dizzy heights of Eighth Grade next year – or will we form another Ninth Grade side with some new hopeless recruits?